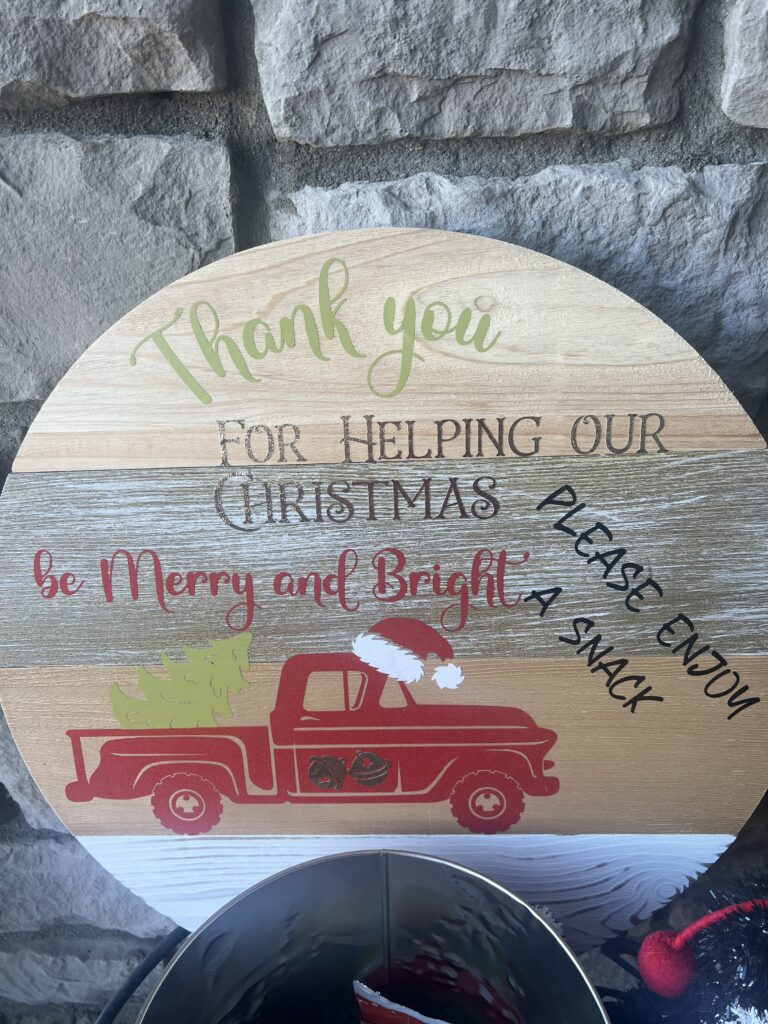
Thank You Sign for Delivery Drivers
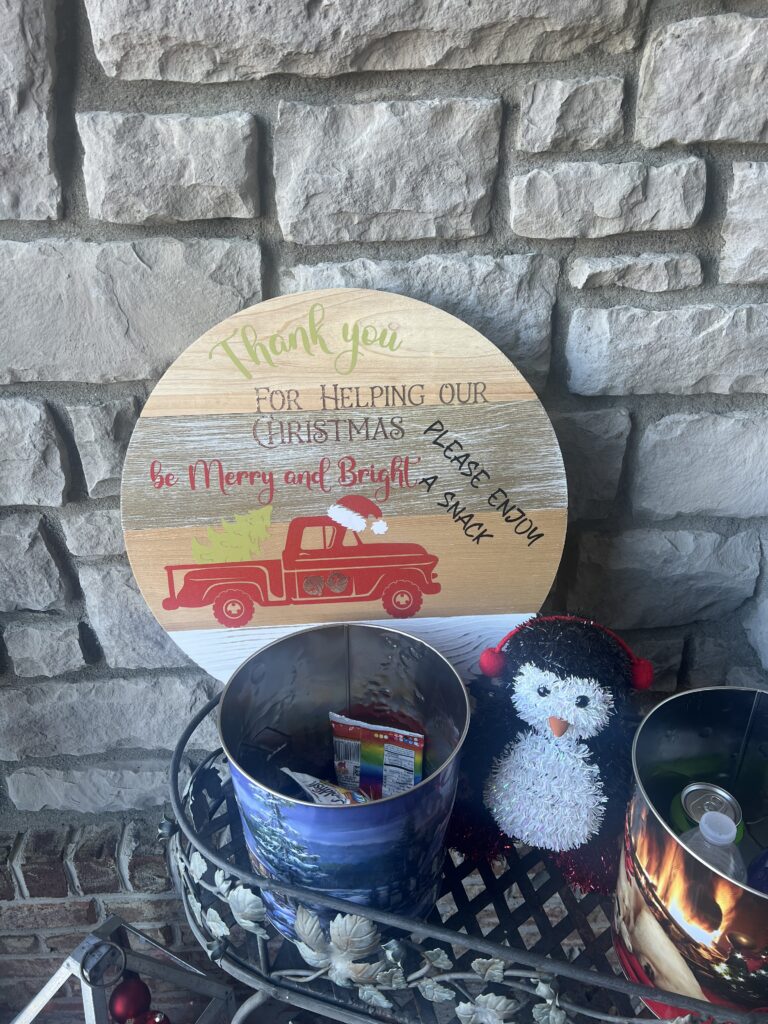
Don’t we all love to see packages arriving on our porch. Especially during the holidays. I know lots of us leave out snacks or waters for these hard working delivery drivers, but sometimes it seems they aren’t sure if they are supposed to take something. To make sure they know the snacks available are for them I created this sign which I leave on my porch during the Christmas season. I place it near the bins of snacks and water bottles and Gatorades.
Supplies
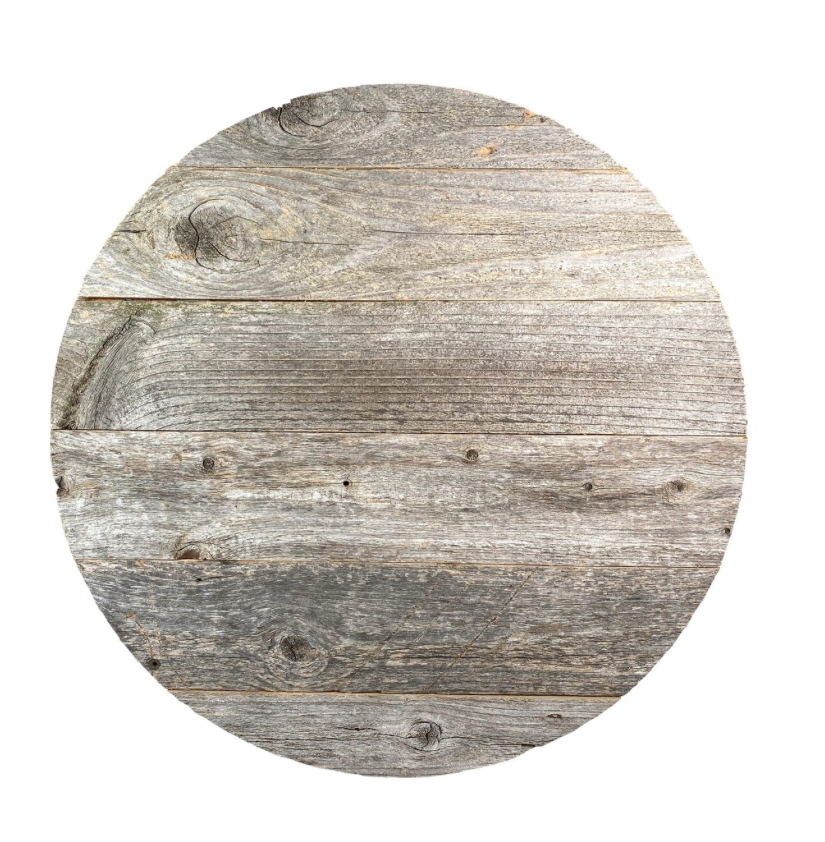
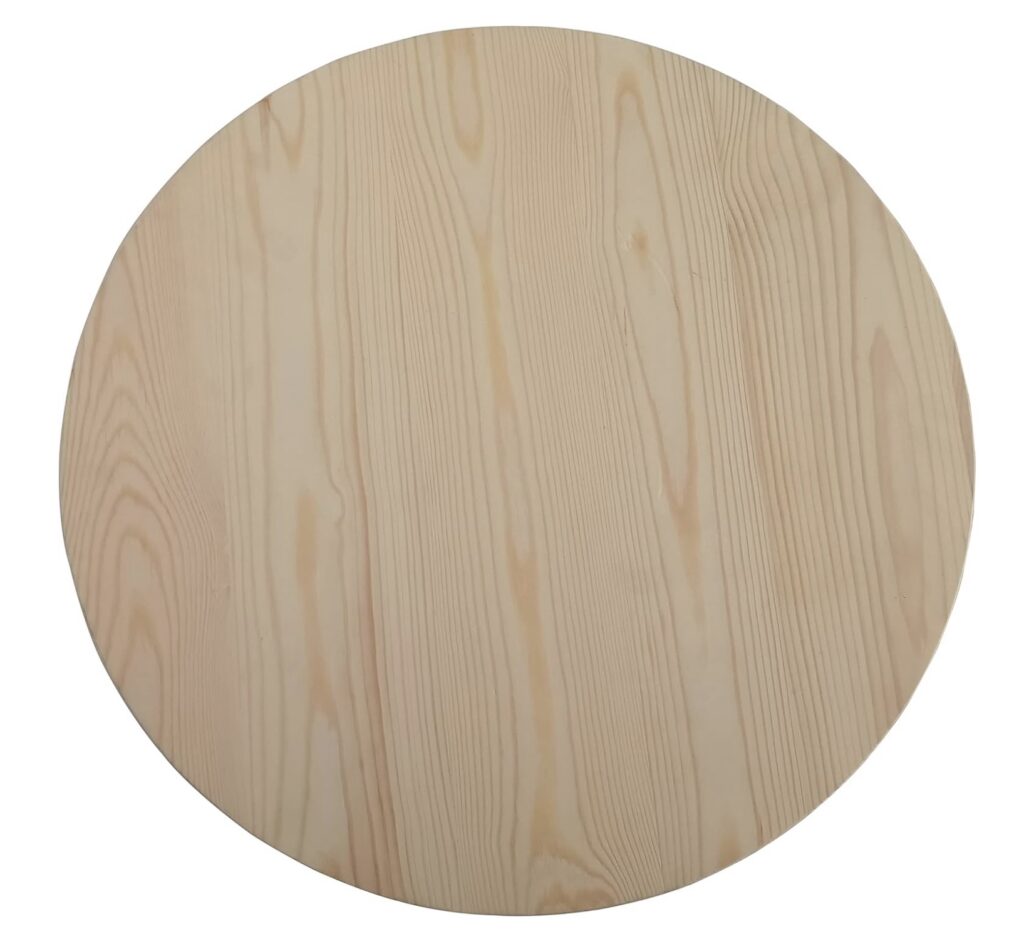
We began with a rustic wooden circle with a diameter of approximately 18 inches. The one I used seems to no longer be stocked, but I found a couple which are very similar.
This one is available at Micheals.com
And I found this one at Amazon:
Next, I selected my fonts, and SVGs from Creative Fabrica. If you haven’t checked out their sight before, be sure to take a look. I get most of my fonts and SVGs from CreativeFabrica.com and they frequently have great specials and freebies.
Vinyl Colors:
I used Cricut Premium Permanent Vinyl, Textured Metallica Sampler, Precious Metals in gold for the bells and “for helping our Christmas”.
I used Cricut Smart Permanent Vinyl in black for “Please Enjoy a Snack”.
I used Cricut Smart Permanent Vinyl in red for “Be Merry and Bright”, the truck, and Santa’s hat.
I used Cricut Smart Permanent Vinyl in white for the fur on Santa’s hat.
For the tree and “thank you” I used a green piece of vinyl that came in a no-longer-available sample pack, but there seems to be a similar shade of green in this sample pack.
Cricut:
I used my Cricut Maker 3, standard grip map, and Pin Pen for all the vinyl cuts and weeding.
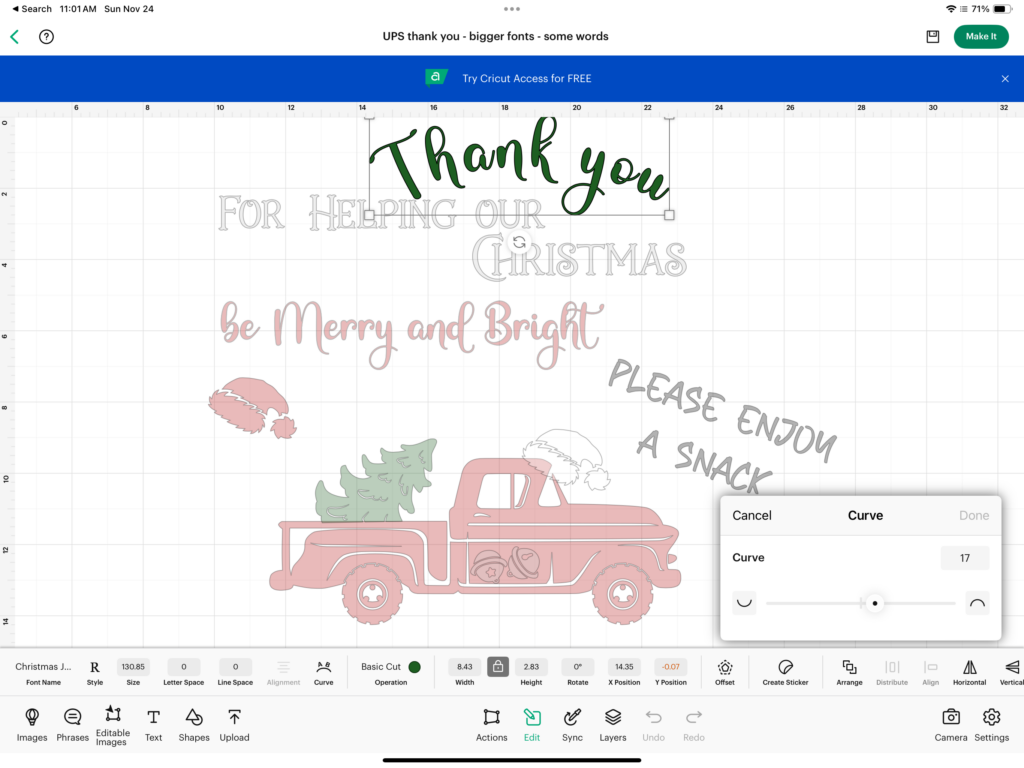
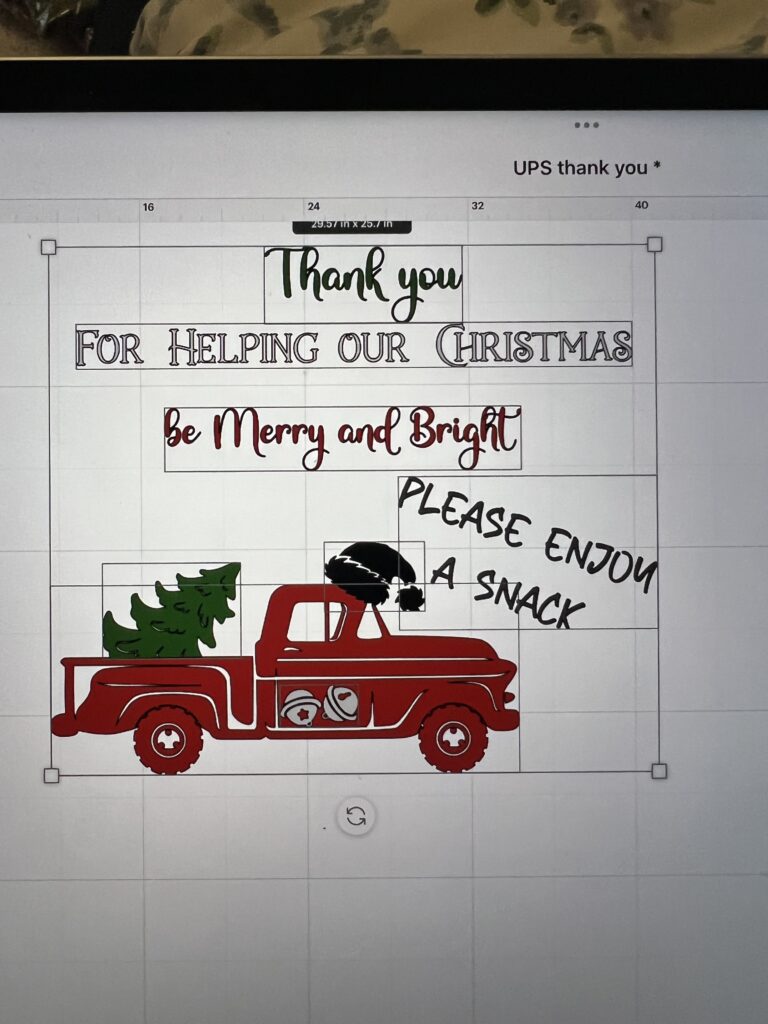
I arranged everything as I thought I would end up using it in Cricut Design Space.
The Graphics
The truck, tree, Santa hat, and bells were all included in the Christmas Truck Kit – Create Your Own Truck SVG bundle.
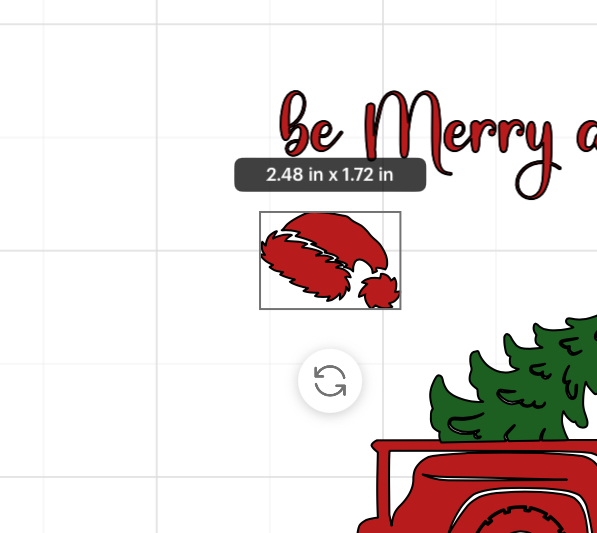
I wanted white fur and a red hat, so to make it simple, I cut 2 hats, one red and one white, and simply used the desired pieces of each. I found this easier than slicing the hat, but that is certainly an option also. If using the two hat method, be sure both hats are sized identically. I sized the first hat to 2.48 x 1.72 then used the “duplicate” function to create the second hat.
Next, I sized the tree to 3.41 x 2.36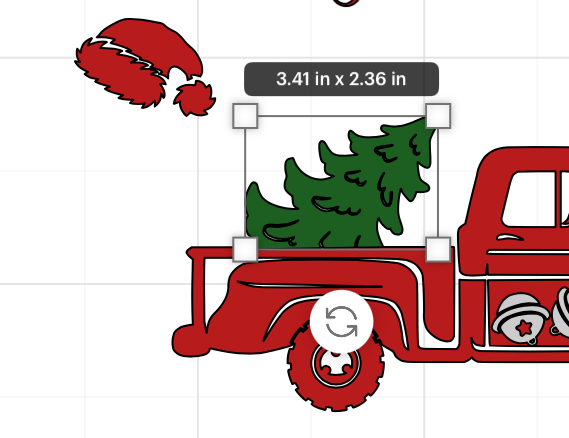
Then I sized the bells to1.93 x 1.03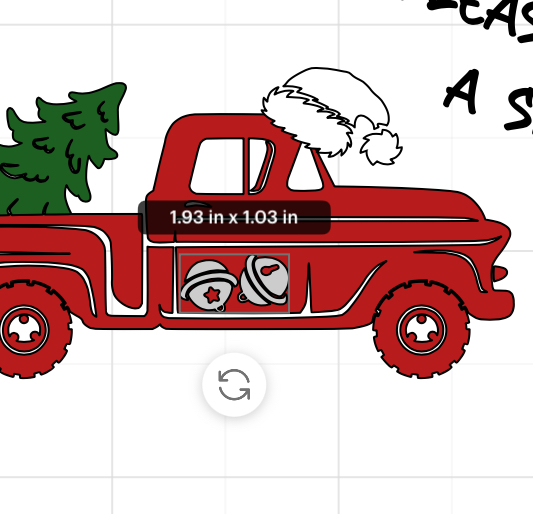
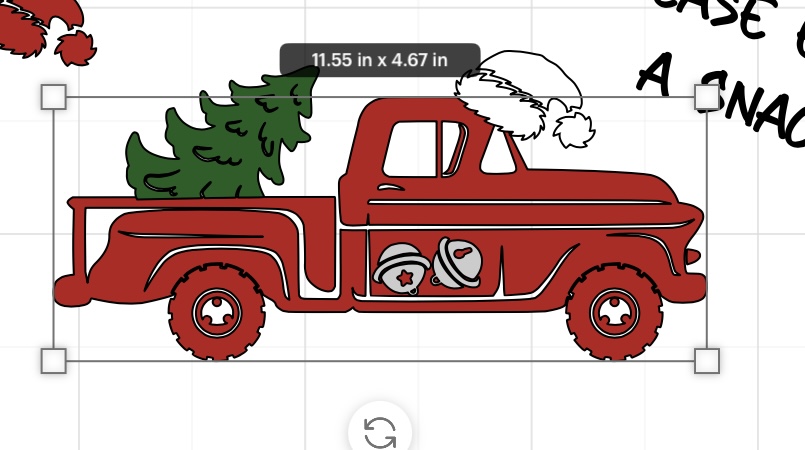
And finally, I sized the truck to 11.55 x 4.67
Cut Settings
Make sure to select the Operation to “Basic Cut” and select the color to the color you want for the item so that your Cricut knows which SVGs to cut from which color.
The Words
Thank you
I cut “Thank you” on a 17 curve.
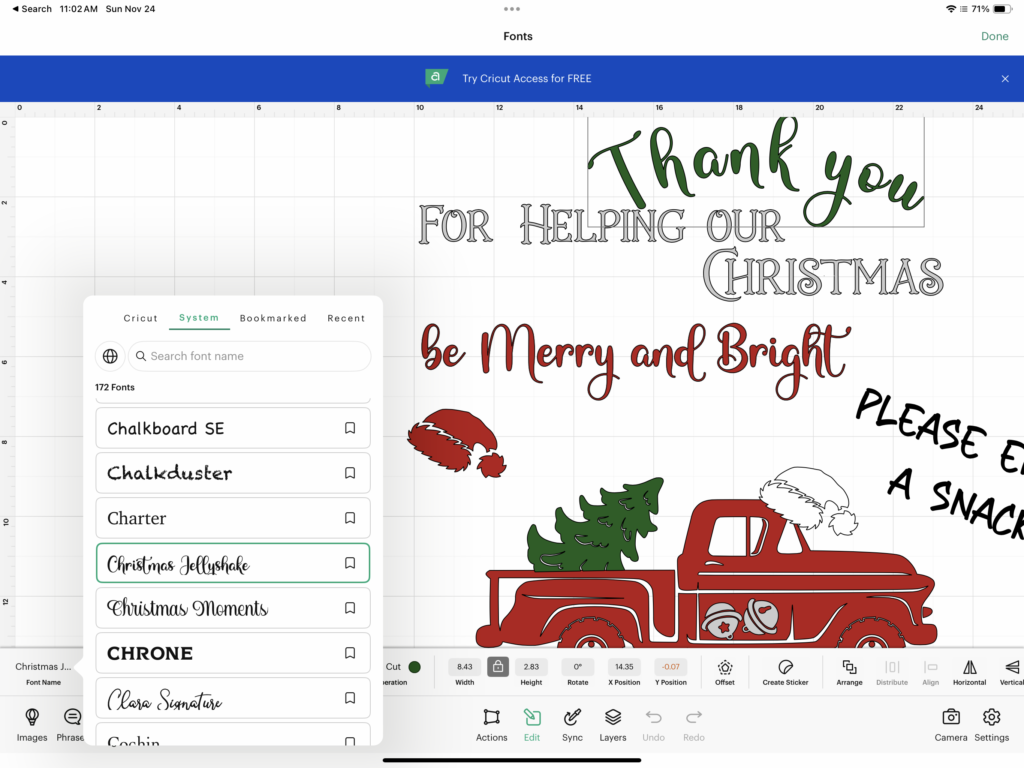
I used the Christmas Jellyshake font with a size of 8.43 x 2.83
For Helping Our Christmas
I used the Holiday Present font, sized to 9.16 x 1 for “FOR HELPING OUR” and 6 x 1.37 for “CHRISTMAS”.
be Merry and Bright
I used the Christmas Jellyshake font again for “be Merry and Bright”, sized to 10.75 x 1.93
PLEASE ENJOY A SNACK
I used the Bailey Sidney Font for “PLEASE ENJOY A SNACK”, sized to 6.44 x 2.98 for “PLEASE ENJOY” and 3.88 x 2.07 for “A SNACK”. I had to play around with the sizes of this one a bit to get the words to center in the space available without looking cramped.
Putting it All Together
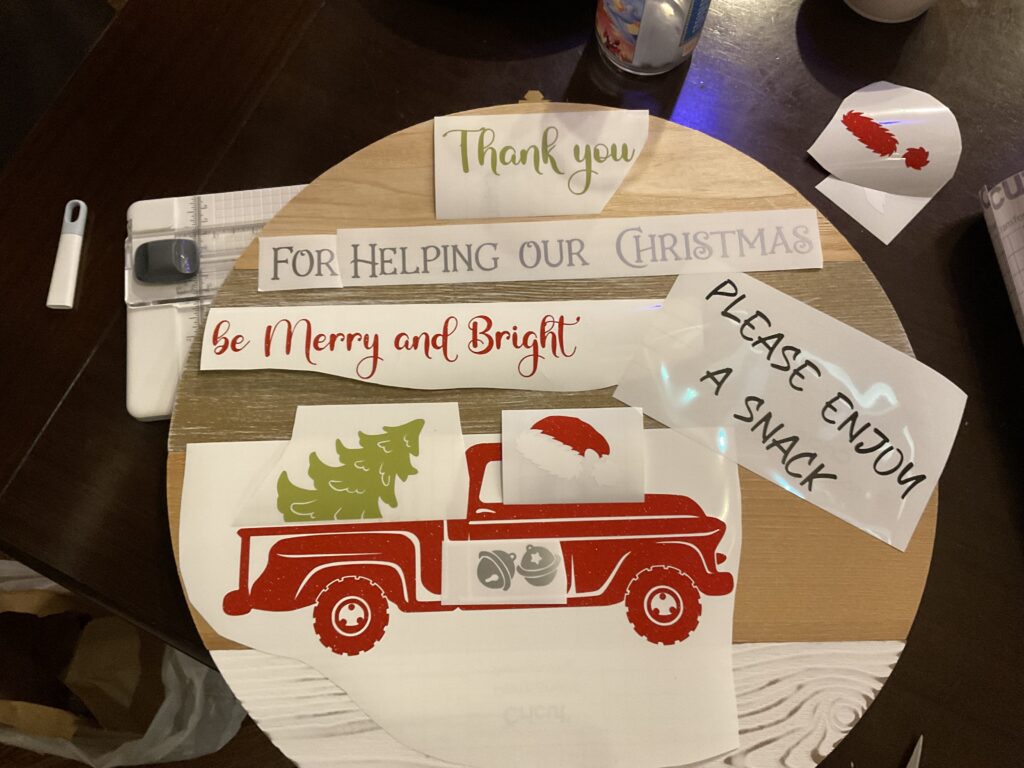
I played around with the spacing a bit more after the Cricut cuts and (and recut For Helping Our Christmas in gold foil instead of silver) before I began transferring the words and graphics to my sign.
The final product:
