Ornament Tree DIY
Welcome back. Today I want to show you how to make this adorable little ornament tree. I have seen these selling in stores for between $60 and $90 and I thought it didn’t look that difficult to make, so I figured why not give it a try. You can see my inspiration here.
It only takes a few supplies to get started. I used a medium sized floral cone because of the size where I planned to display the completed tree, but you can use any size you like. Here’s one similar to what I used. If going smaller, I would recommend getting thinner garland and smaller ornaments.
Supplies:
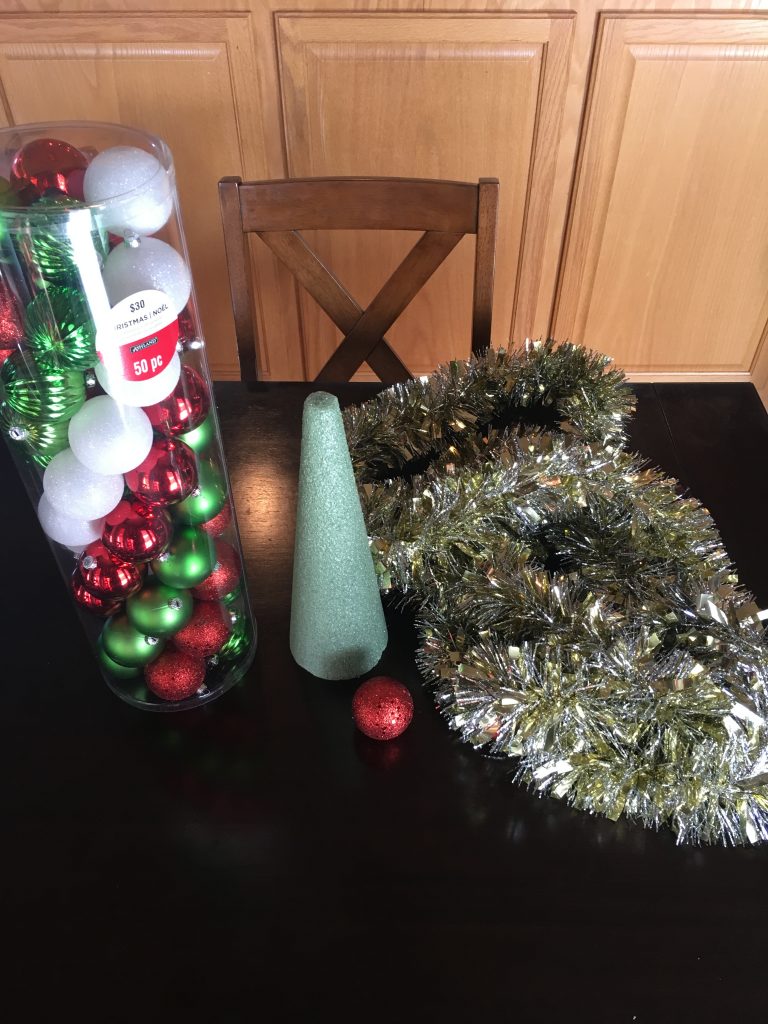
You really only need three supplies. A foam floral cone, a garland, and some ornaments. Click the highlighted words above for links to similar items.
Step 1:
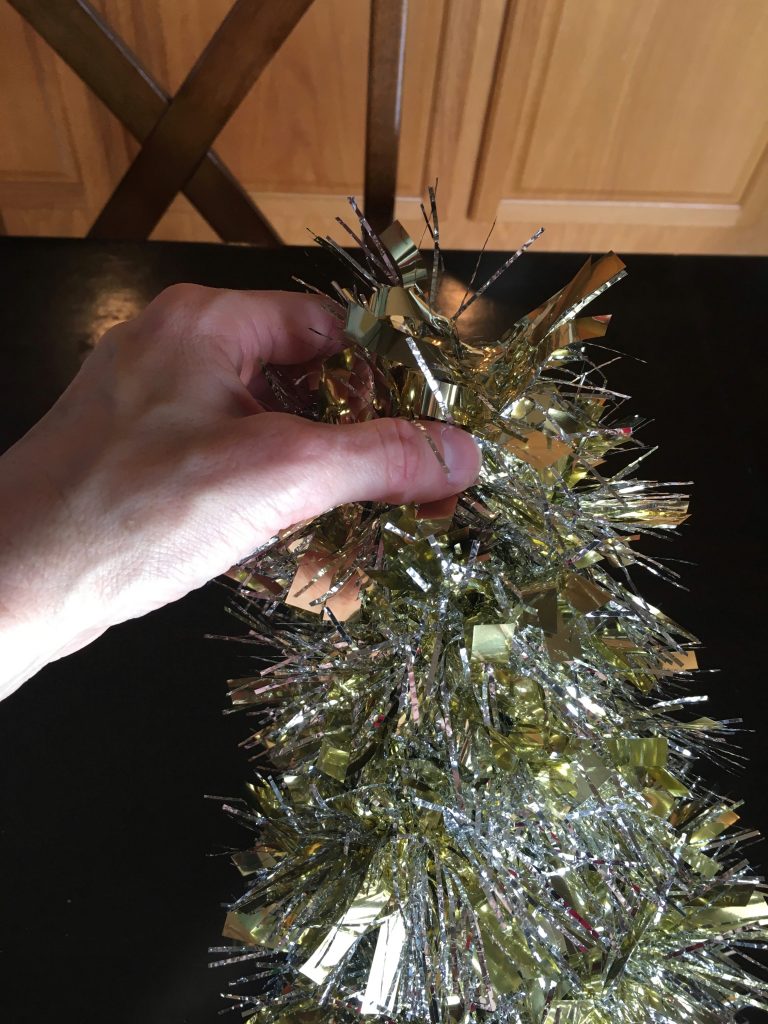
I attached the garland to the cone with a staple gun, but you could also use a glue gun. Which ever method you choose to use, you should begin attaching the garland at the bottom for the best results. When wrapping the garland, you do not want to leave any large empty spots, but also do not wrap it so tightly that all you see when you finish is a thick mass of garland. The ornaments are the centerpiece of this decoration. The garland is the accompaniment.
Though I used a staple gun to attach the garland, I actually pushed the last couple of staples in by hand because the floral cone is very thin at the top and I didn’t want to break it with the power of the staple gun.
Step 2:
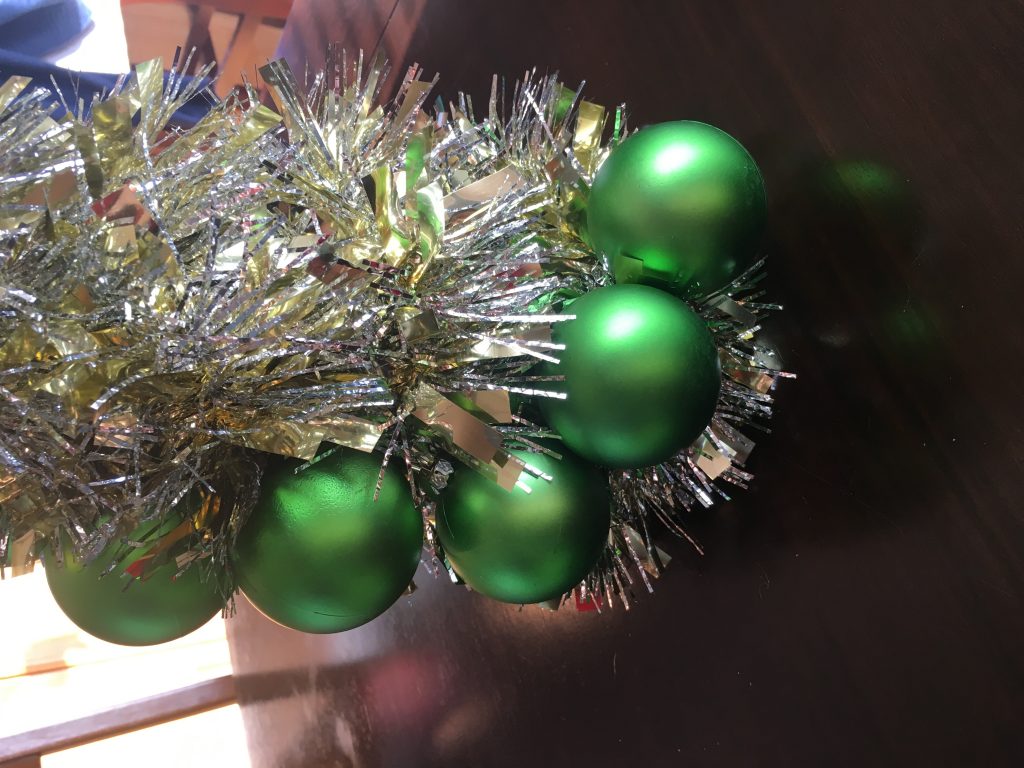
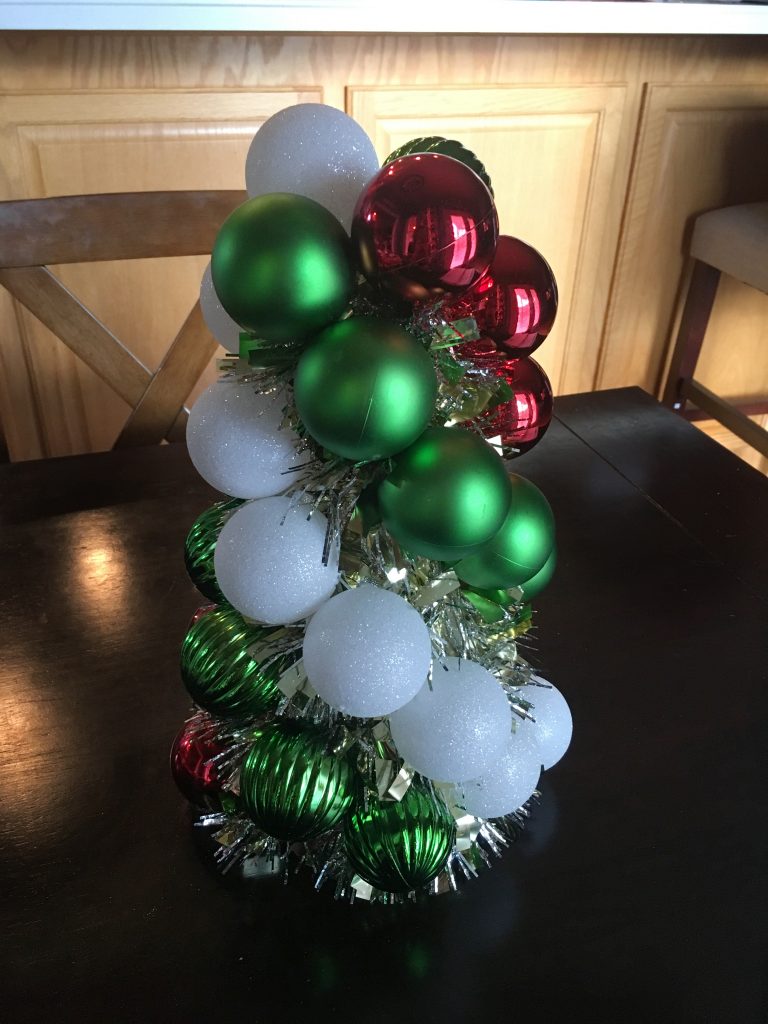
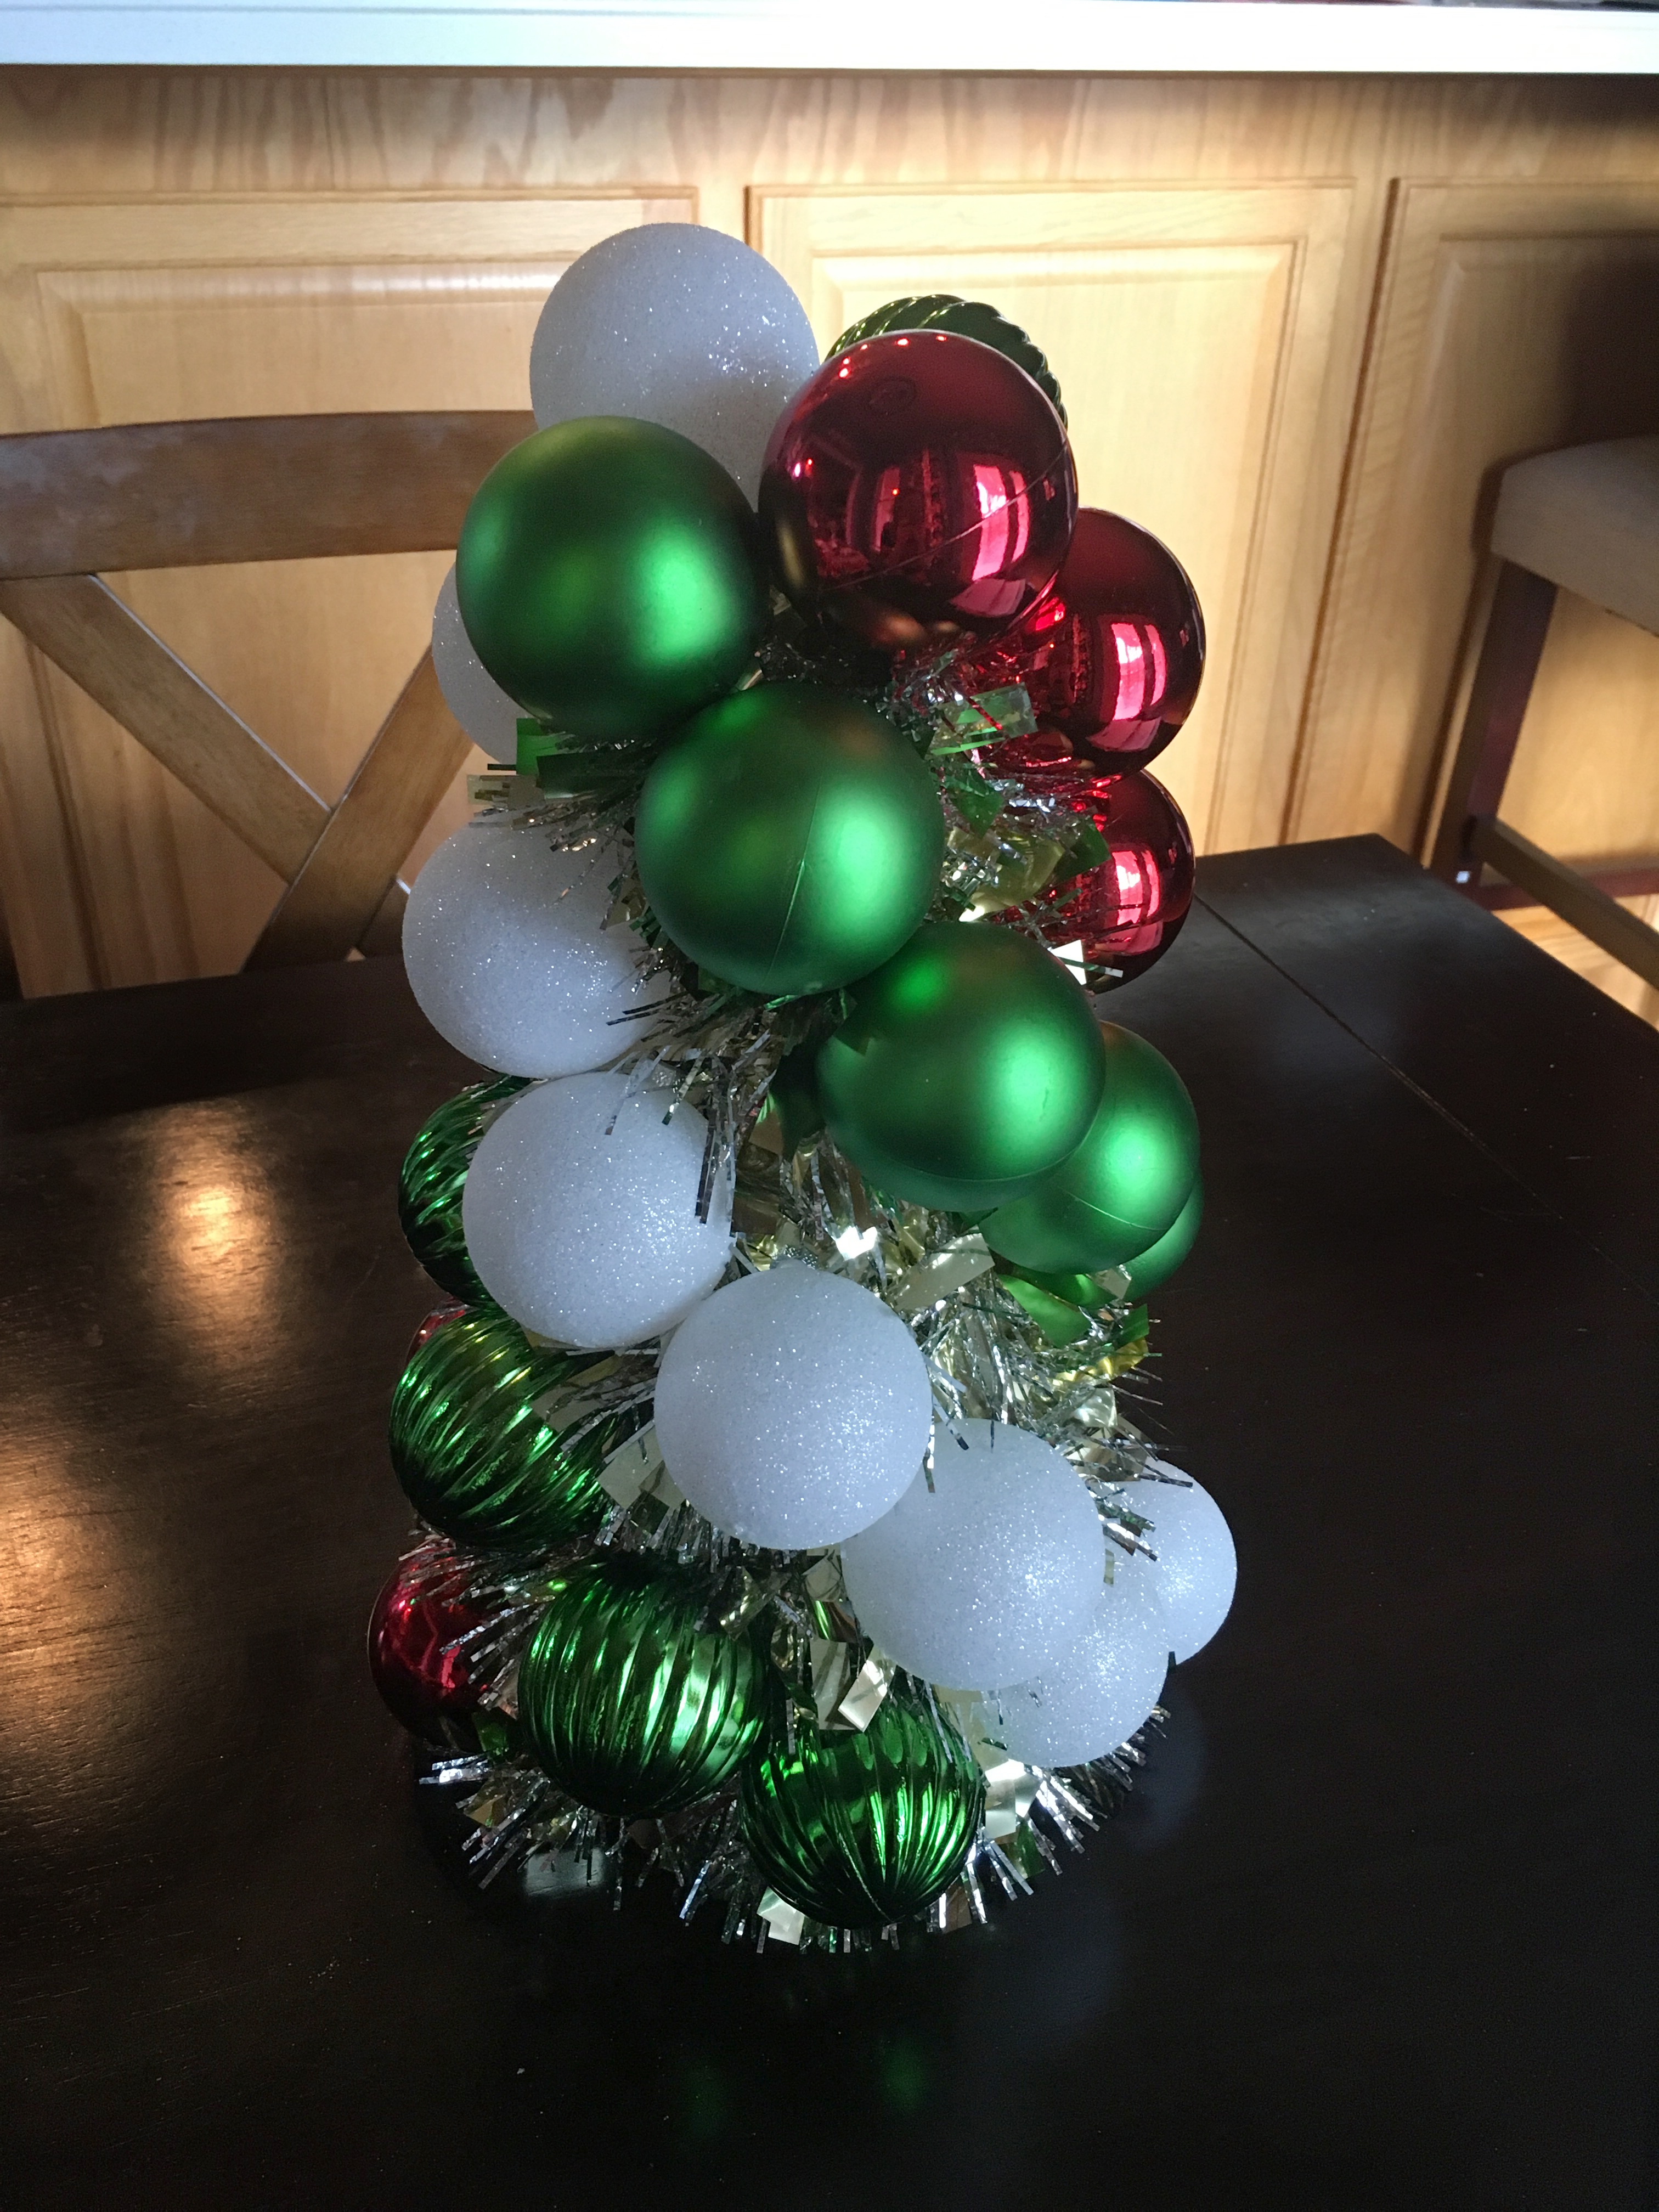
After the garland is securely attached, it’s time to begin adding the ornaments. Select the color you will be using for the first row and attach the ornaments beginning at the bottom. This step would have been much easier had I simply used a hot glue gun to attach the ornaments. But instead, I wanted to be able to remove the ornaments in case I prefer a different color scheme next year. When attaching the first row of ornaments you want to create a spiral look by moving up and around the cone with each ornament you attach.
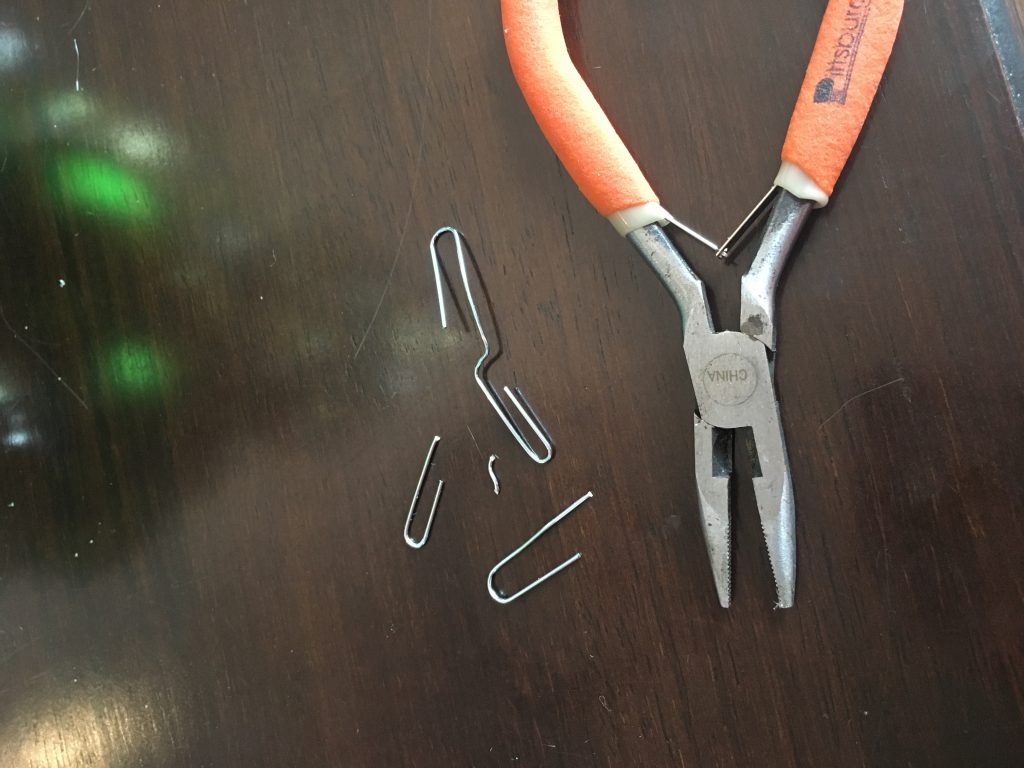
I tried a couple of different options, but ended up attaching the ornaments using paper clips that I cut in half. I simply open the paper clip by bending it, snipped the enter section off using these mini cutters, and used the two remaining portions to attach the ornaments. Floral pins, like the ones below would probably have held better than the paper clips, but I didn’t have any handy so I used what was available.
While it was best to being the first row of ornaments at the bottom, you will want to begin the remaining rows at the top and word your way down. Again, you want to make sure you are following the spiral pattern you established with your first color.
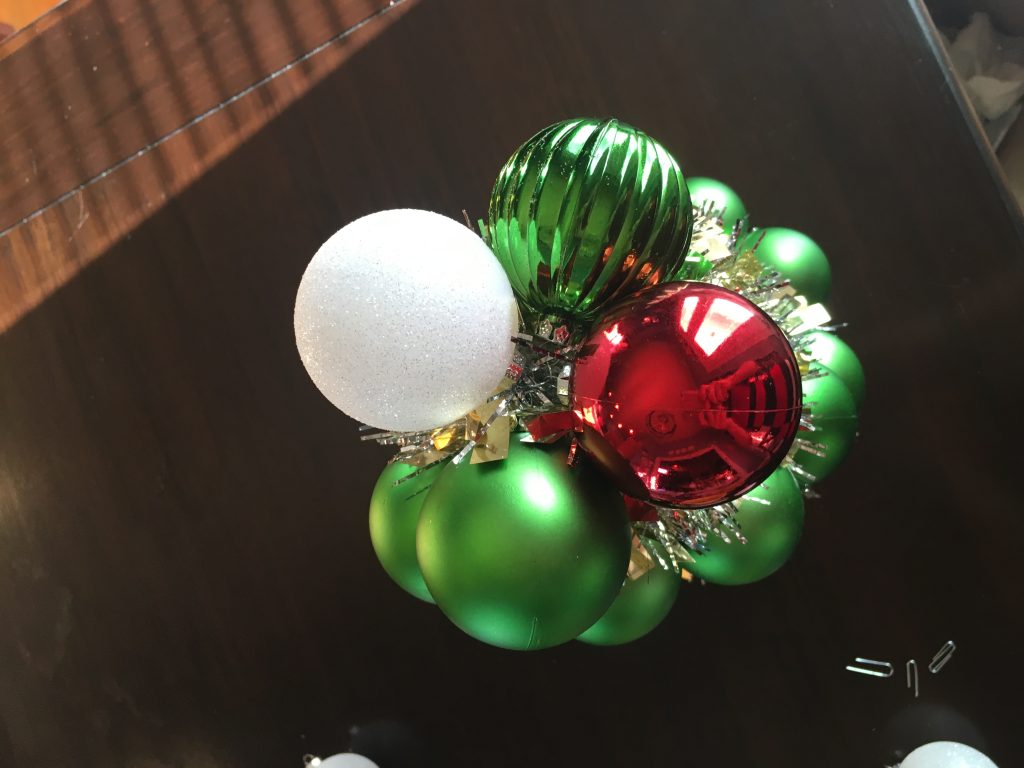
We designed our ornament tree to display on our front porch, so keeping with the color scheme there we used red, white, and green ornaments. You will need 4 colors/patterns of ornaments to complete this project. We used a matte green, a textured green, a sparkly white, and a glossy red.
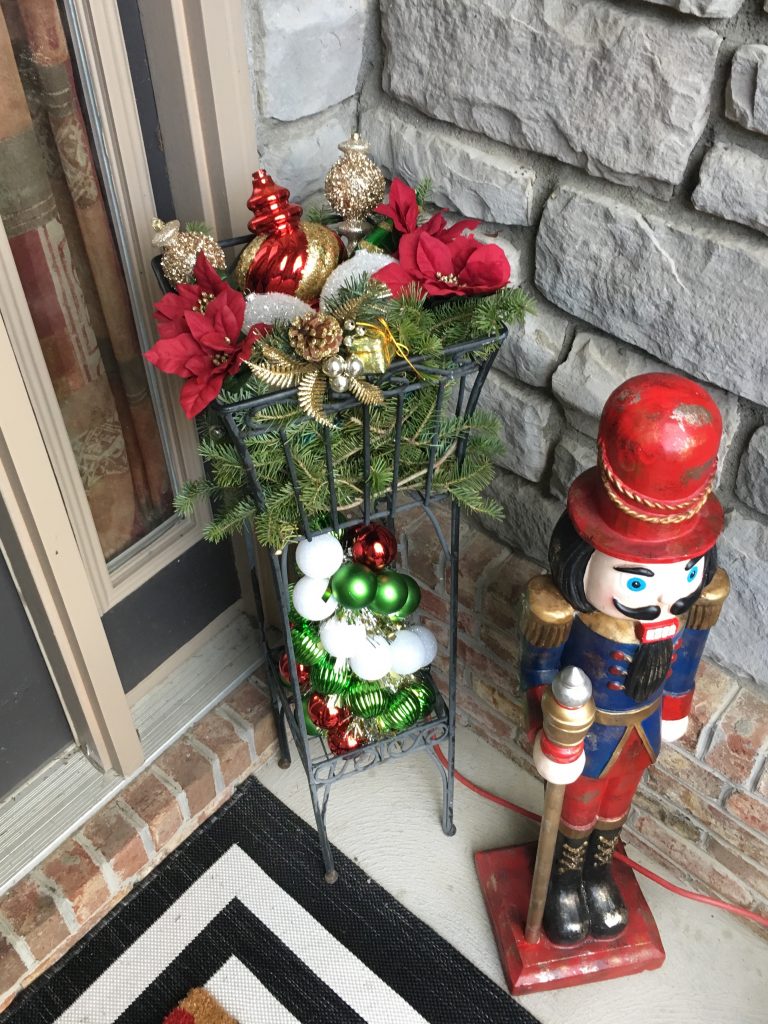
Note: Tinsel is not good for pets so if you have pets in your home I recommend you use this decoration somewhere inaccessible to your pets.
I have had my Nutcracker Toy Soldier for several years and haven’t been able to find another just like him, but a similar one can be found here.
For instructions on the decoration in the top portion of the plant stand, please check out my DIY post here, and to see a magical Christmas wall decor, check out our recent tutorial here.
If you love this idea, but don’t love the DIY part, I found a couple very similar ornament trees you can check out. Click here for red, white and green. Click here for a red, white, and silver version. I also think a gold and white version would be beautiful.
Thanks for stopping by, follow up on Instagram and Pinterest for lots of other holiday ideas.
See you soon,
Sondra
