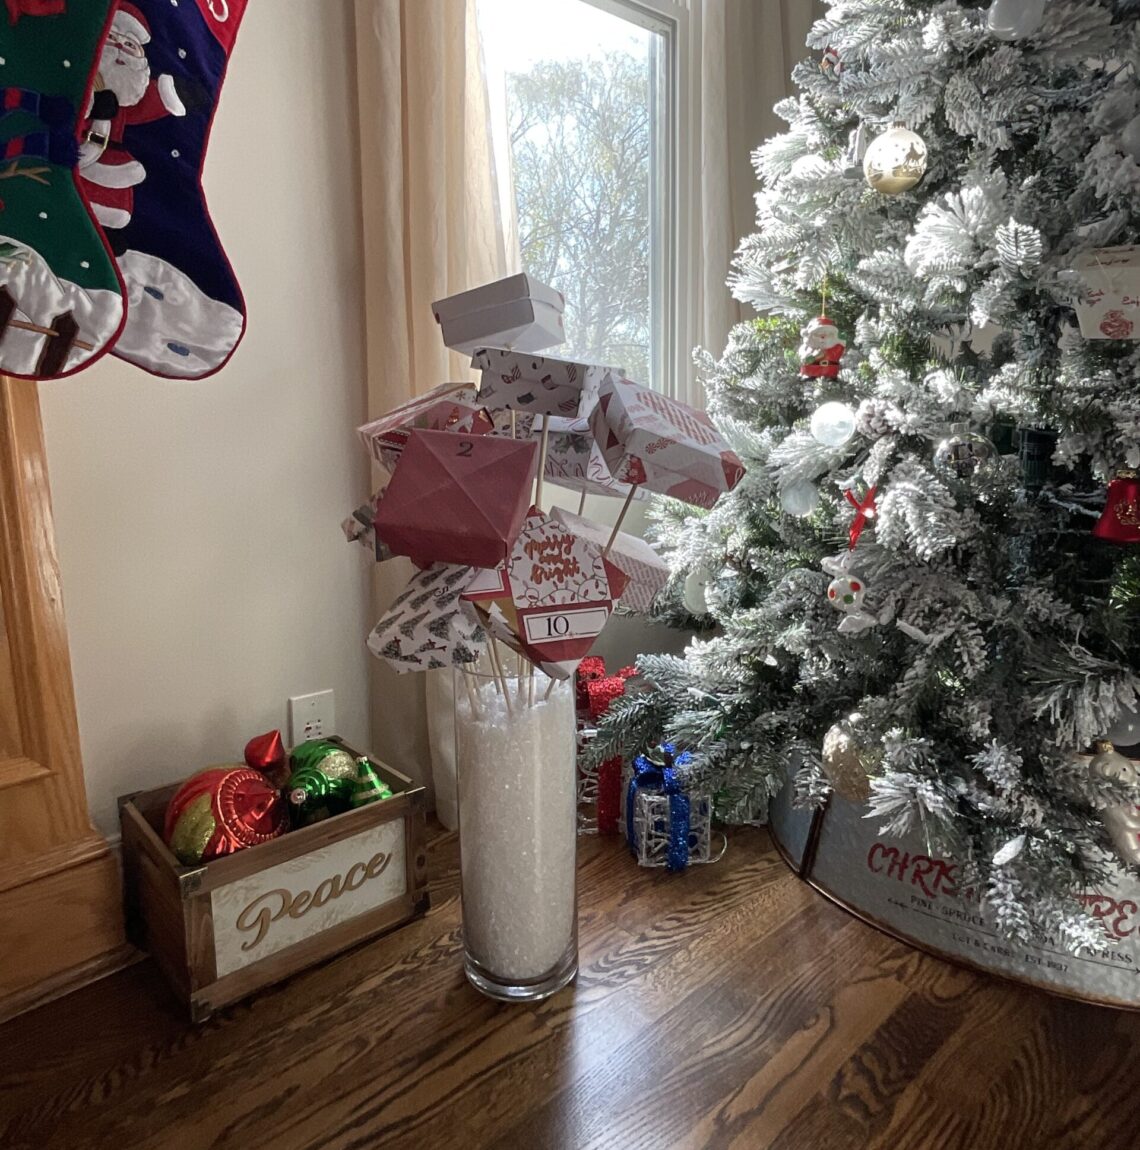
A Very Merry Christmas Advent Calendar DIY
My mom and my aunt like to kick off the Christmas season with a girls’ trip – I affectionately refer to them as The Road Tripping Grannies. At Thanksgiving I like to drop of advent calendars for each of them to begin opening on their trip, but at this point I have done all of the typical ones – the socks were their absolute favorite so far! This year I decided to do something different. This year I decided to make my own!
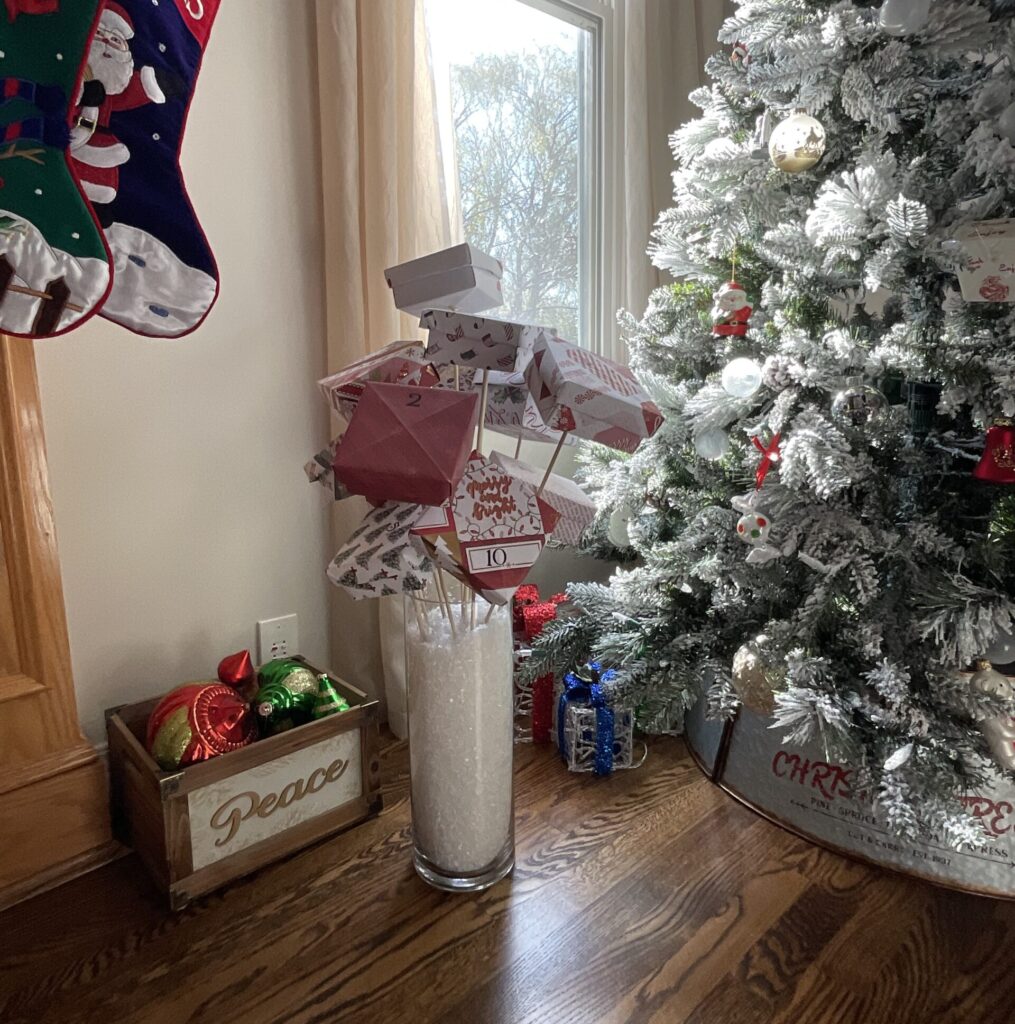
I just love how these turned out and I hope they, and all of you, do too!
Steps to Make Your Own Advent Vase Decor
Choose Your Gifts
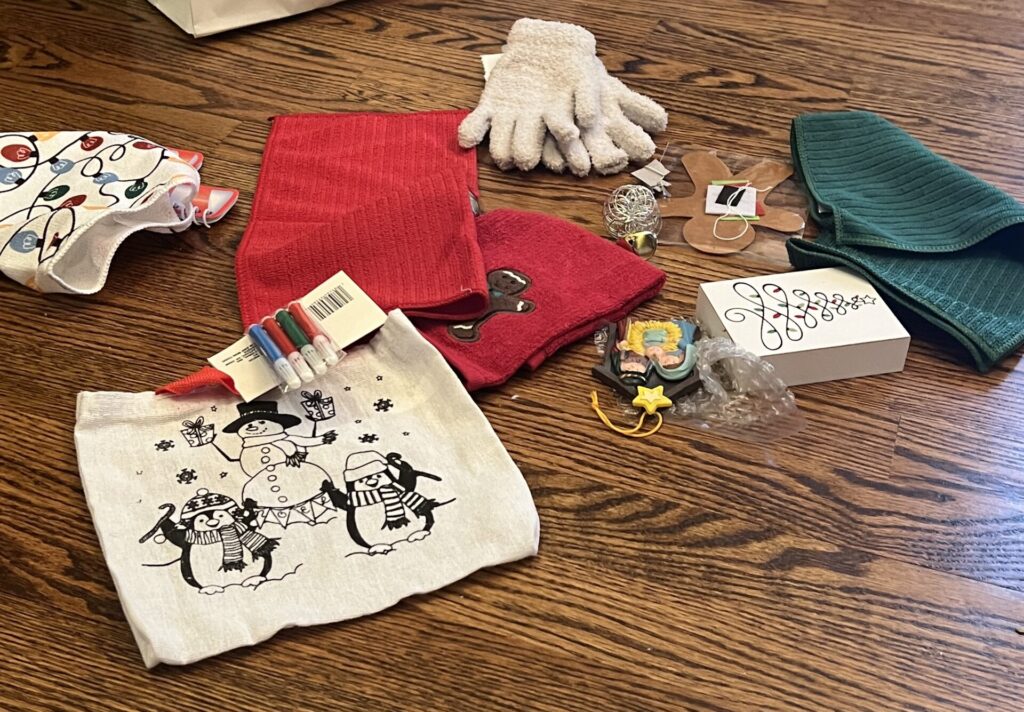
I chose a viariety of things I thought Mom and my aunt would both enjoy. I found fuzzy gloves and a couple of ornaments at Dollar Tree. I stopped by Hobby Lobby for some dish towels and a wooden decor piece.
Select Your Vase and Foam Cone
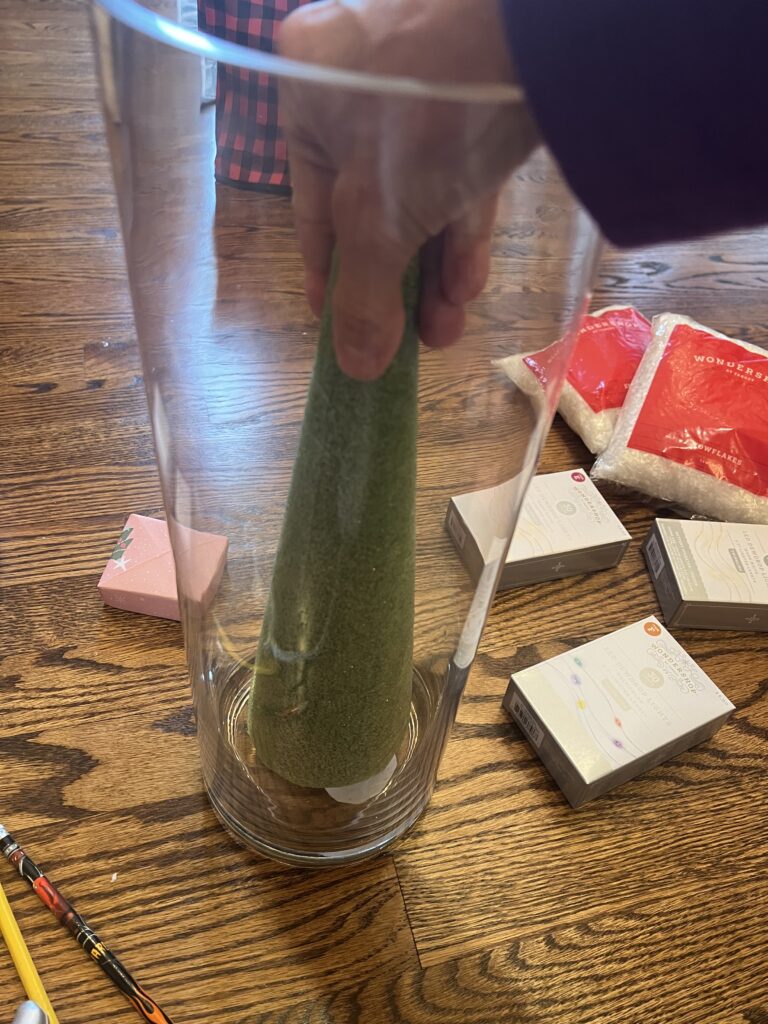
The vase I used is 6×15 and the foam cone is a #12 3.8×11.9. Both were from Michaels, but similar items can be found at Hobby Lobby, Amazon, etc
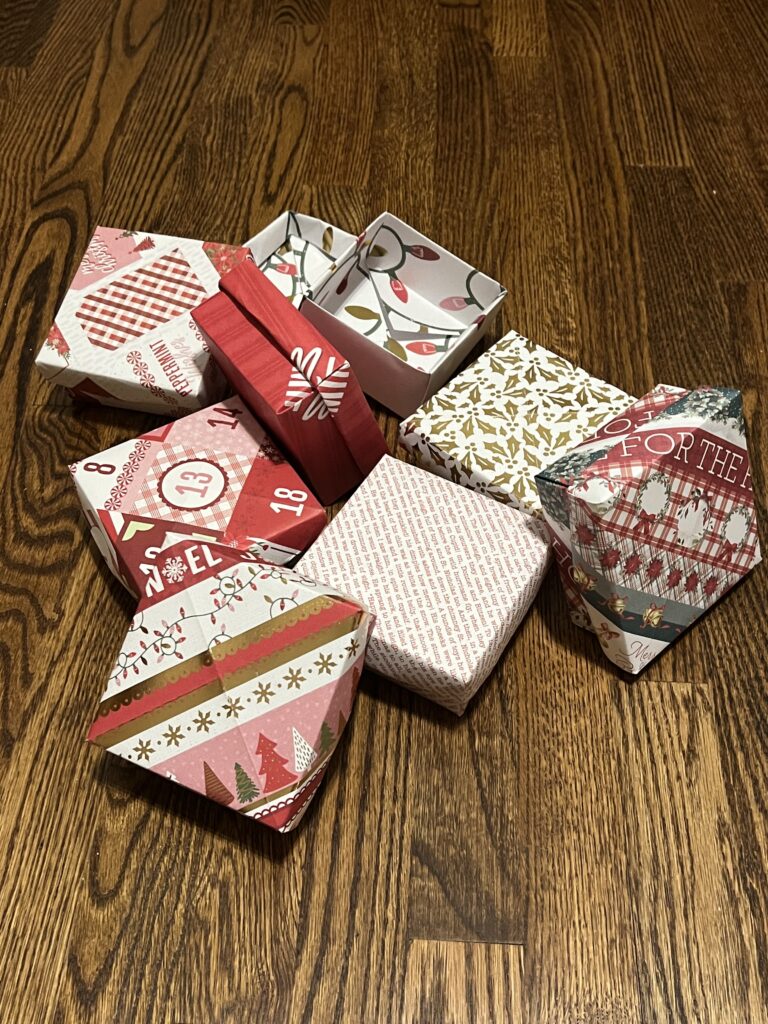
Make The Boxes
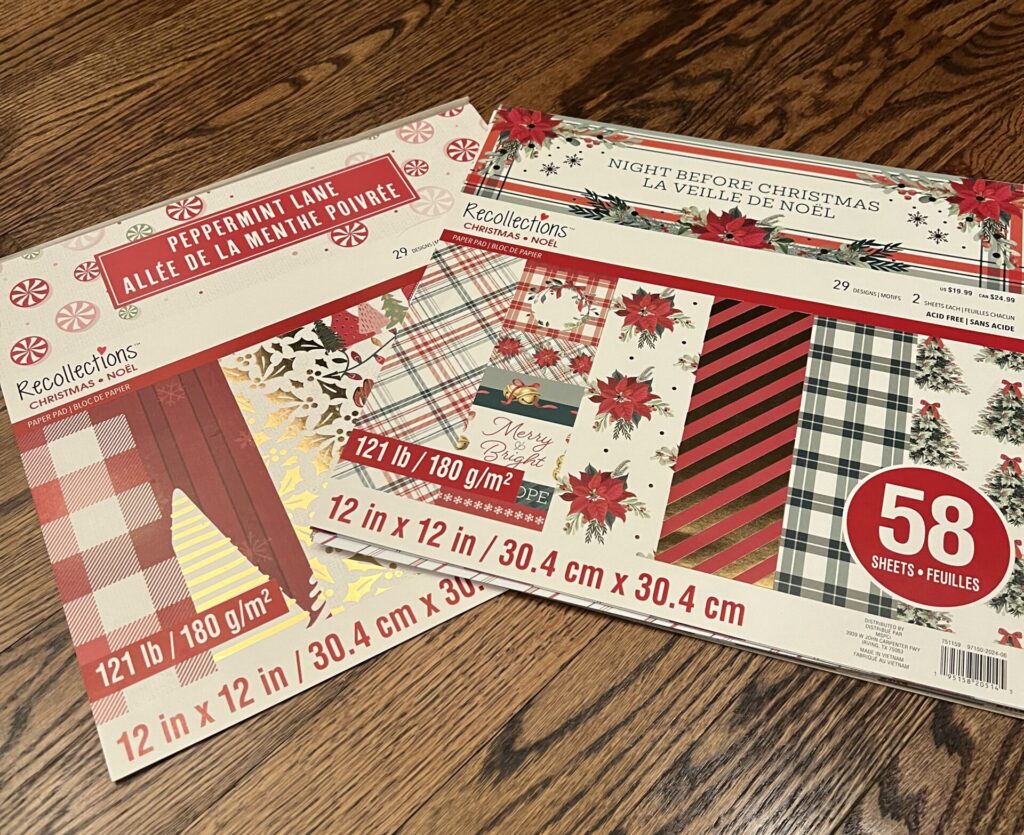
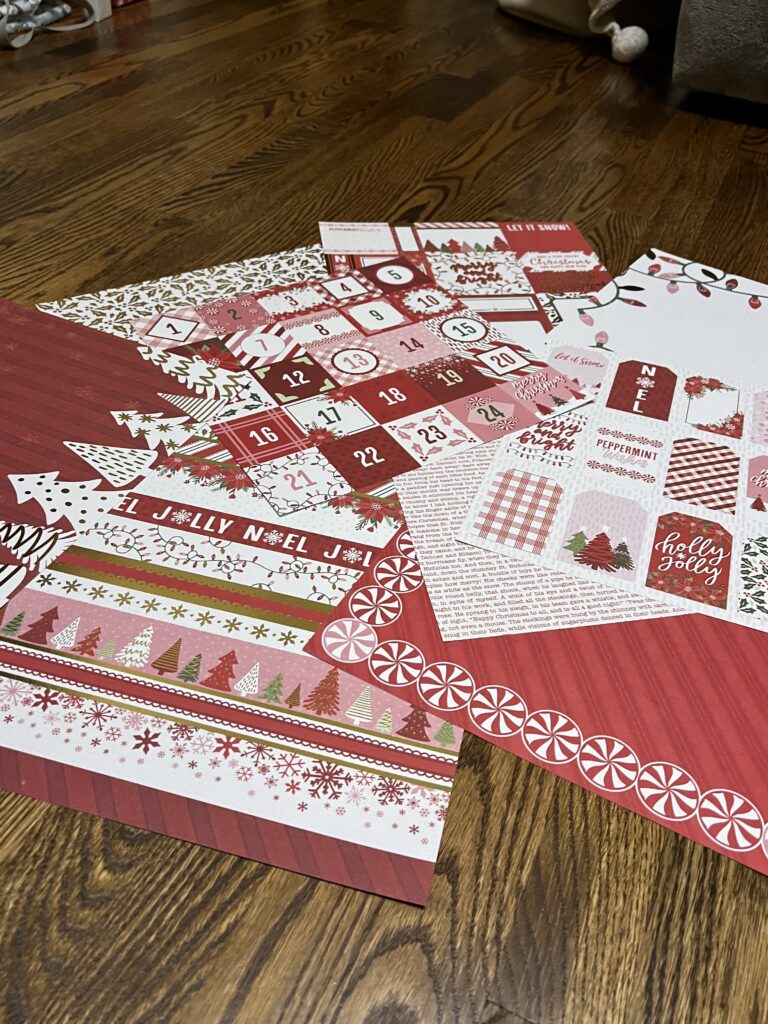
Select the paper you will use to make your boxes. I used Recollection Peppermint Lane and Recollections Night Before Christmas 12×12 paper packs.
I do not yet have a tutorial for folding paper into boxes with lids from a square piece of paper, so for now search “origami box with lid” on YouTube for lots of tutorials. I did use a combination of steps and make a couple of tweak to make the boxes look more like traditional Christmas gift boxes, so I will update as soon as I make a DIY with these instructions.
Attach the Dowel Rods
Once you have finished making all of your boxes, it’s time to attach the dowel rods to the bottom of the empty boxes. I used 3/16” x 4’ for most items and 1/4” x 4’ for a couple of the heavier items, like the wooden Christmas tree block. The dowel rods were easy to cut to size. I simply used a segregated knife and scored around the dowel then snapped it in two.
You will want to vary the lengths of your dowel rods so that your boxes will be tiered.
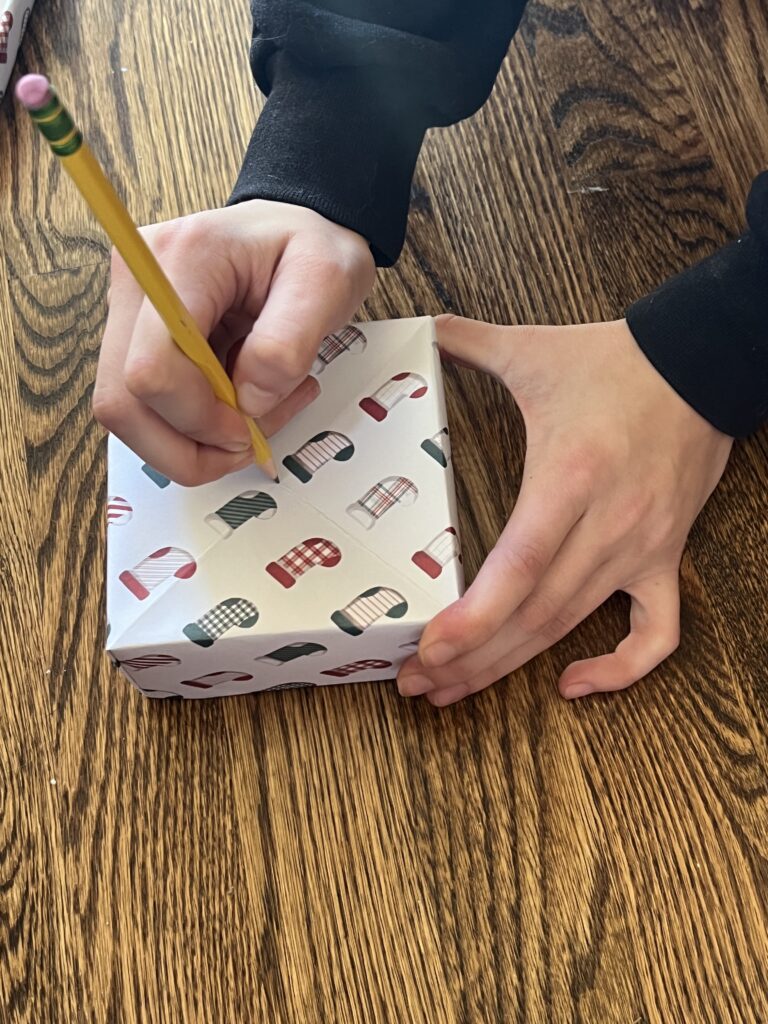
We used a sharpened pencil to make a small hole in the bottom center of each box.
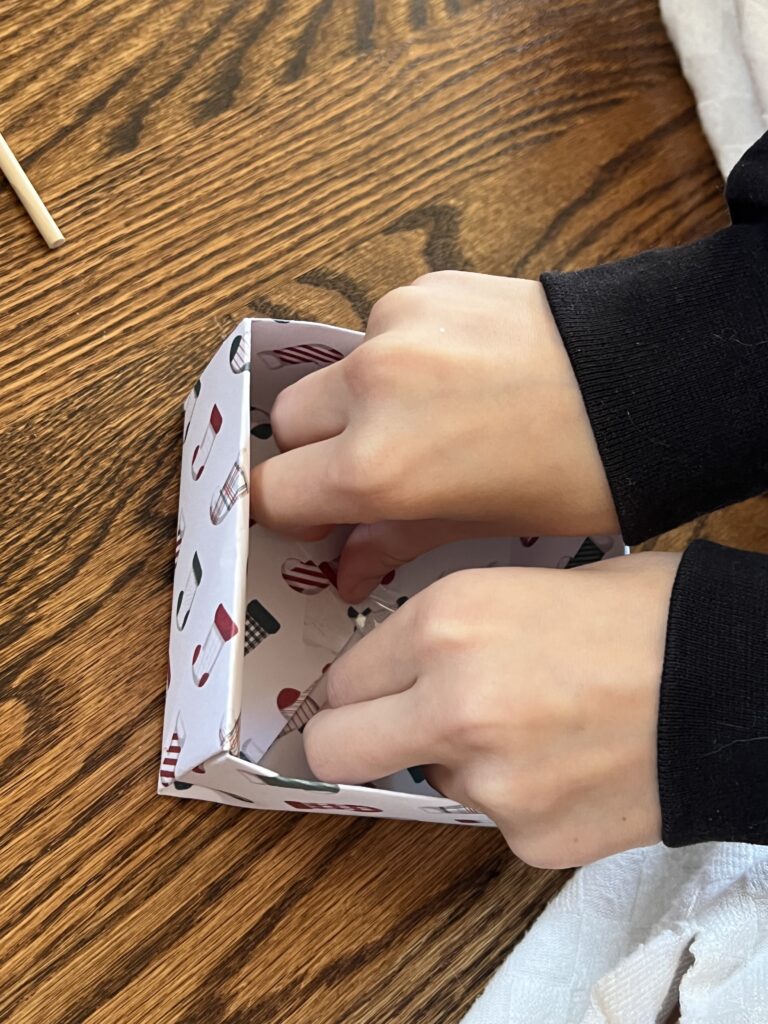
Place a piece of packing tape over the hole on the inside of the box. This helps keep the dowel in place when inserting the dowel into the foam cone.
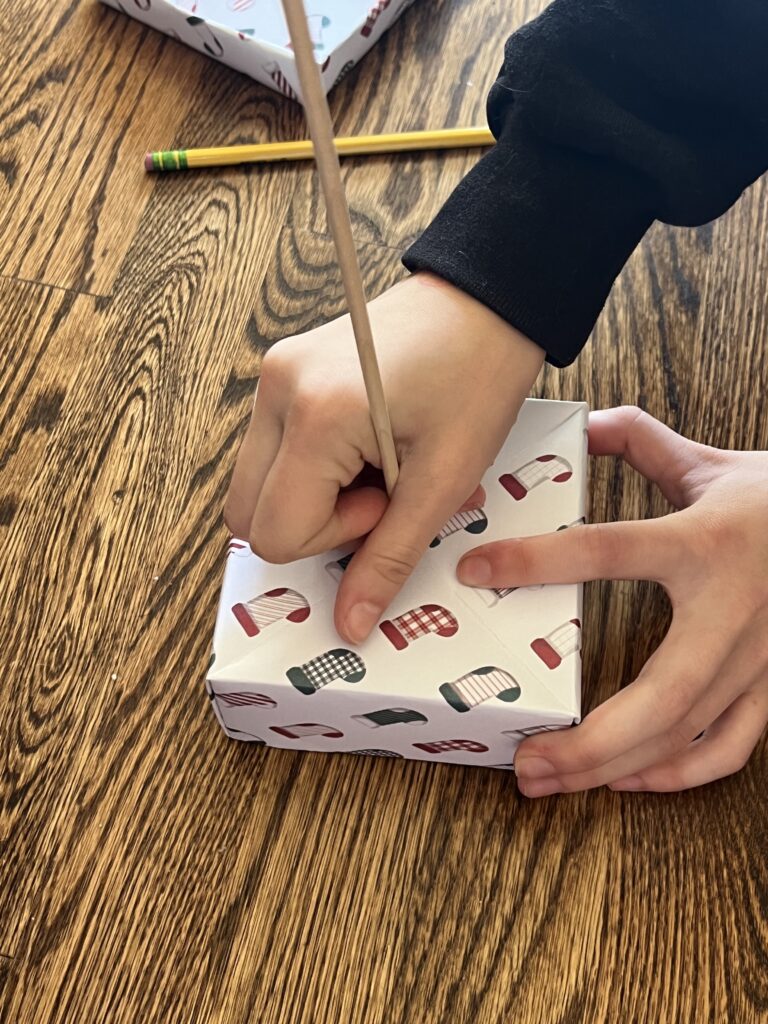
Next we filled the hole with hot glue and inserted the dowel rod into the glue filled hole.
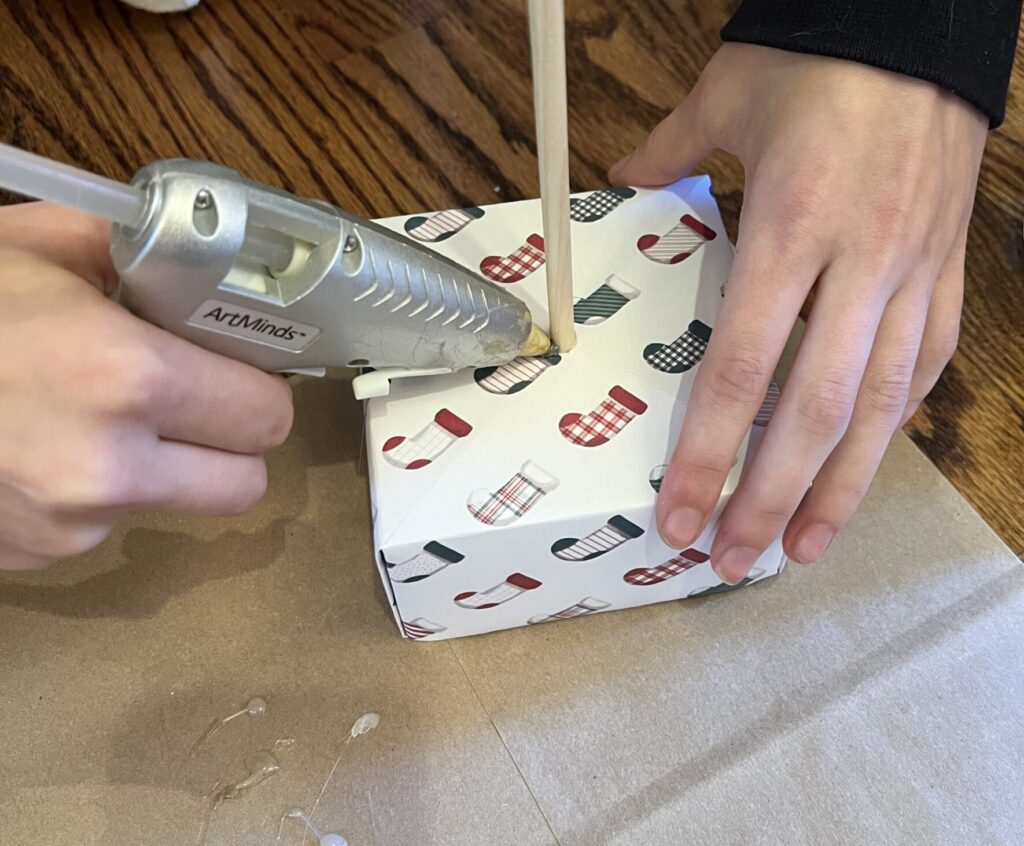
Apply more glue around the dowel rod.
Hold upright until the glue begins to set.
Let the dowels dry completely before proceeding.
Attach the Dowels to the Foam Cone
This is the trickiest step of all. It’s time to attach the dowels to the foam cone.
You should begin with the dowel which will go in the middle of the cone. This should be one of your longer dowels and we used a 1/4” as well to provide extra support for this location.
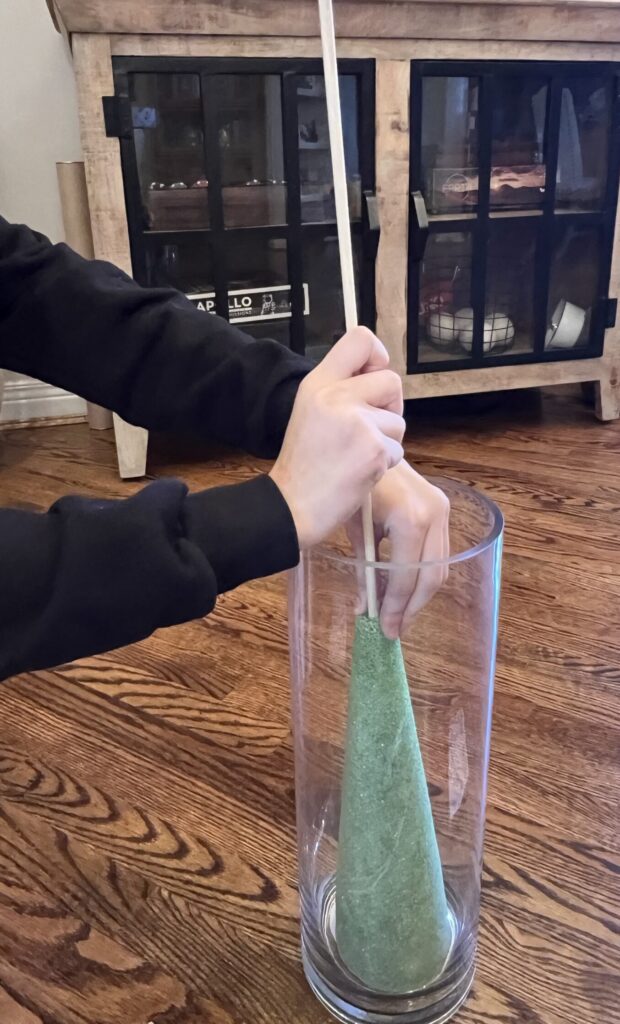
Next move to some of the shorter dowels and have these boxes sit near the bottom of the arrangement.
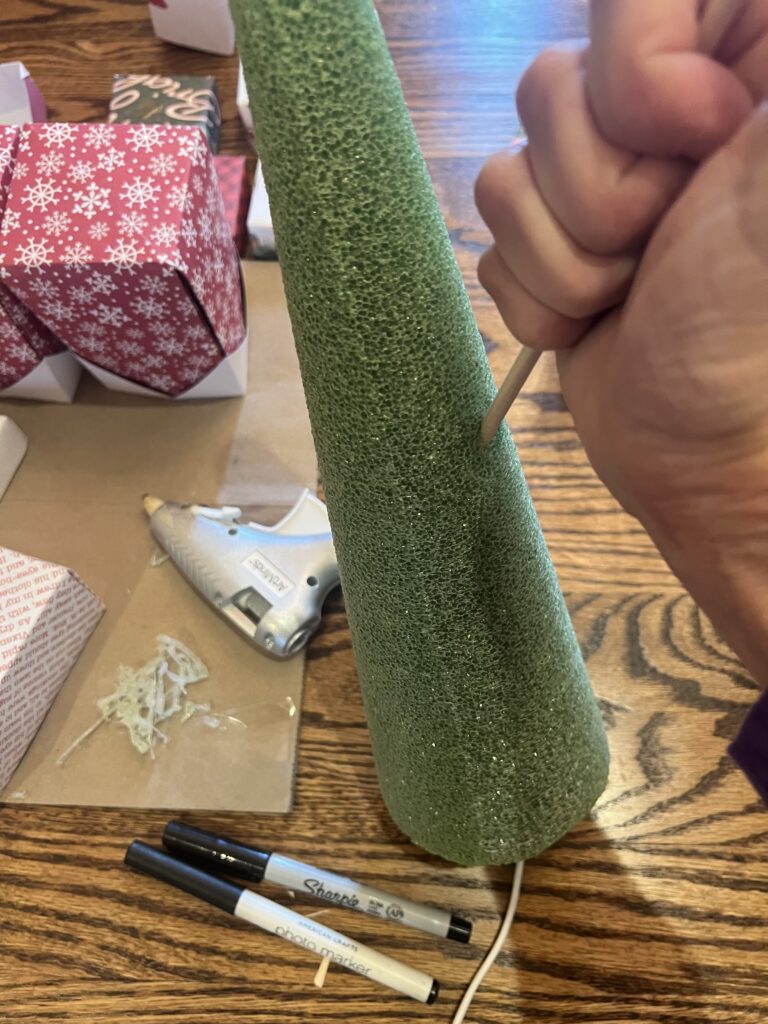
You may need to move your foam cone in and out of the glass vase while you are working on this step to make sure you are inserting the dowels at the angle and location you prefer. We inserted most while the cone was in the vase, but this particular one wasn’t cooperating.
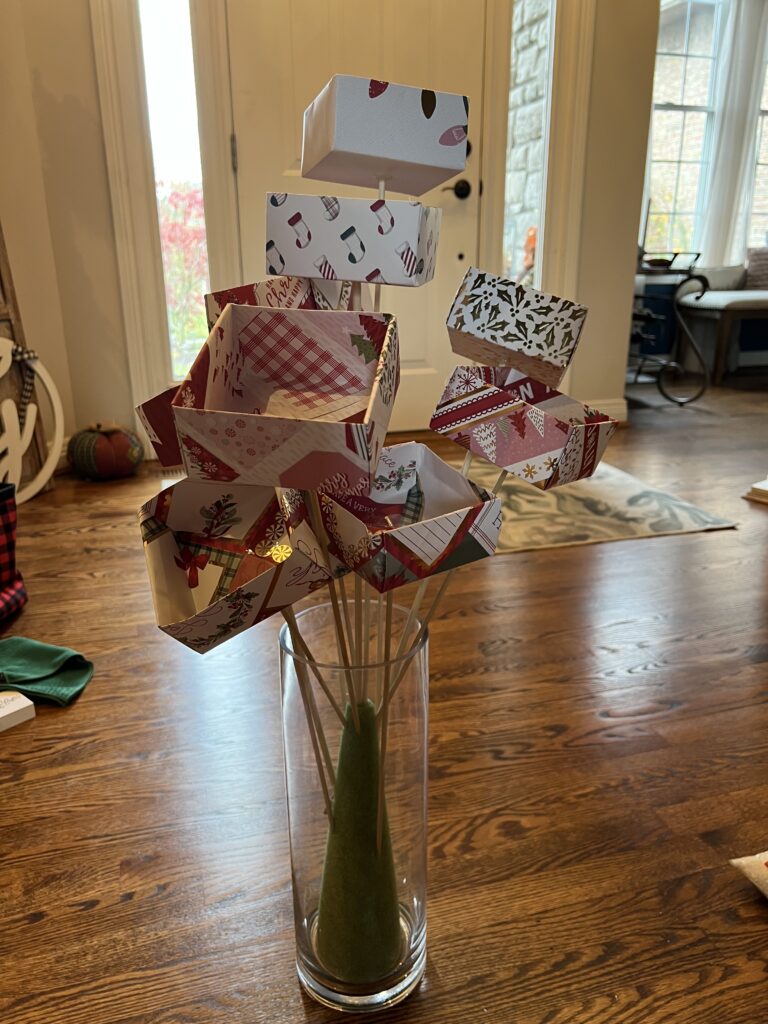
We created a 12-day advent calendar. You would probably need a larger vase for more days.
Add Twinkle Lights
After all the dowels have been inserted it’s time to add some twinkle lights.
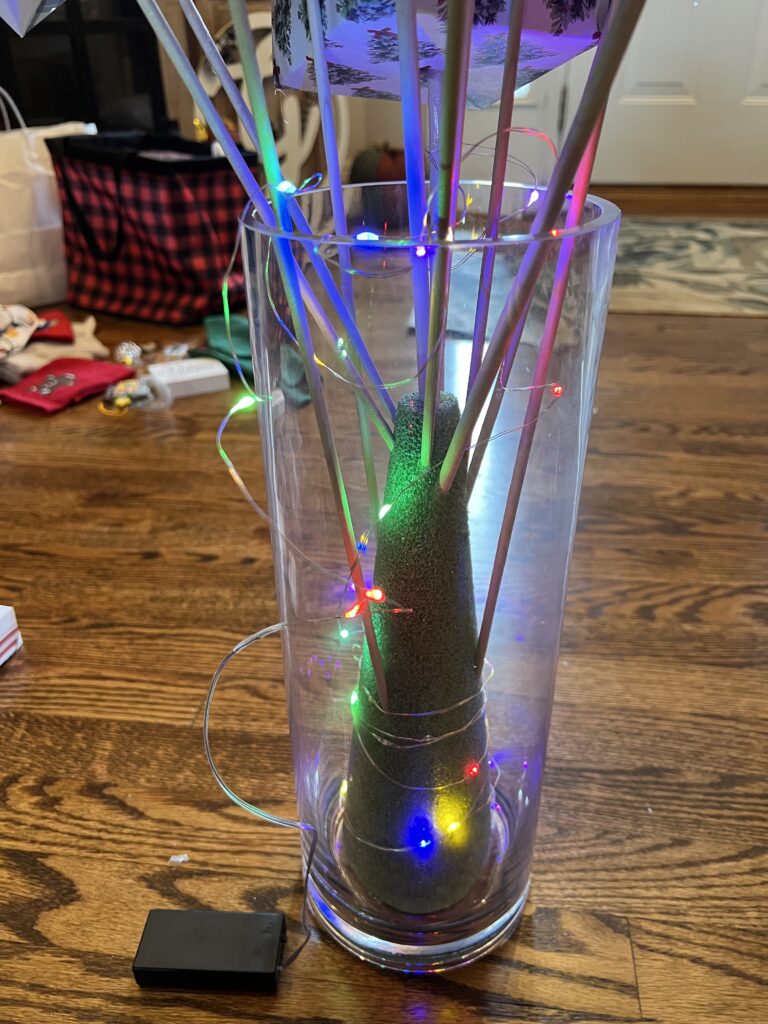
Spread the twinkle lights out as best you can inside the vase. I used an extra dowel rod to move the to the position I wanted.
Add Snow
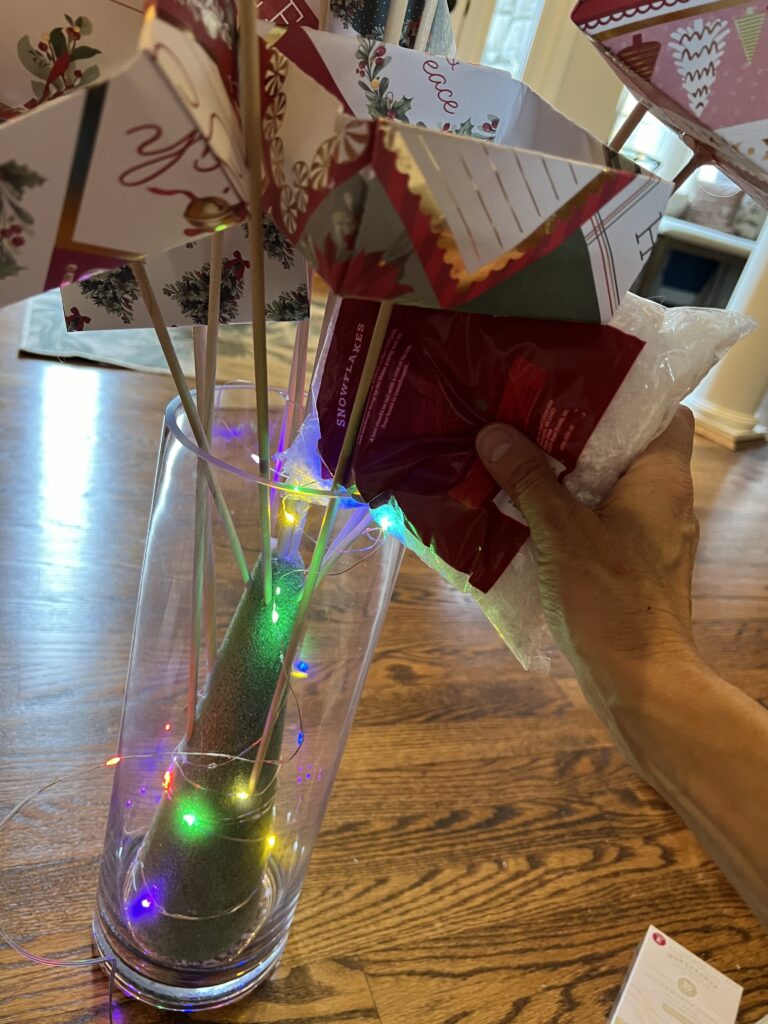
It took us 2 1/2 bags of snow to completely fill our vase.
Make Numbers for the Boxes
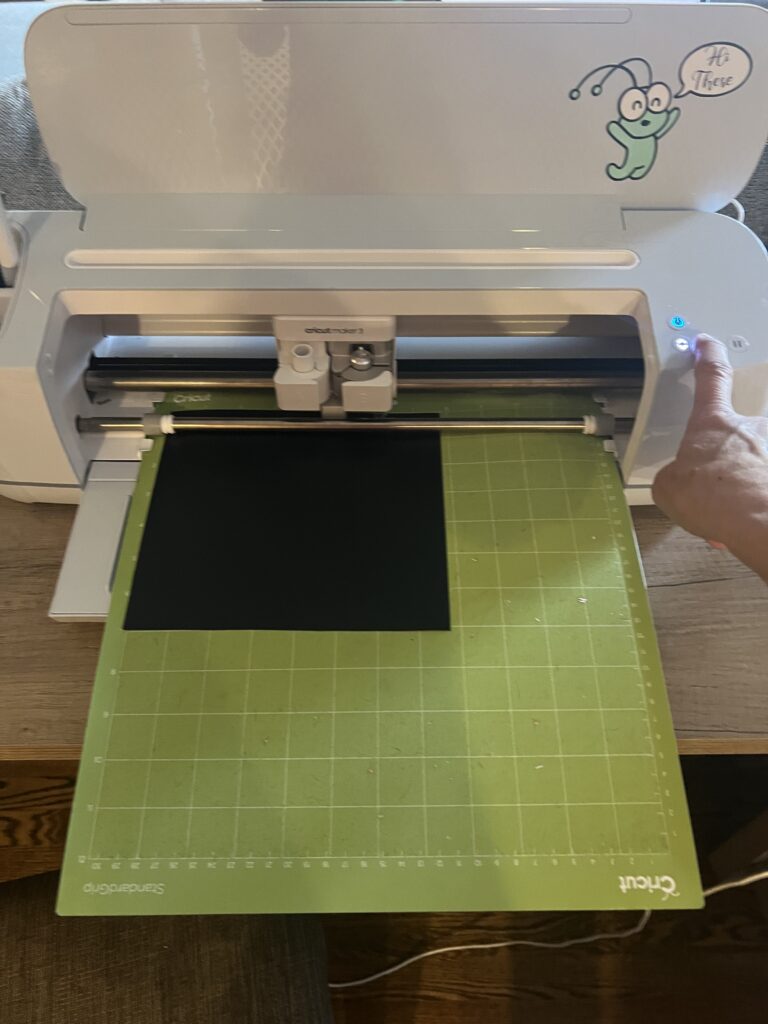
I used my Cricut to create numbers for the boxes, but you could also use gift tags, or write directly on the boxes. I used the font Holiday Present from Creative Fabrica.
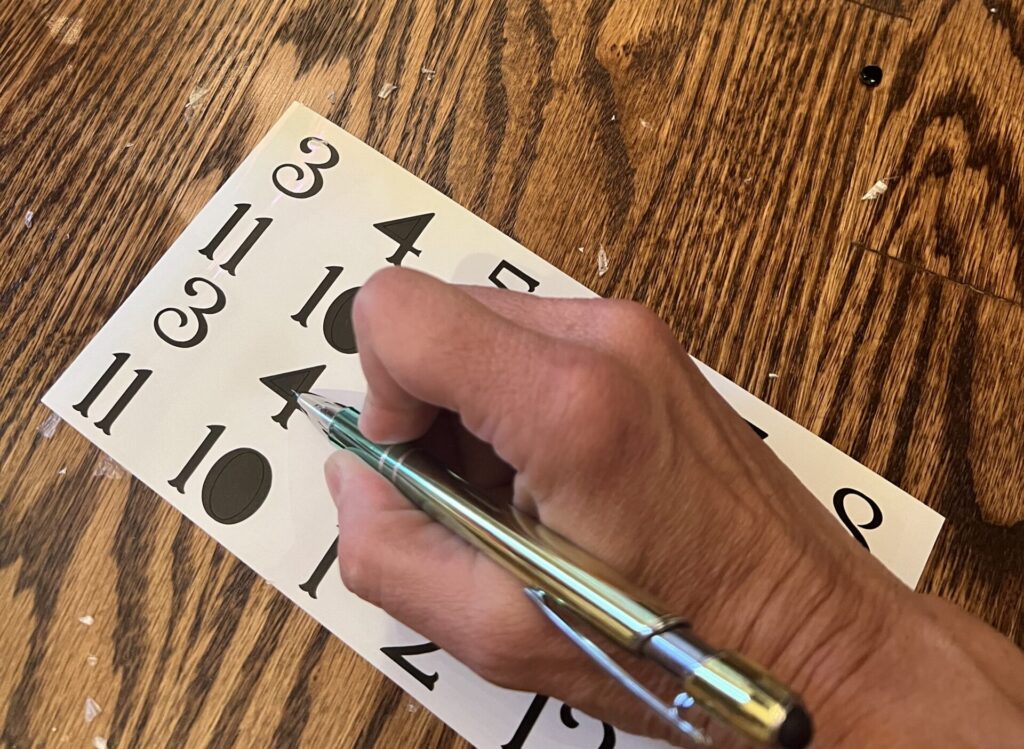
I used my Pin Pen to weed the numbers. If you have a Cricut and haven’t yet tried a Pin Pen for weeding, you should add one to your Christmas wish list. I really love mine.
I did not use Transfer Tape to position the numbers on my lids, I just did it by hand since the numbers were easy enough to do that way.
Fill Boxes and Add Lids
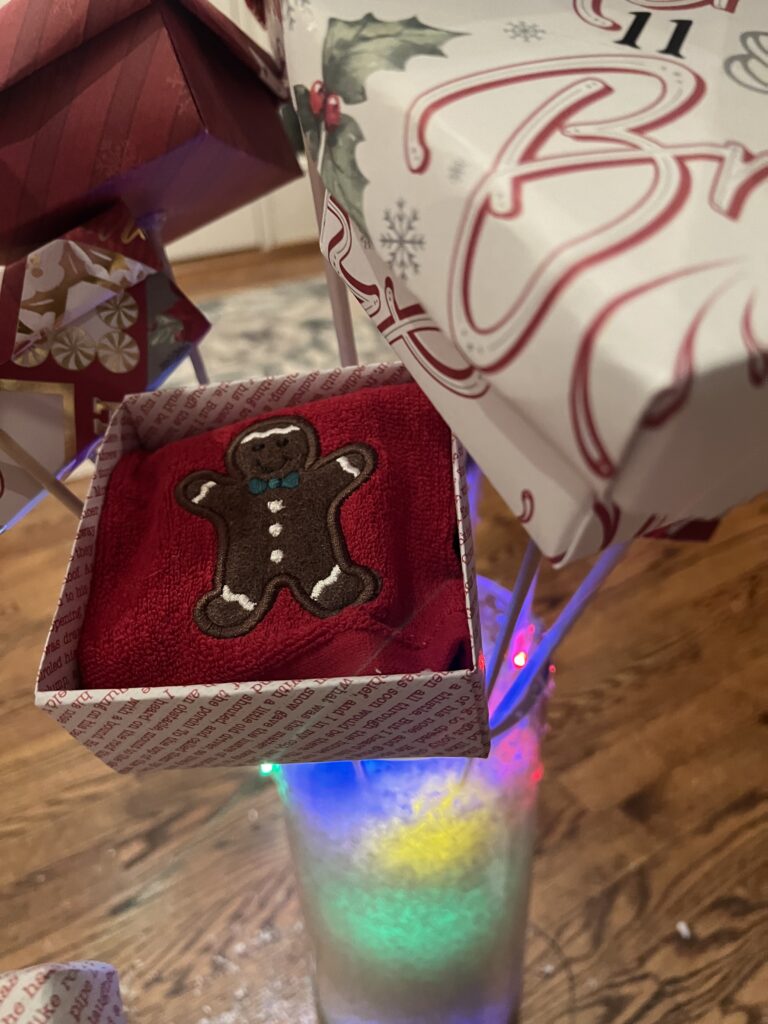
This is the fun part!
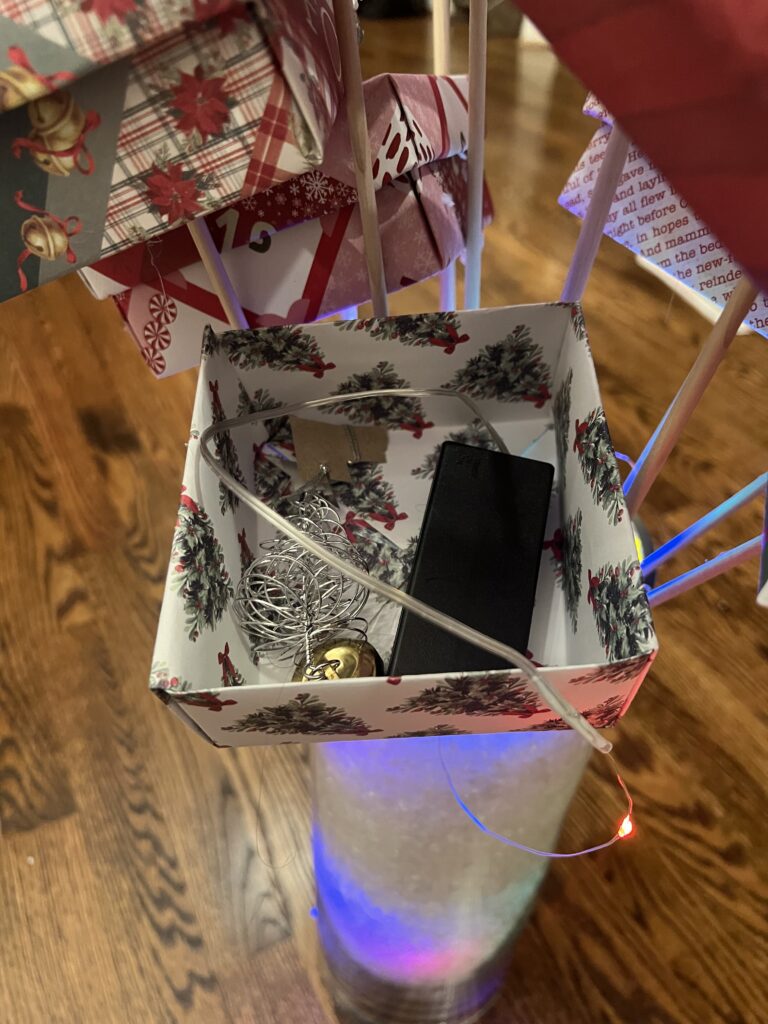
As a final step I placed the battery box in one of the lighter weight gift boxes. I chose one near the base of the vase. This will make it easy to reach in case we need to replace the batteries or change the timer on the lights. It also makes it more tidy as the wire and battery box is completely contained within the display.
I really hope you have enjoyed this idea. And I hope Mom likes it! Let me know what you think in the comments.

