A Warm Christmas Welcome and Two Super Cute DIYs
Hi there, thanks for stopping by. If you are here as part of our blog hop you may have come over from Piper’s home. I’m sure you enjoyed your visit with her and thanks for following along. I know it’s cold out there, but before we come in let’s take a quick look around my front porch. It’s actually one of my favorite spots to decorate, and this season I have added a couple of fun and easy DIY’s that I think you might want to try for yourself.
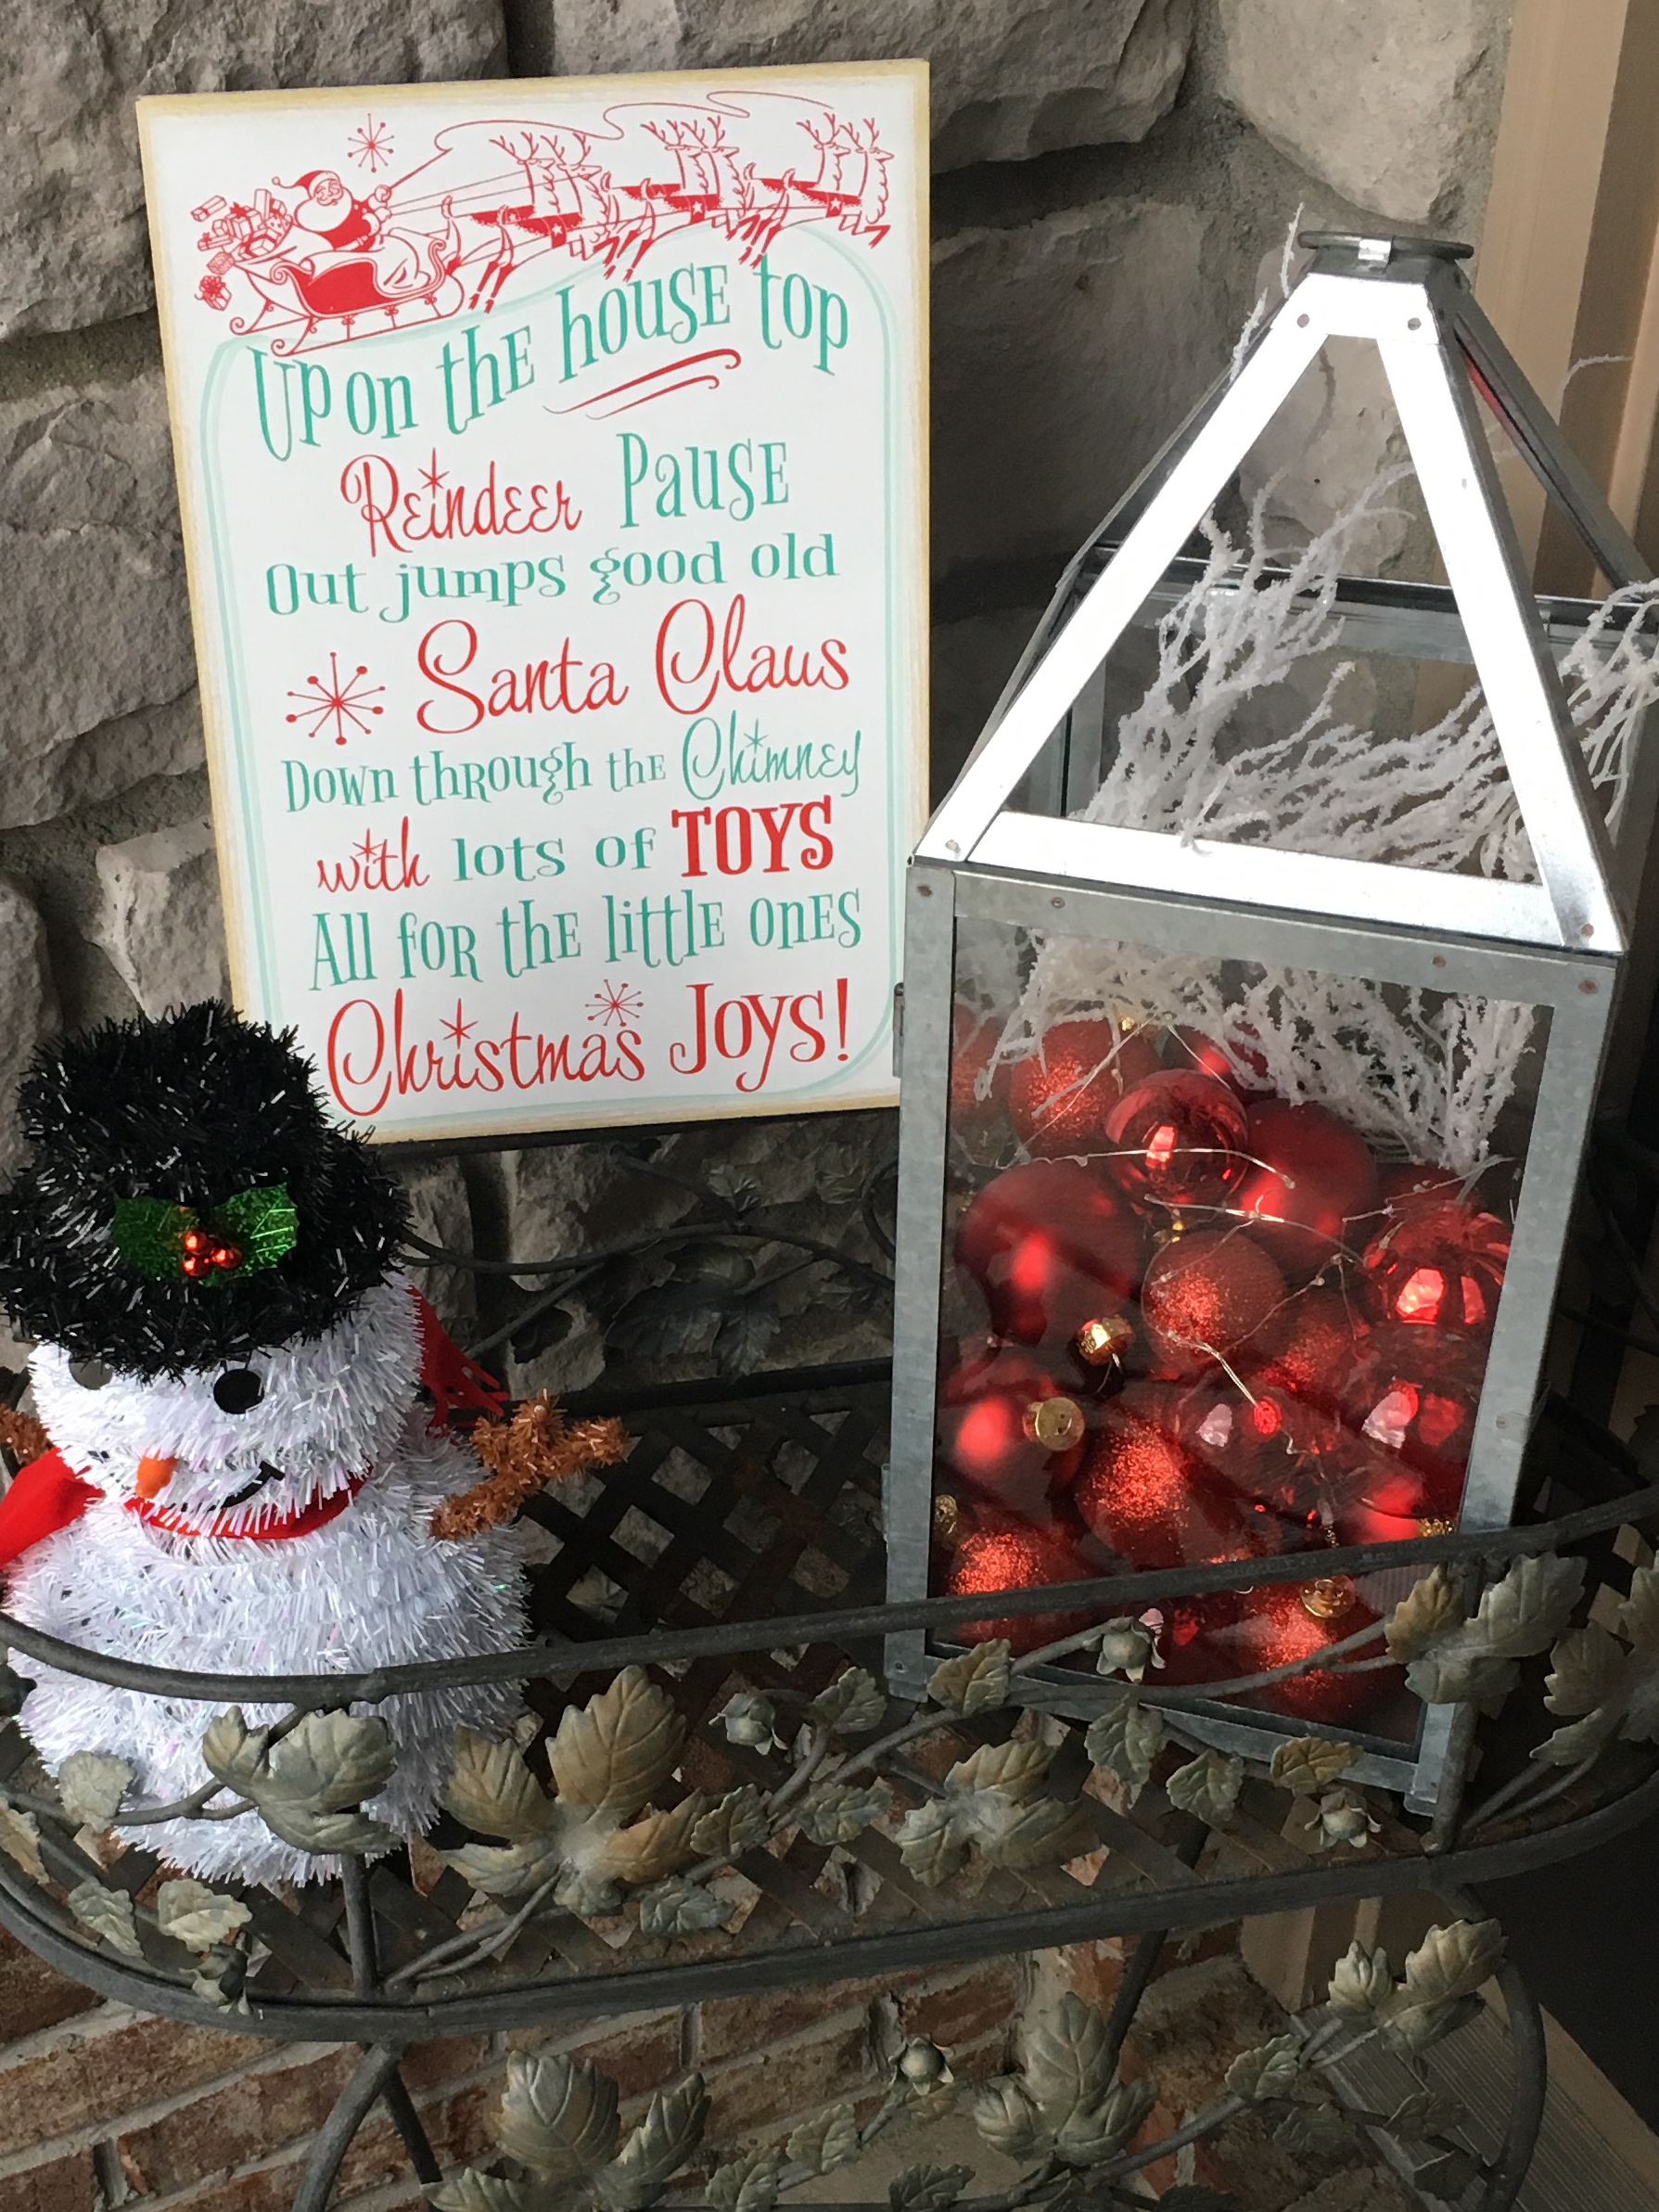
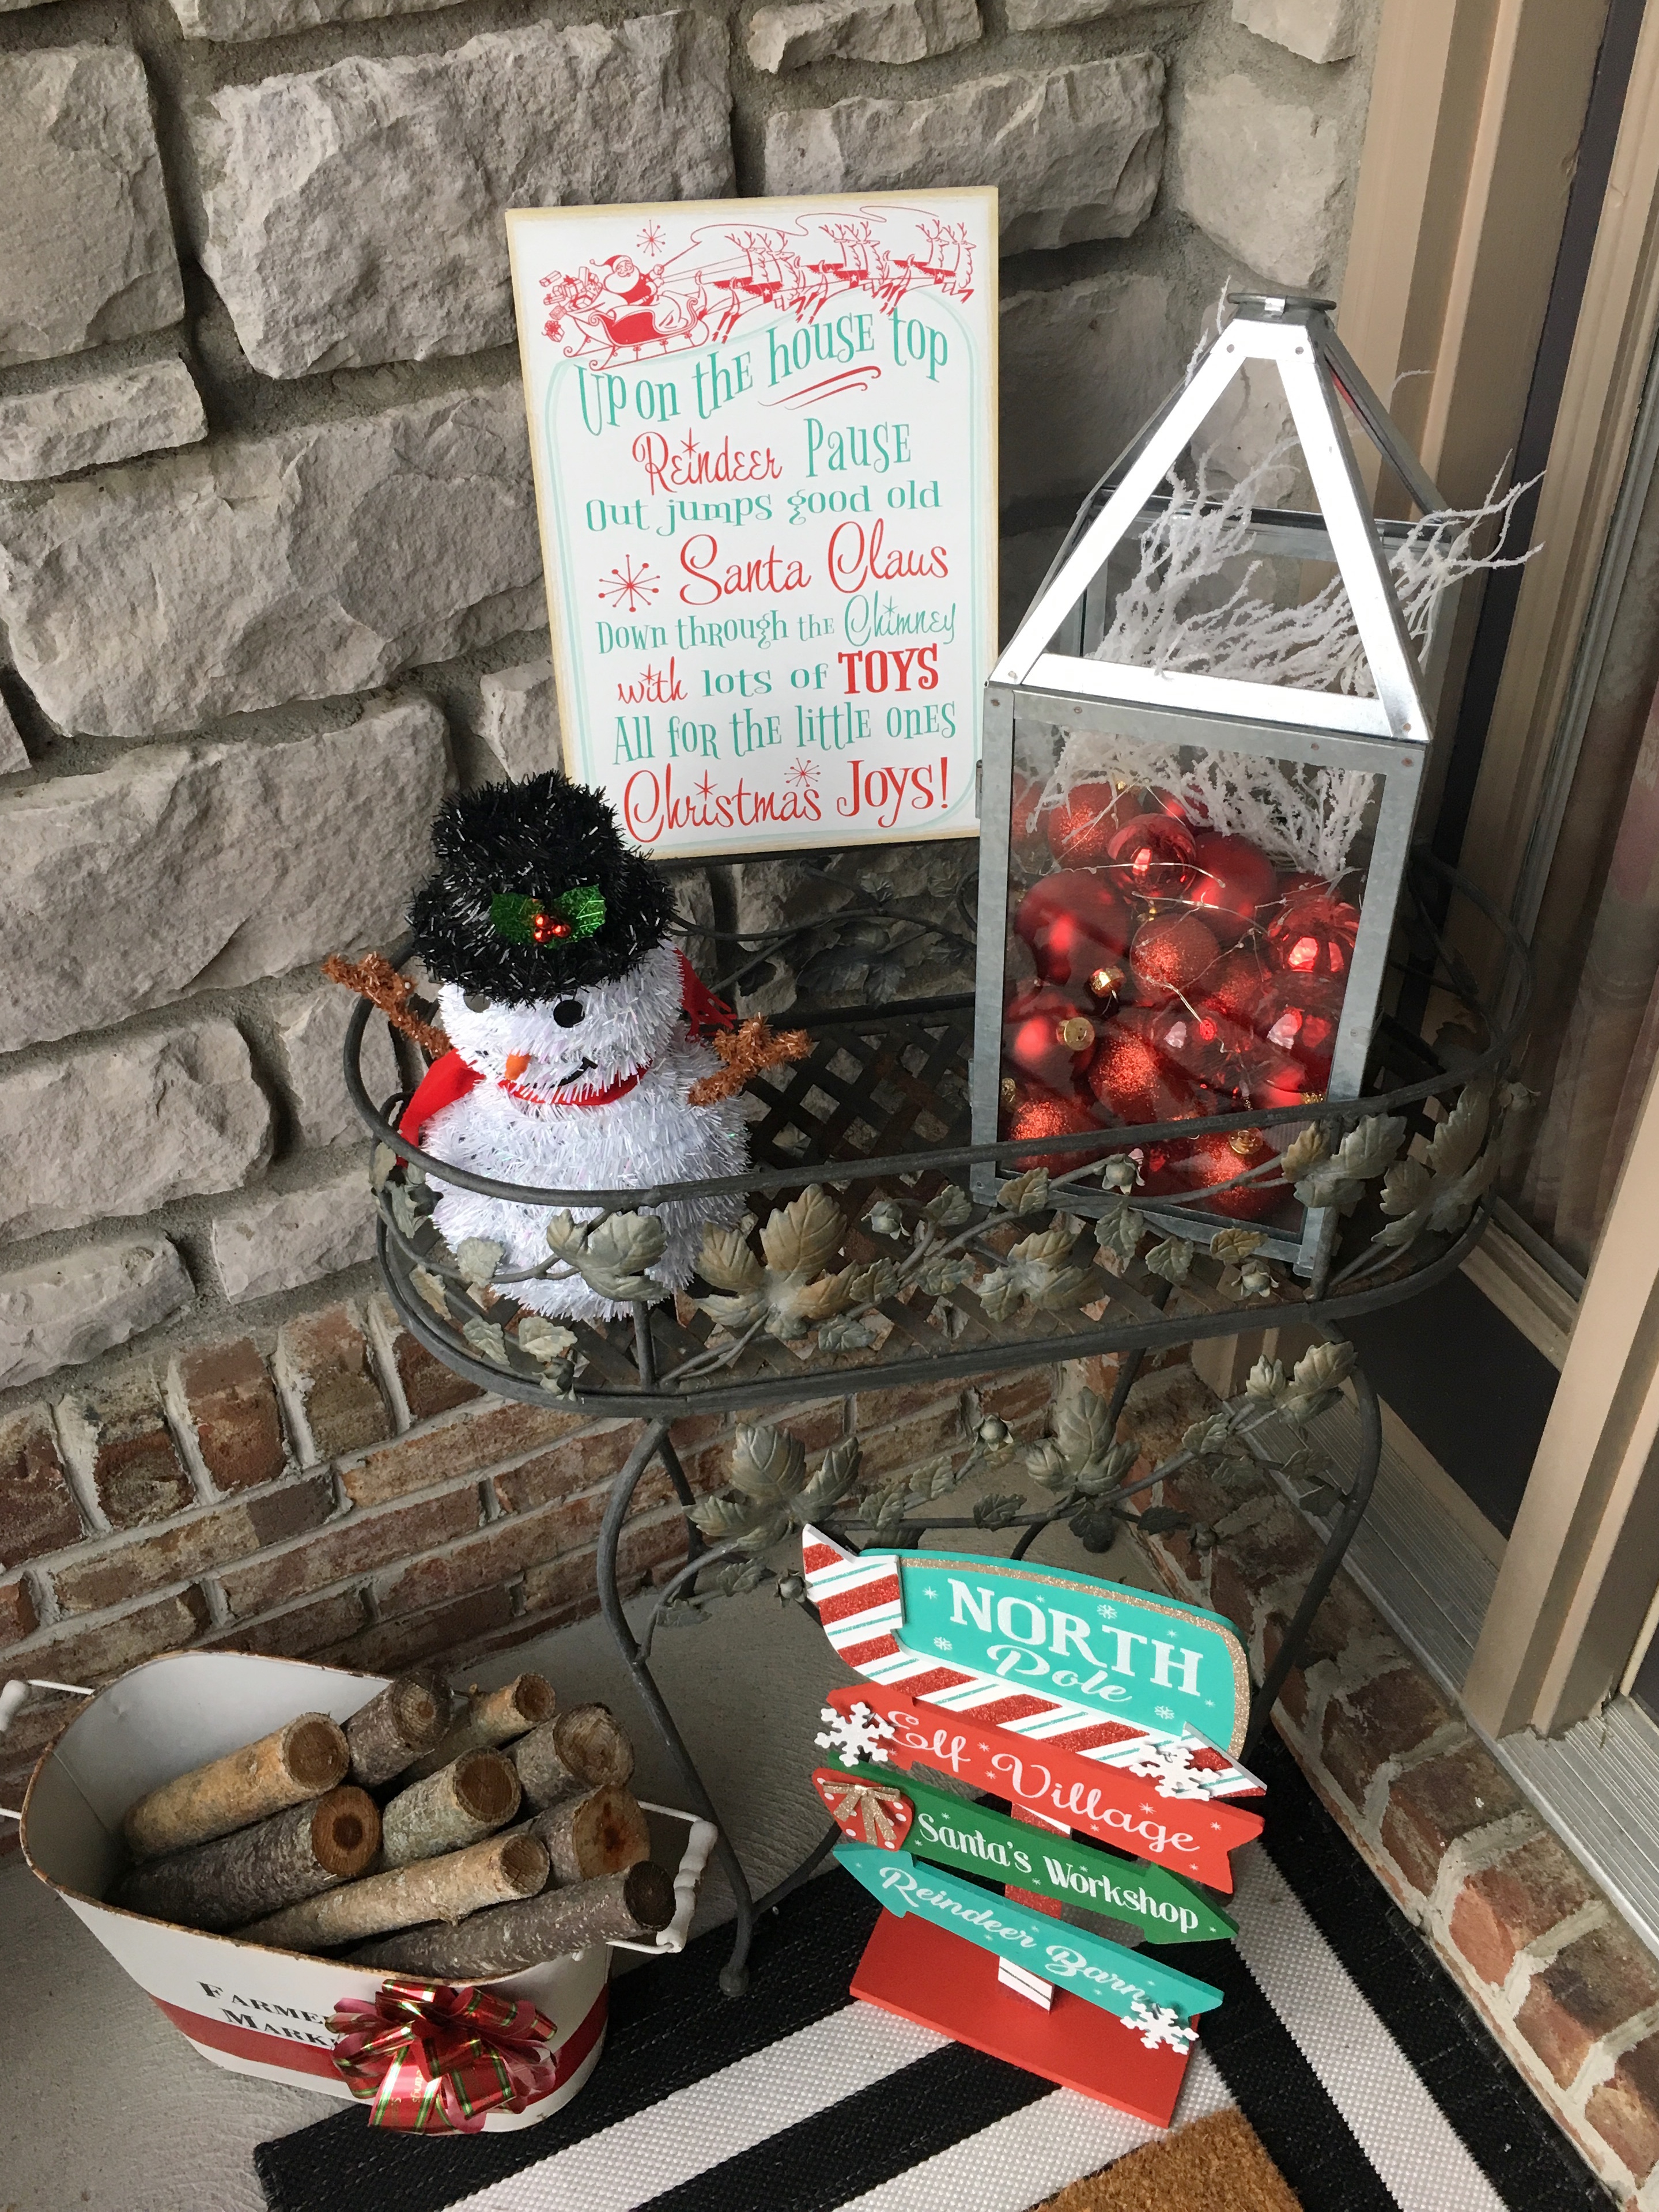
First, check out the ornament filled lantern. A lantern is one of the most versatile decor pieces around. You might recognize this lantern from my spring front porch, or my fall front porch, or even last year’s Christmas edition. But for this season, I decided to keep it really simple. First I added a set of all red glass ornaments. This particular set is from Michael’s but many similar ones can be found here. The set I used includes matte, clear, shiny, and sparkly variations.
Next I added one strand of fairy lights. I used the ones with a daily timer, 4 hours on 20 hours off. I love the lights on these timers because you set them once and then forget about them – well at least util the batteries run out. While mine are 4 hours on and 20 hours off, you can find some here that are 6 hours on and 18 hours off. I actually would prefer that arrangement and when these need to be replaced I will look for ones with a longer “on” time.
Finally, to add some color, height, and movement I added two flocked white picks, again I found these at Michaels. To complete this vignette on this section of the porch I added this cute tinsel snowman and this adorable sign.
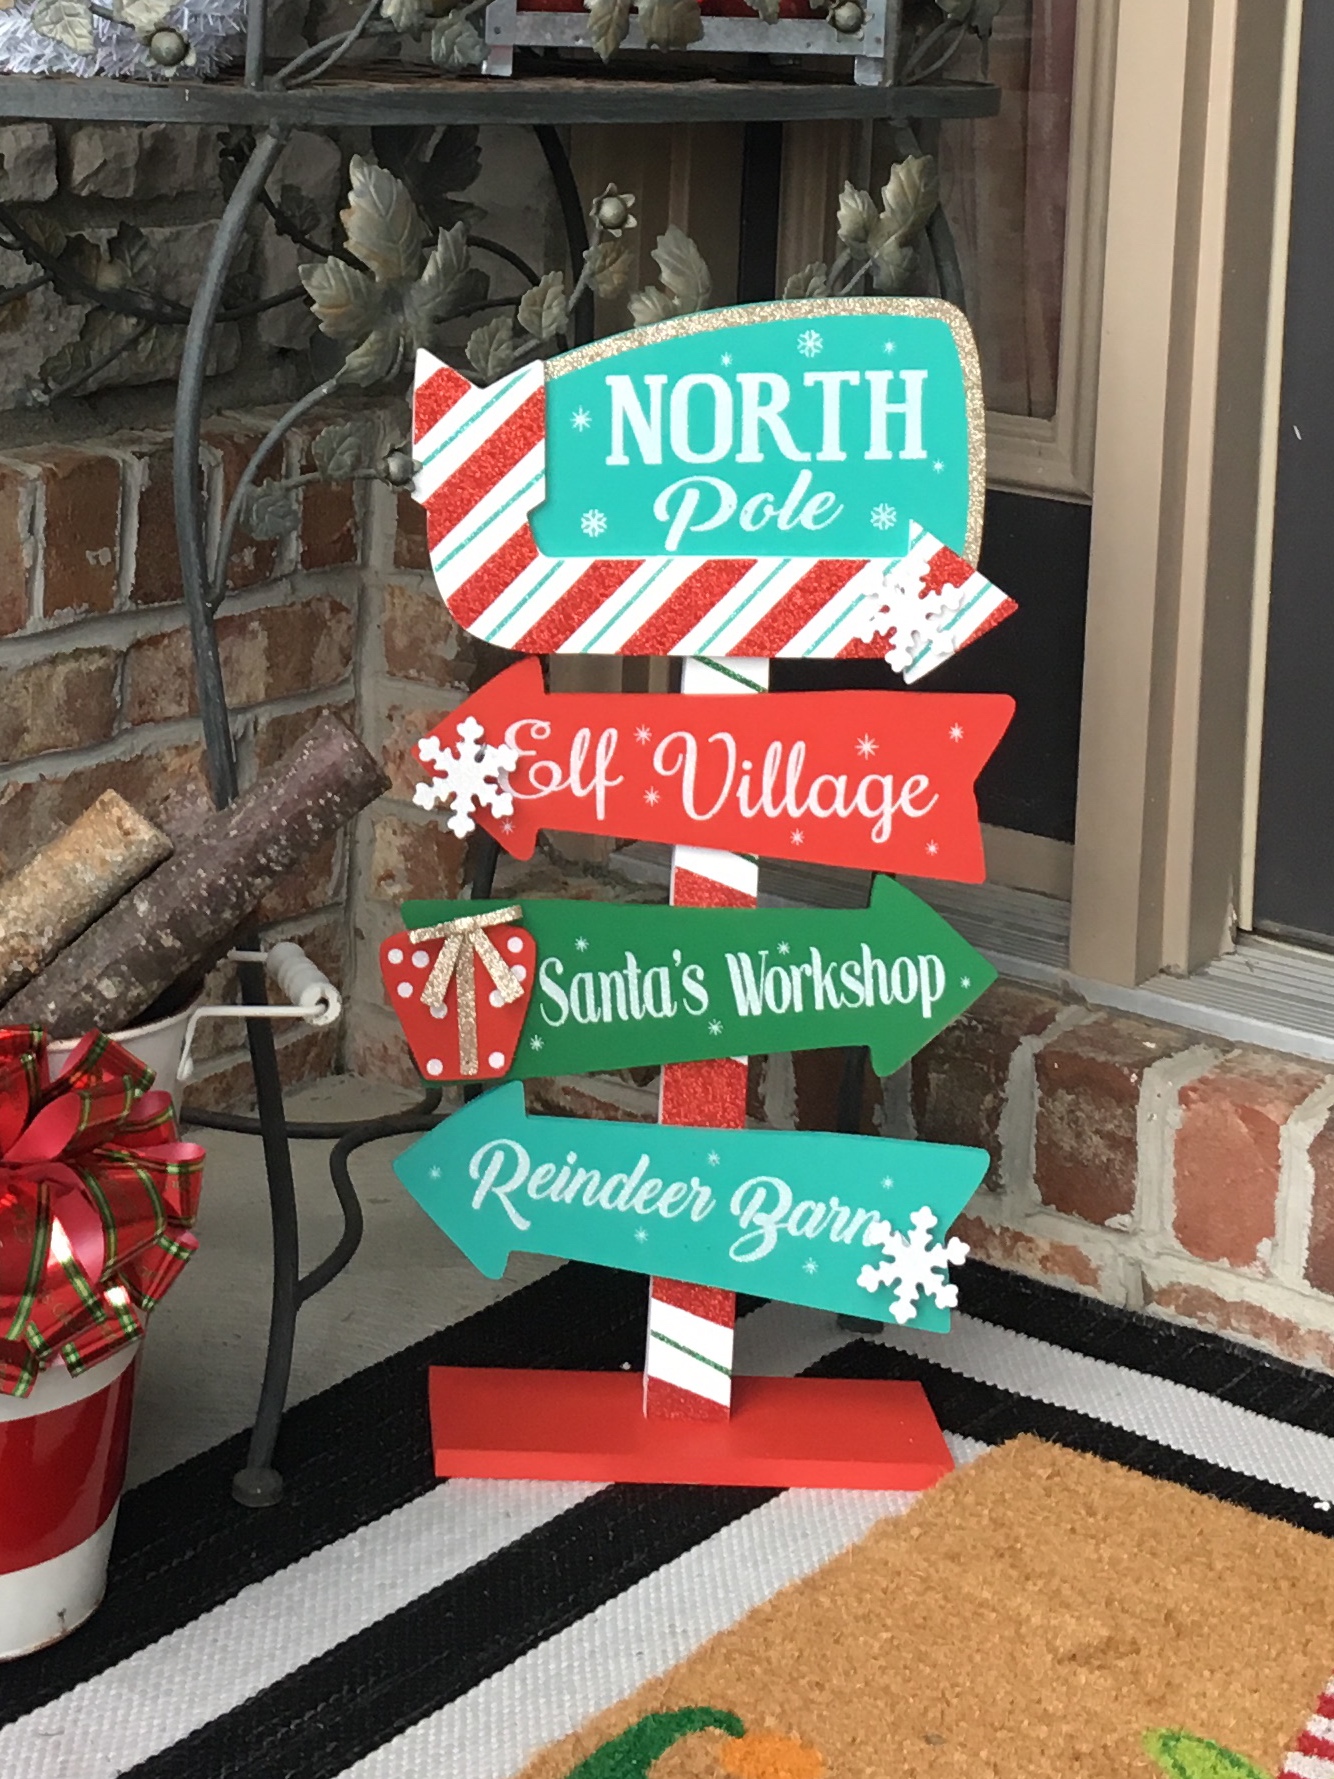
I had intended to place the directional sign on the opposite side of the porch, but my daughter had other ideas and she was right. It looks perfect here and really helps balance out this side of the porch. We found this sign at Michael’s during the pre-Christmas 70% off sale.
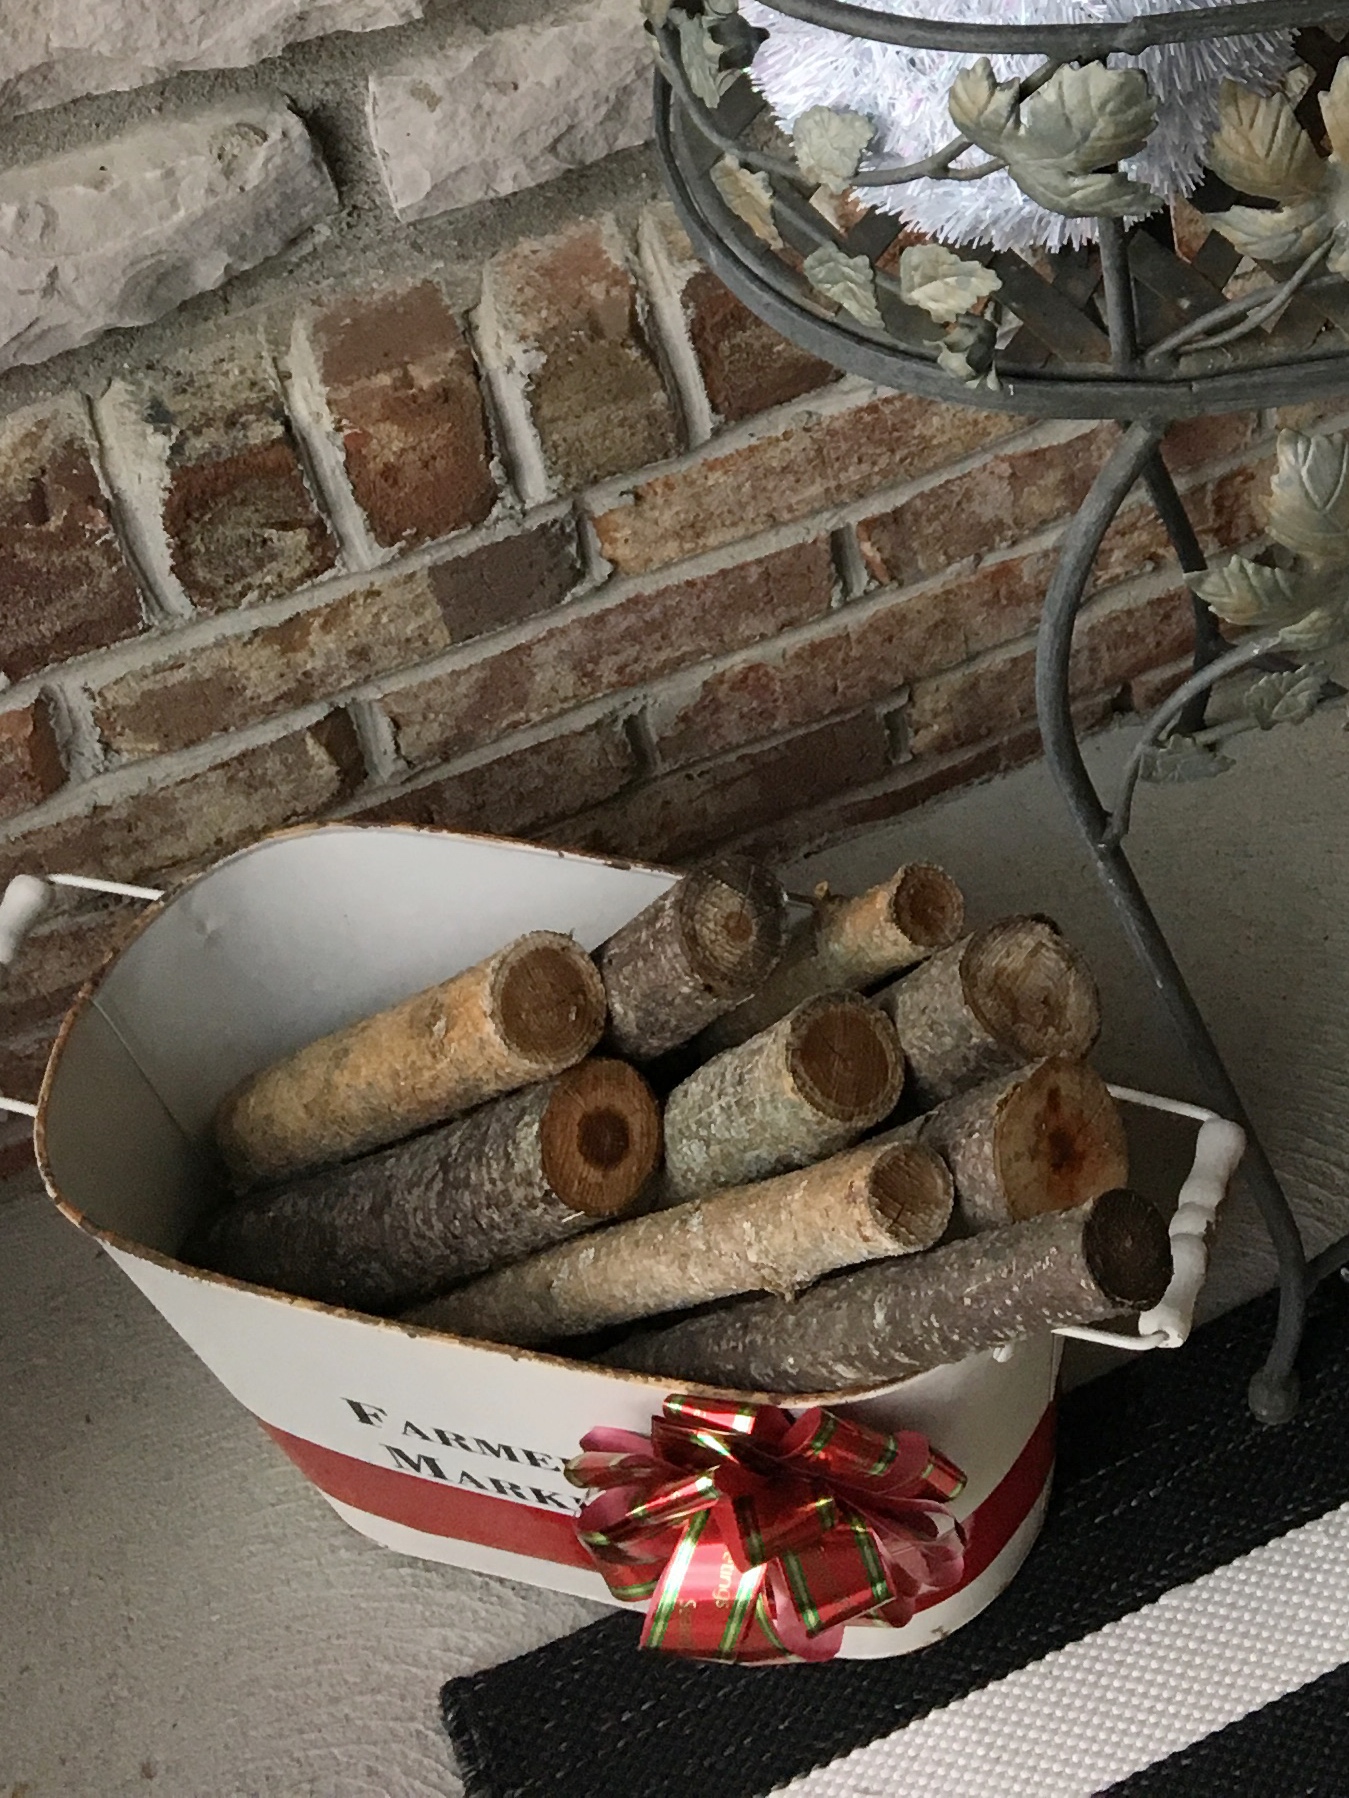
Nothing is better than a bargain, and there’s no better bargain than free, am I right? That’s exactly what I spent on this little bin of firewood. The bin was part of my spring porch, I simply added a Christmas ribbon, a bow, and some small logs from a tree we had to trim after a recent ice storm.
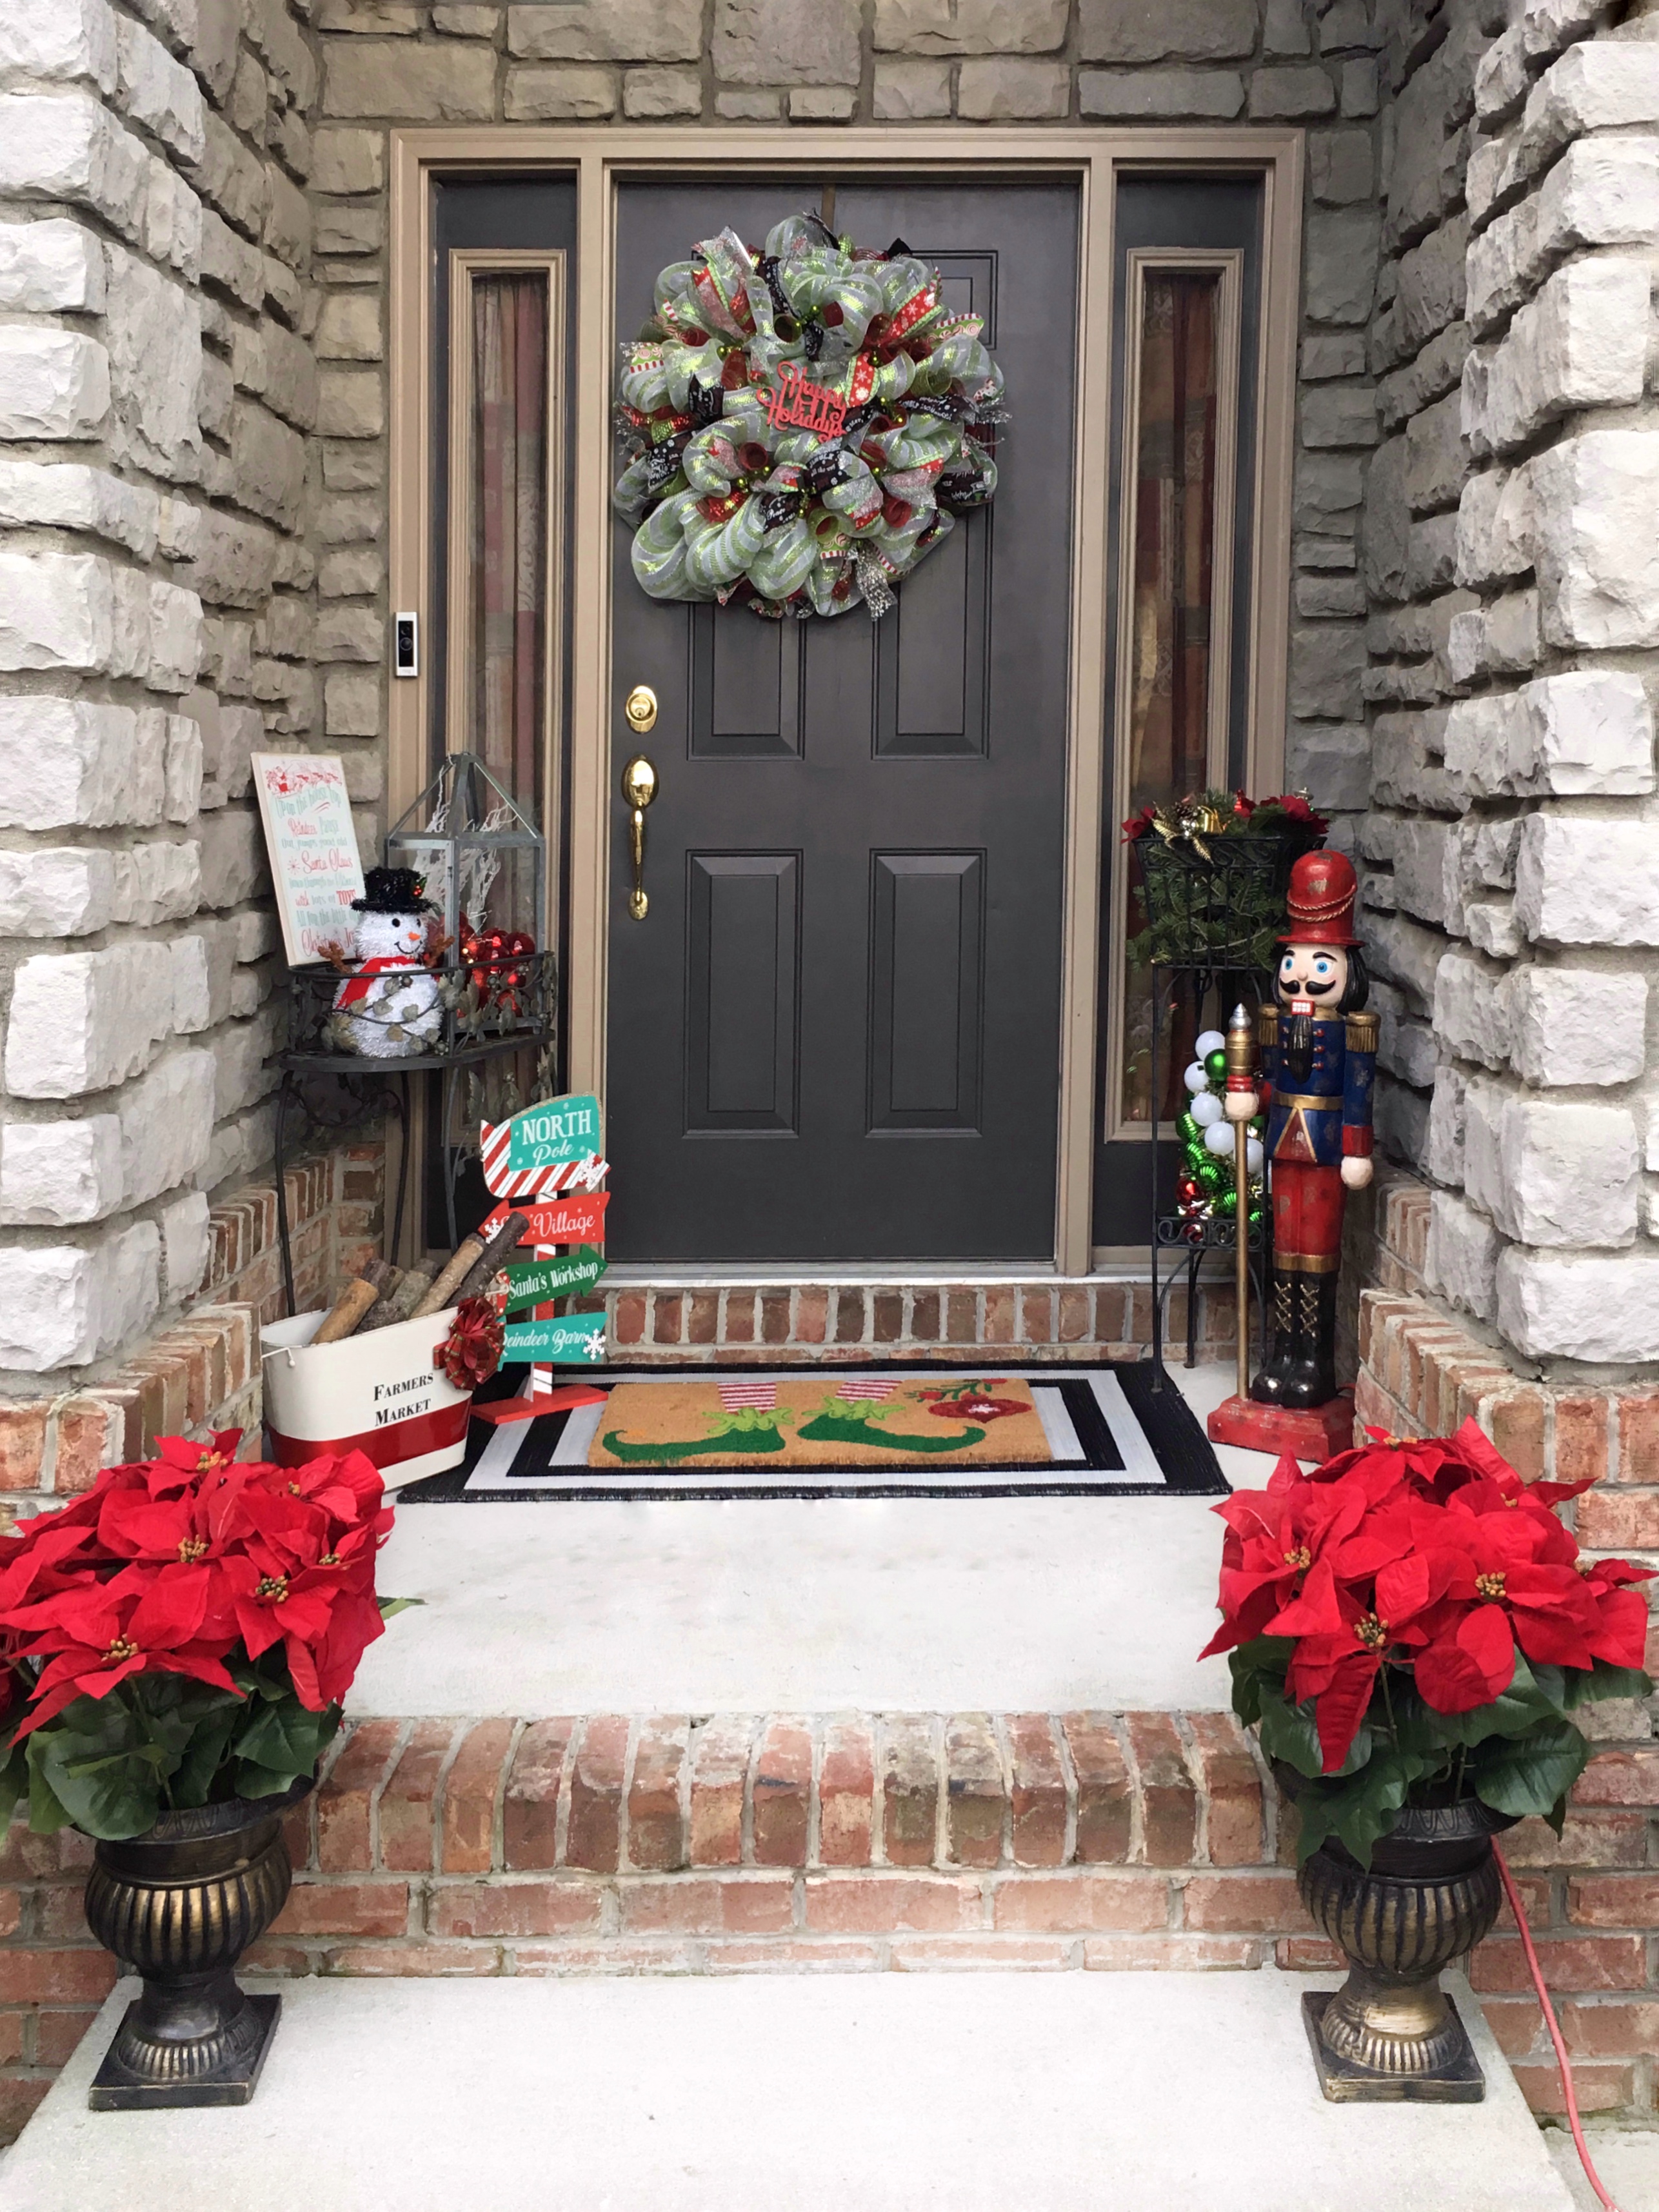
Not everything on the porch is symmetrical, but the twin poinsettias in urns do provide some commonality to each side of the porch. This is important when going for an eclectic look as you want things to look like they fit together not as if they are just a bunch of random items thrown out there. Speaking of eclectic there is defiantly a trick to getting a balanced, yet eclectic look. You want to consider things like height, color, and thickness. When going for an eclectic look you do not want things to match perfectly, but you do want there to be balance.
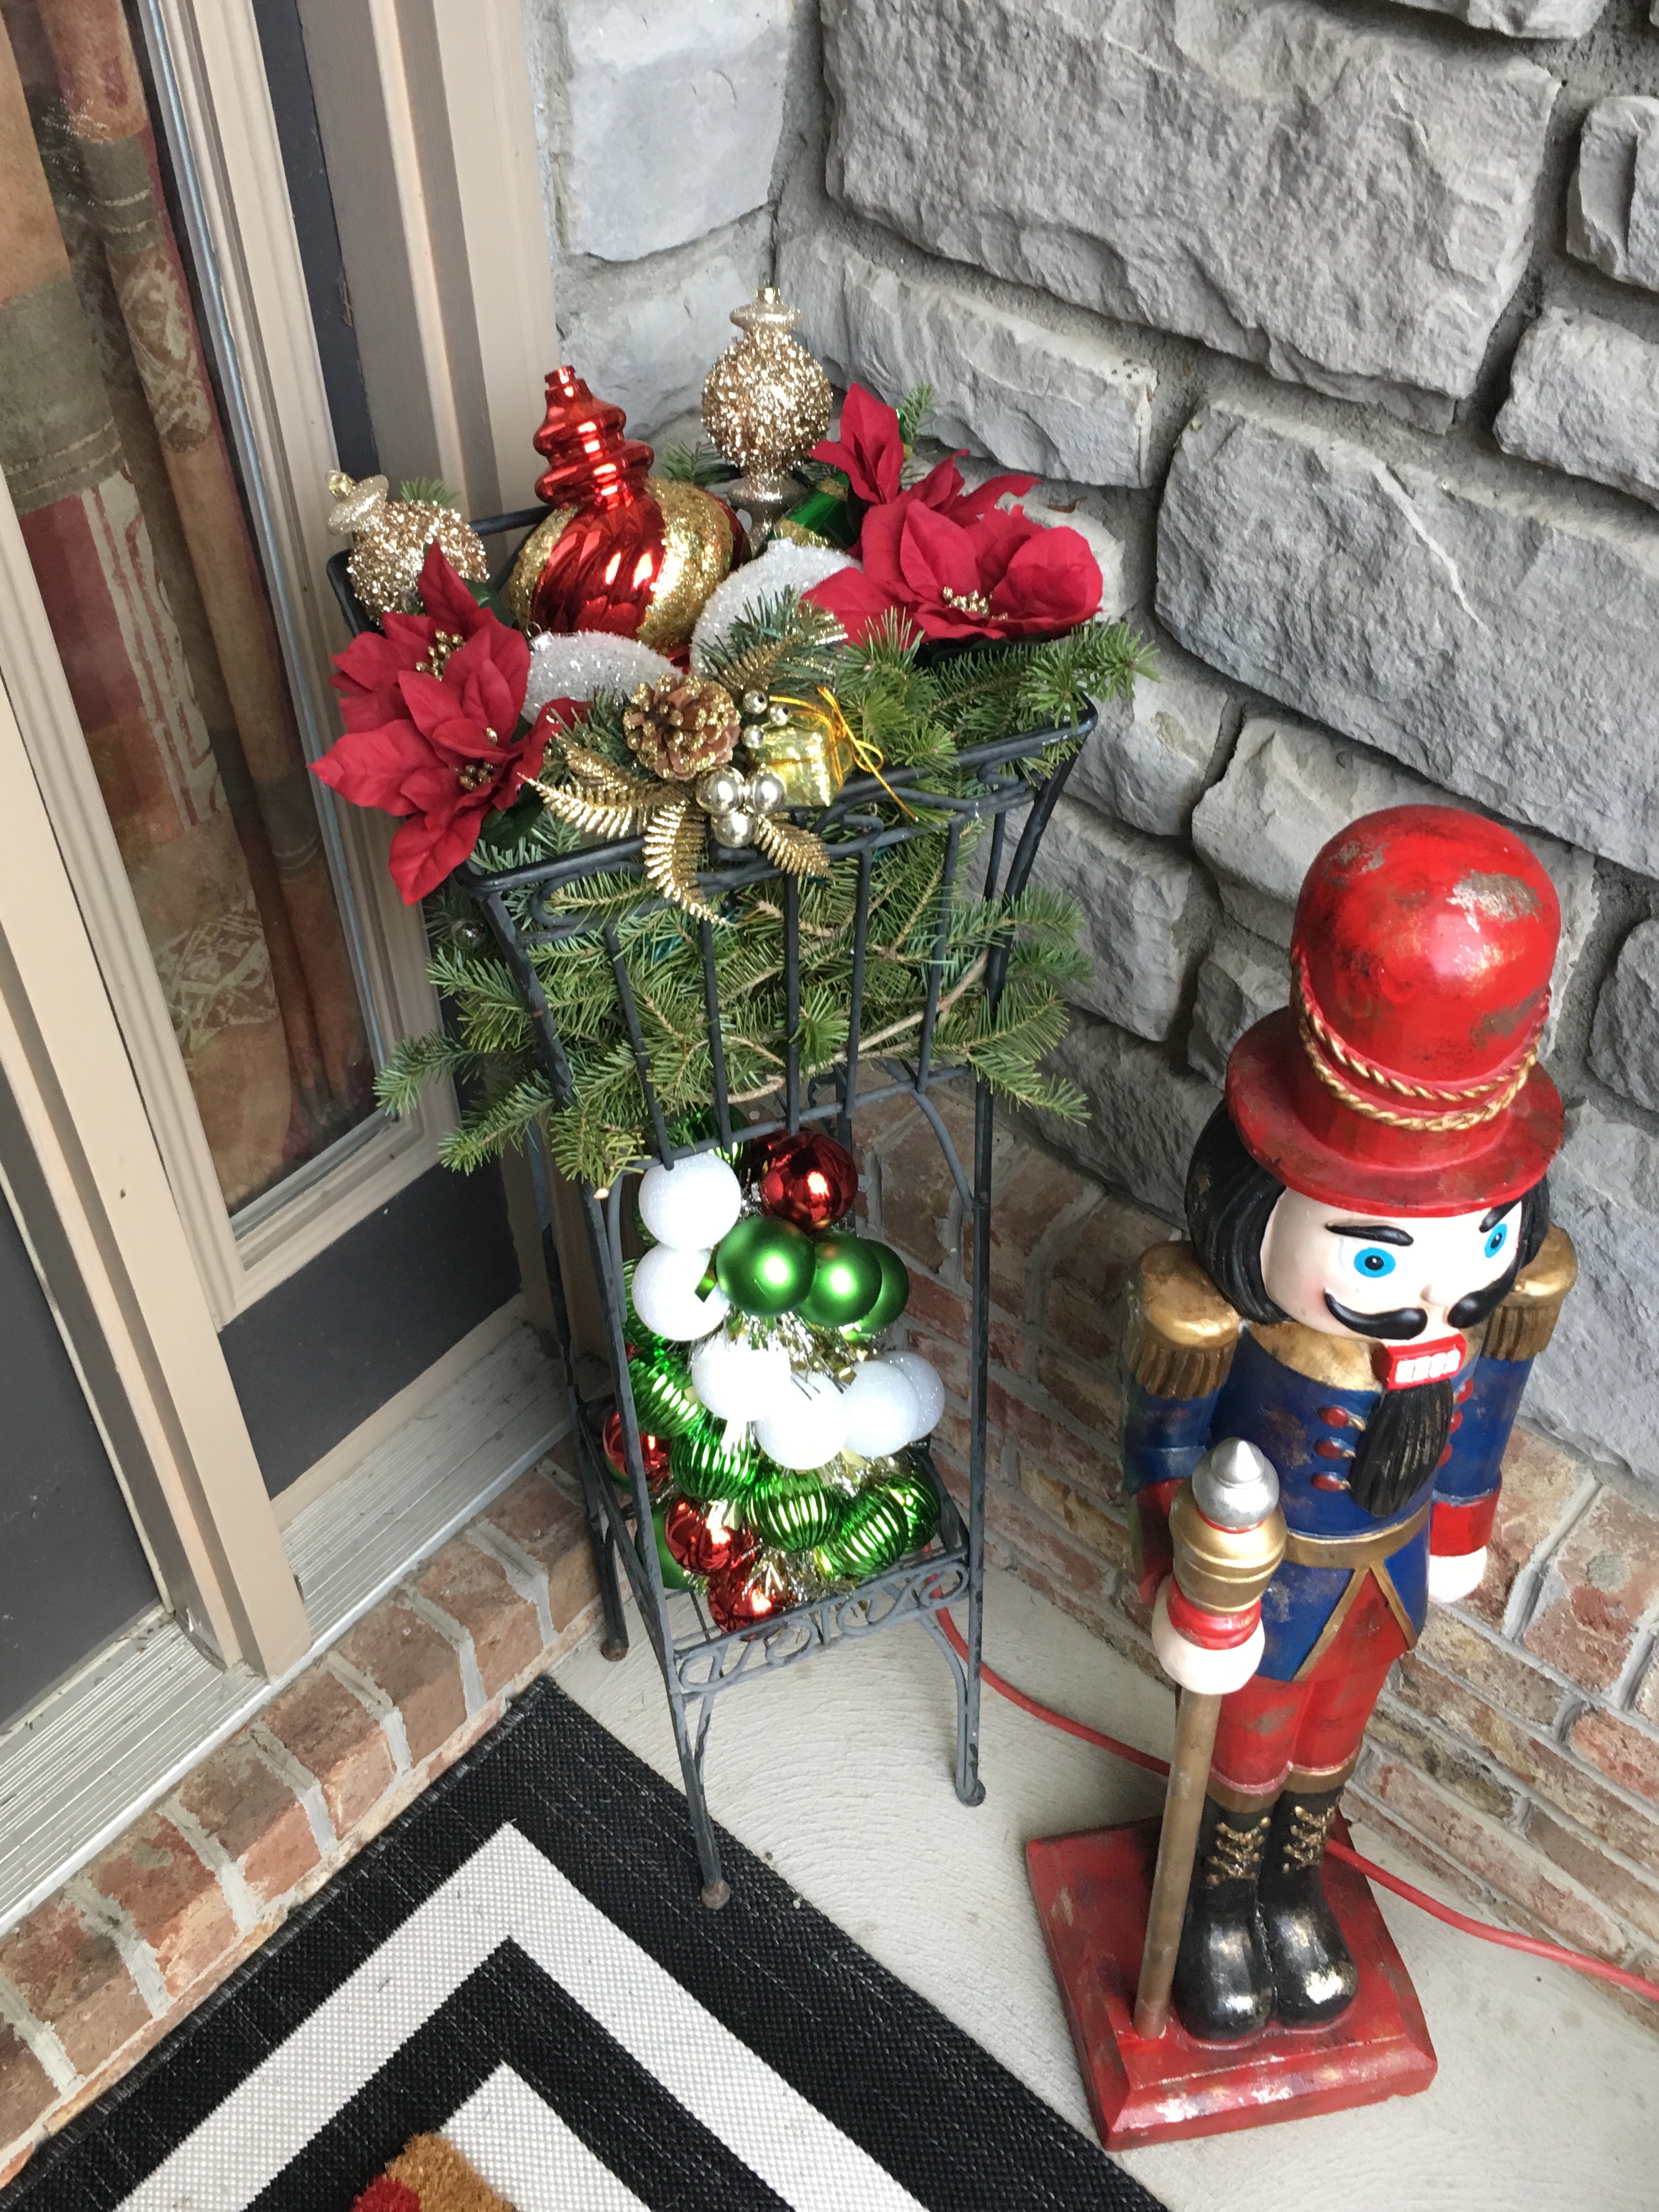
The nutcracker is another great bargain on our front porch. We scored him for 60% off at a recent sale at Michaels. My daughter took one look at him and had to have him. We were lucky as he was the last one in our local store.
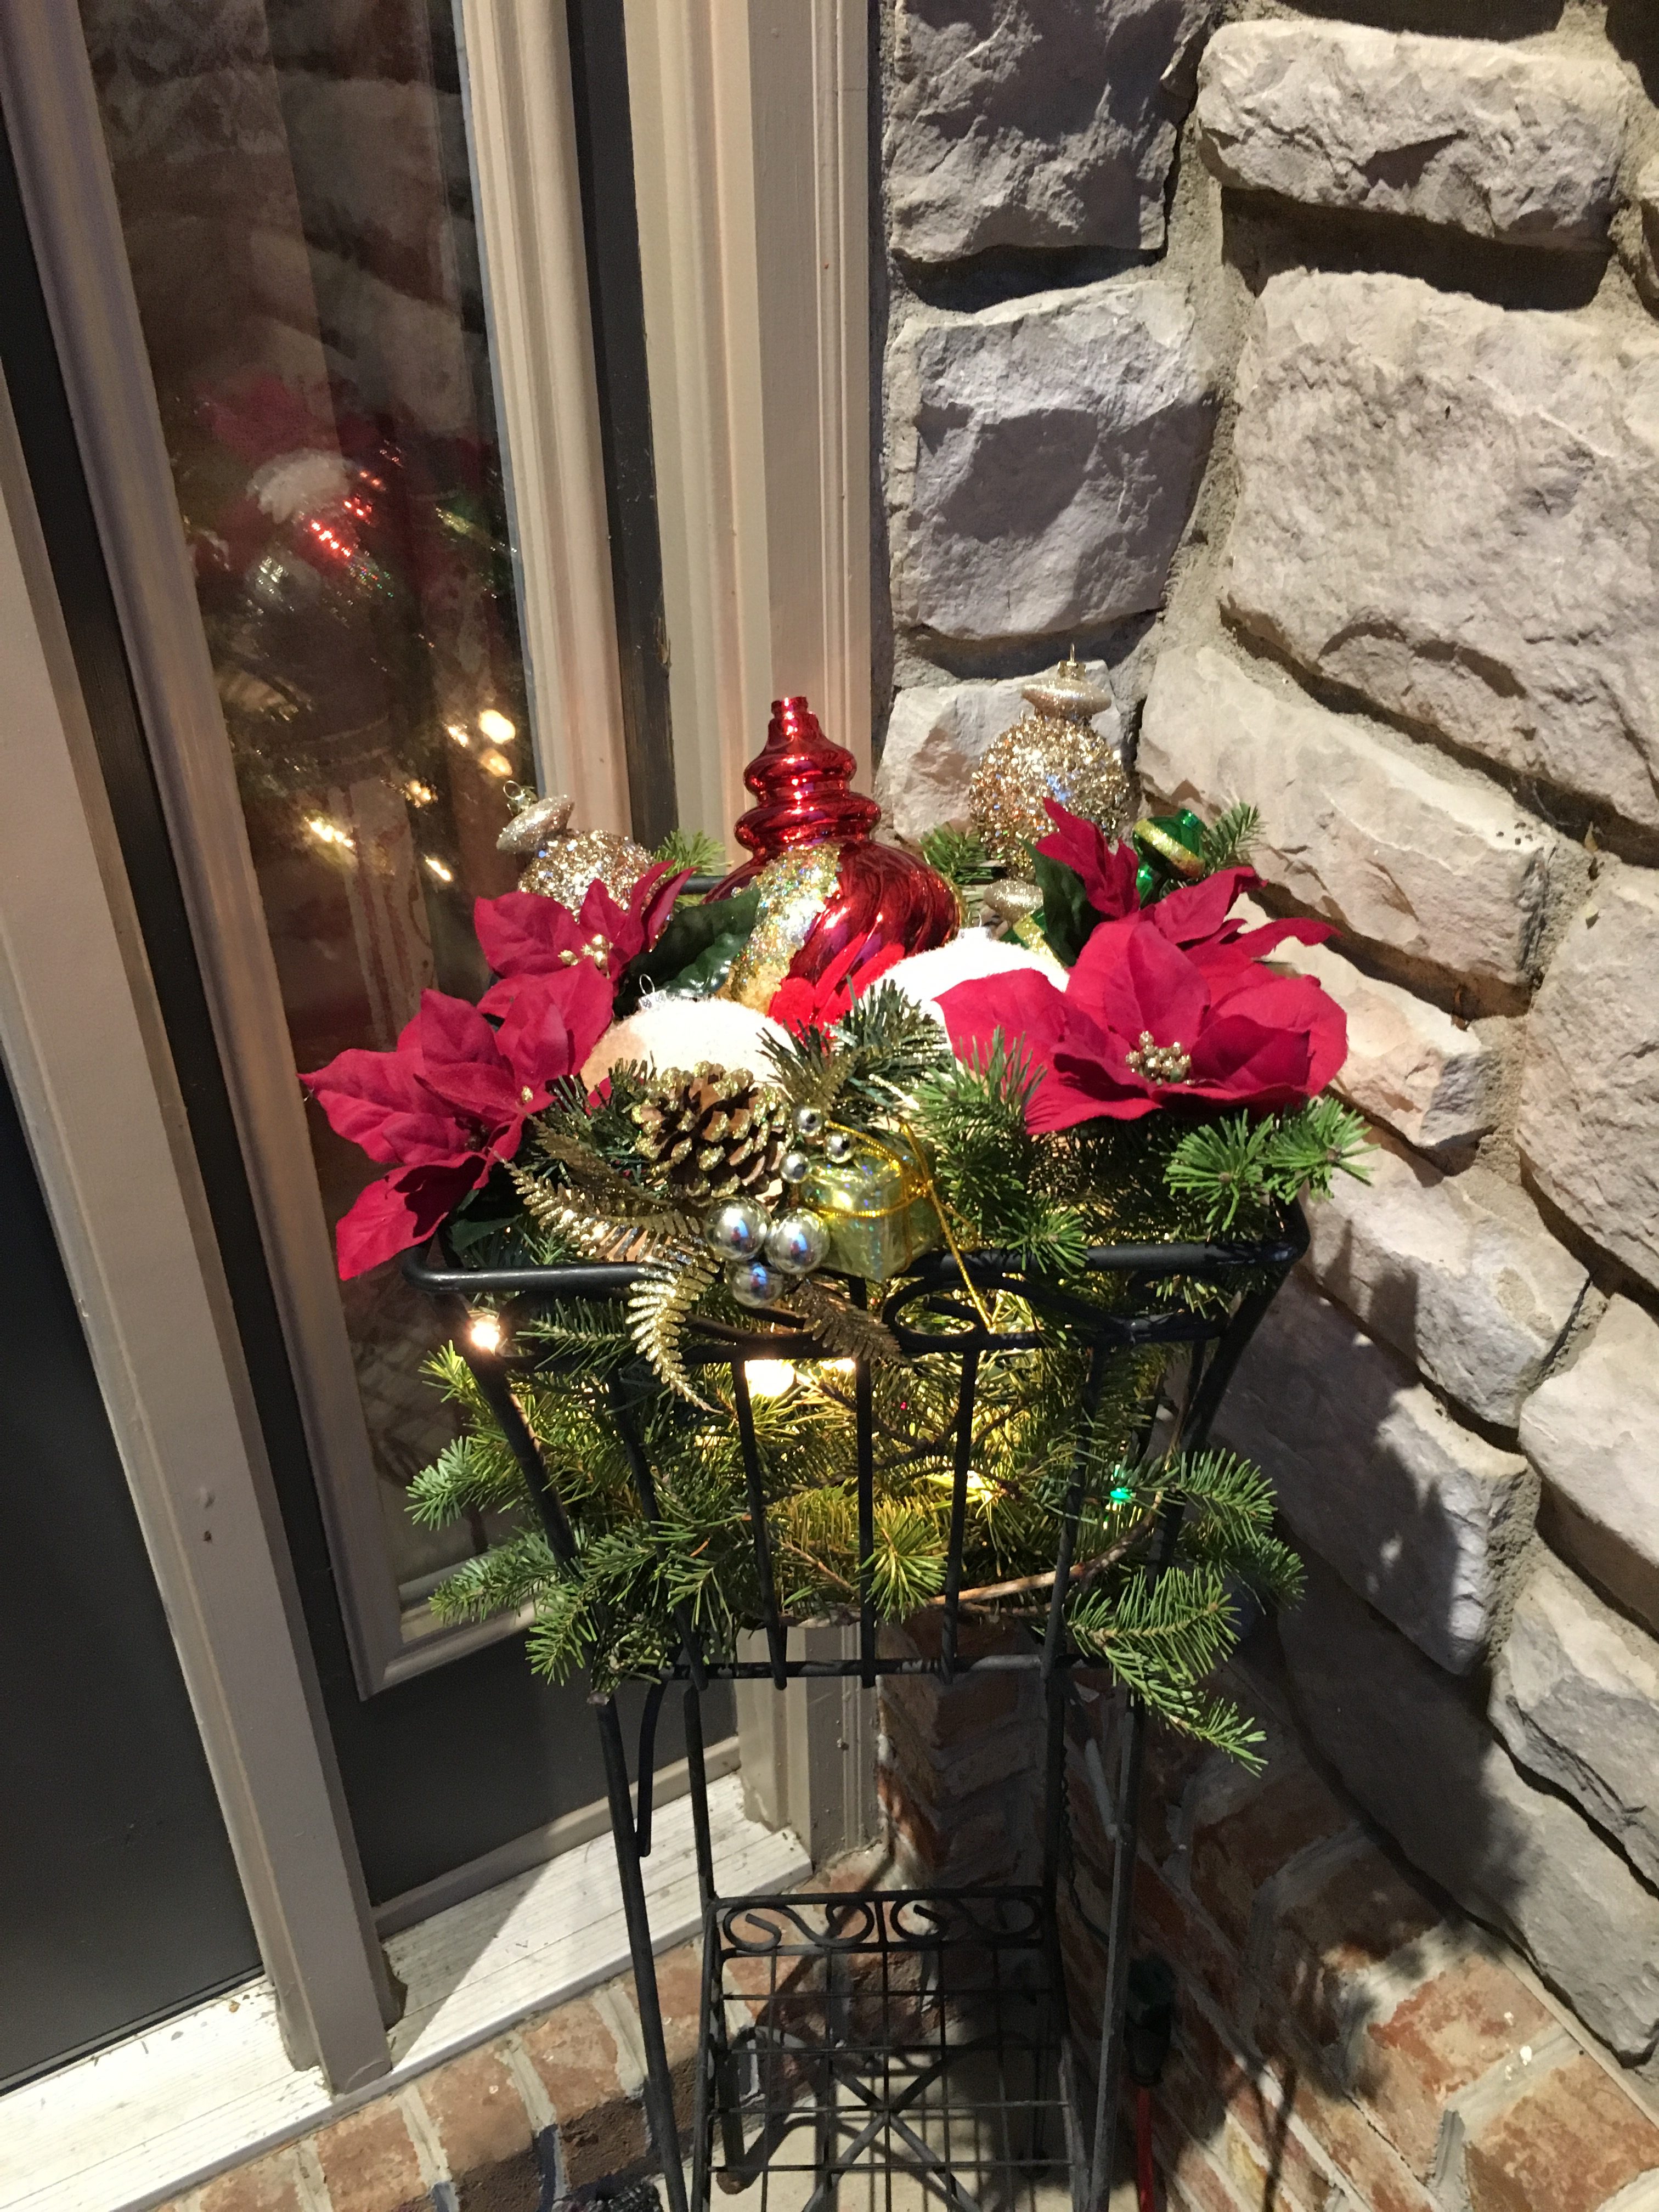
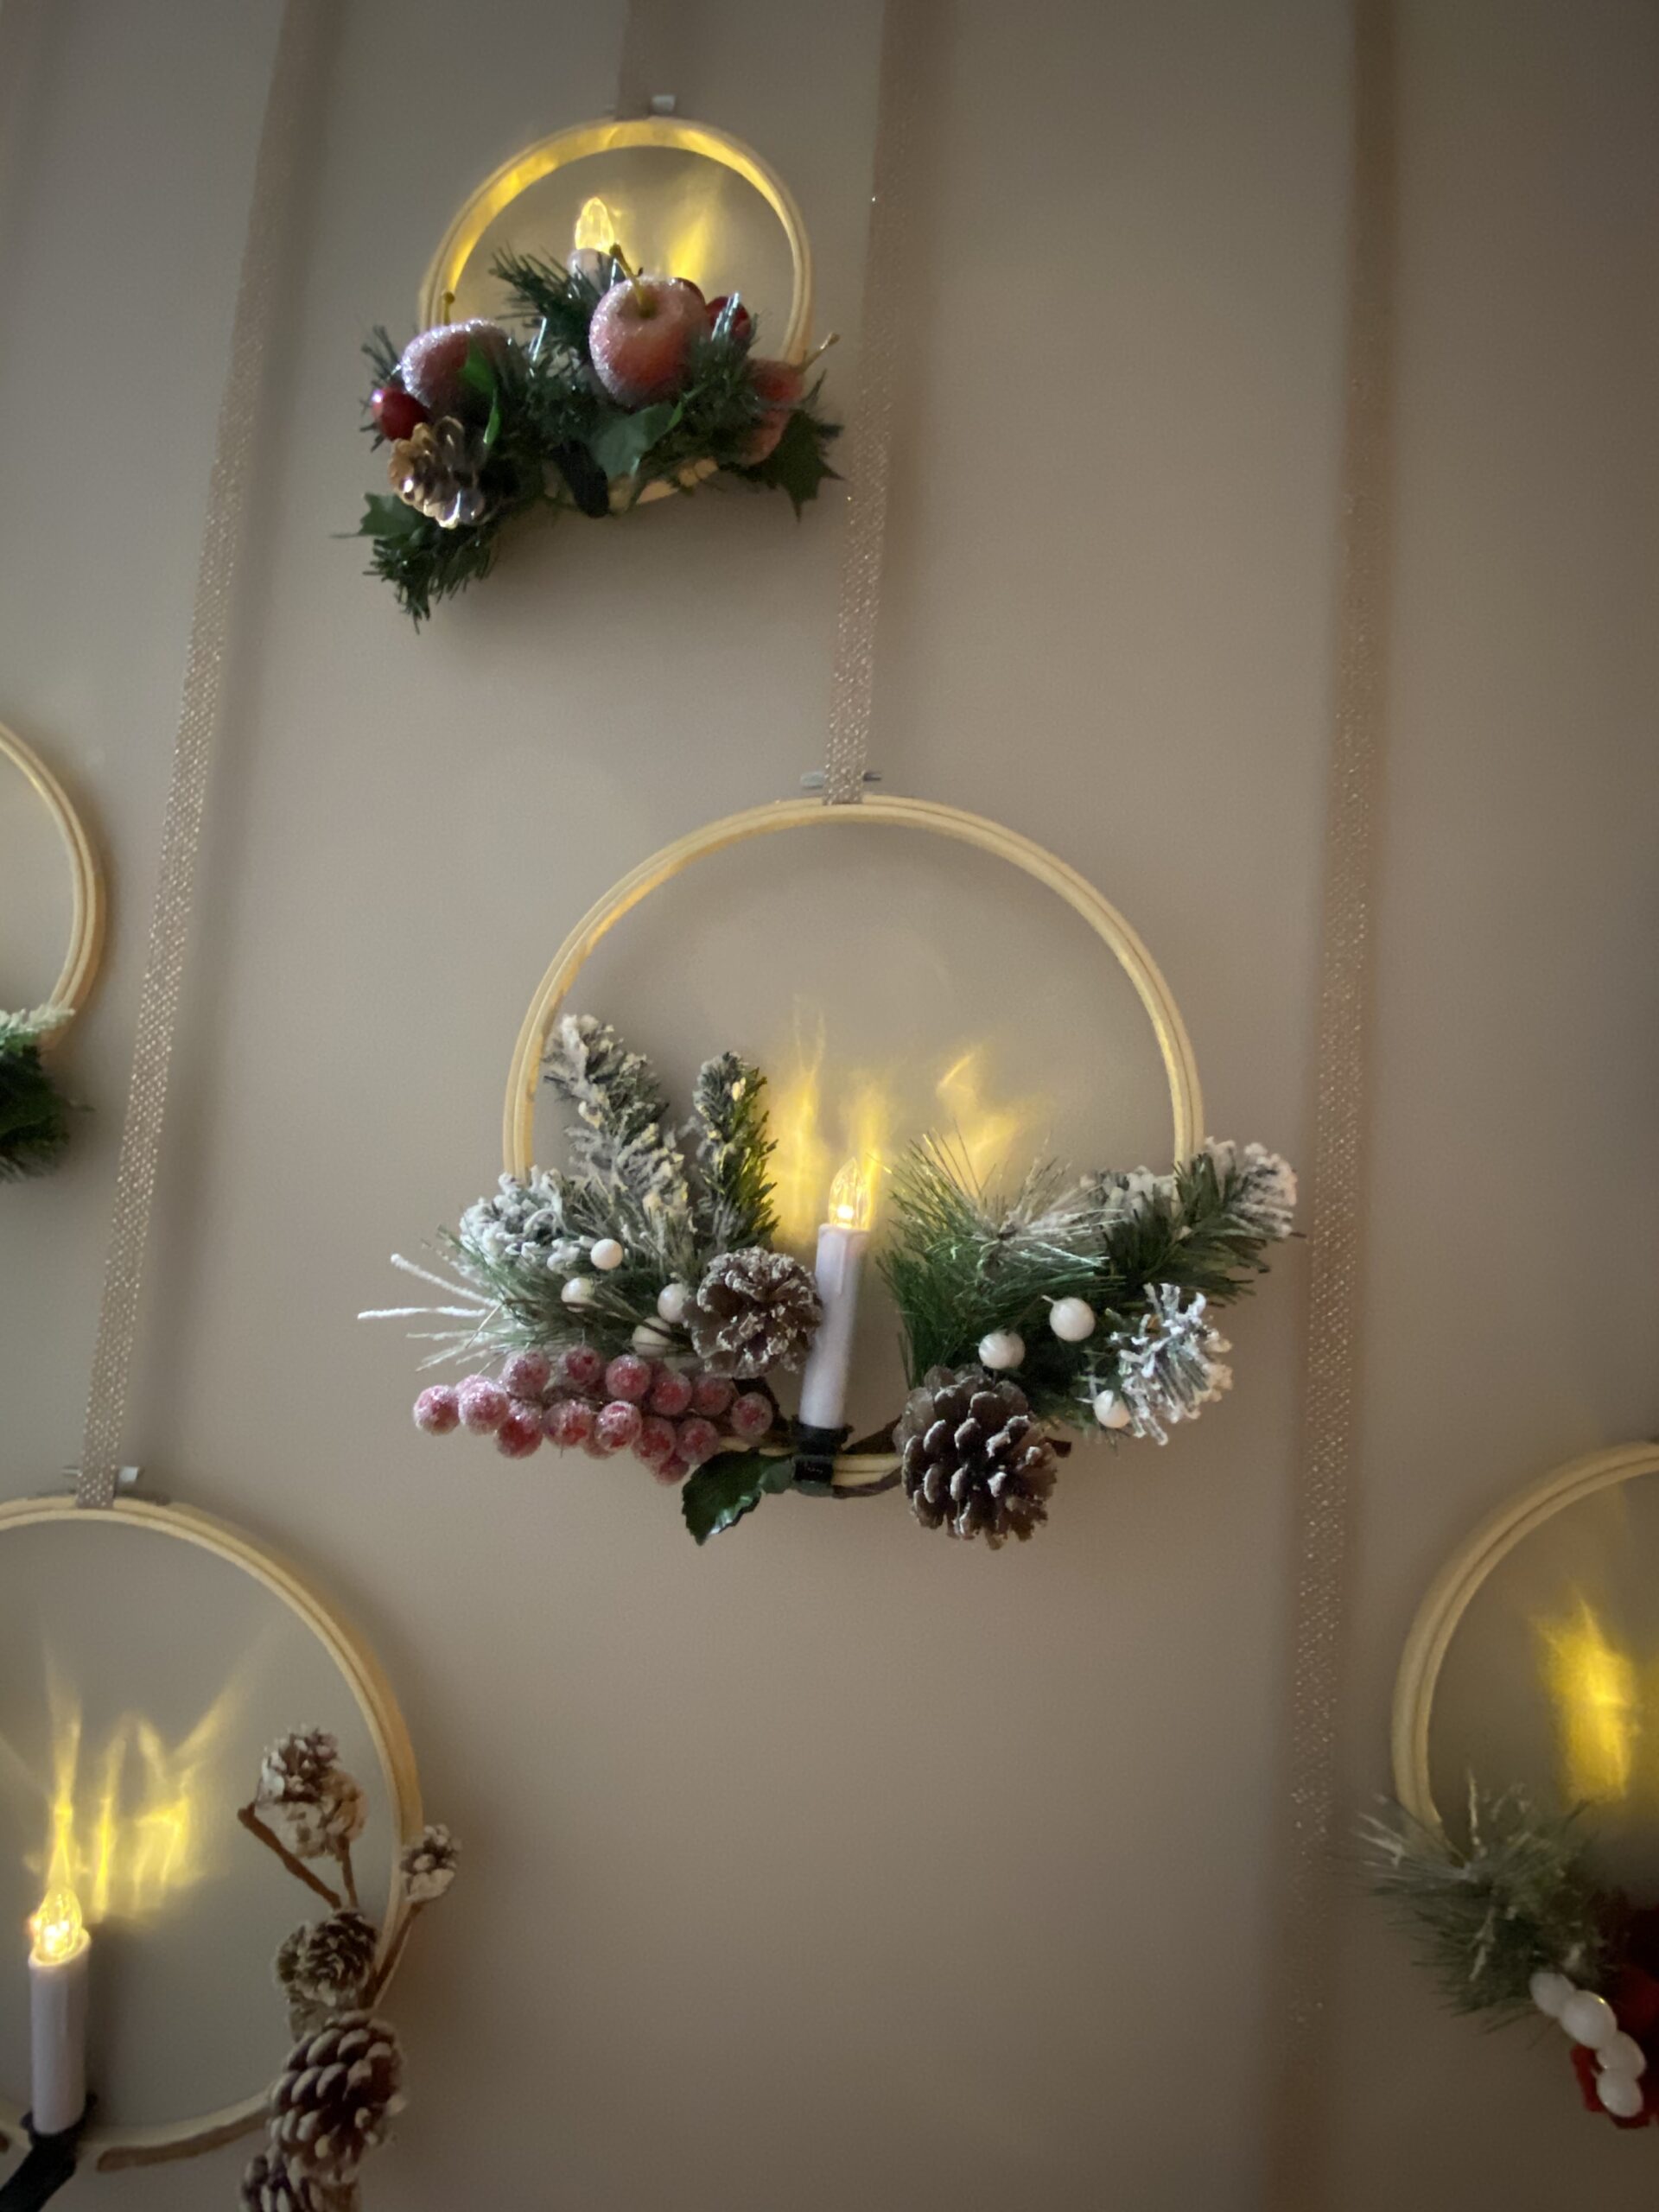
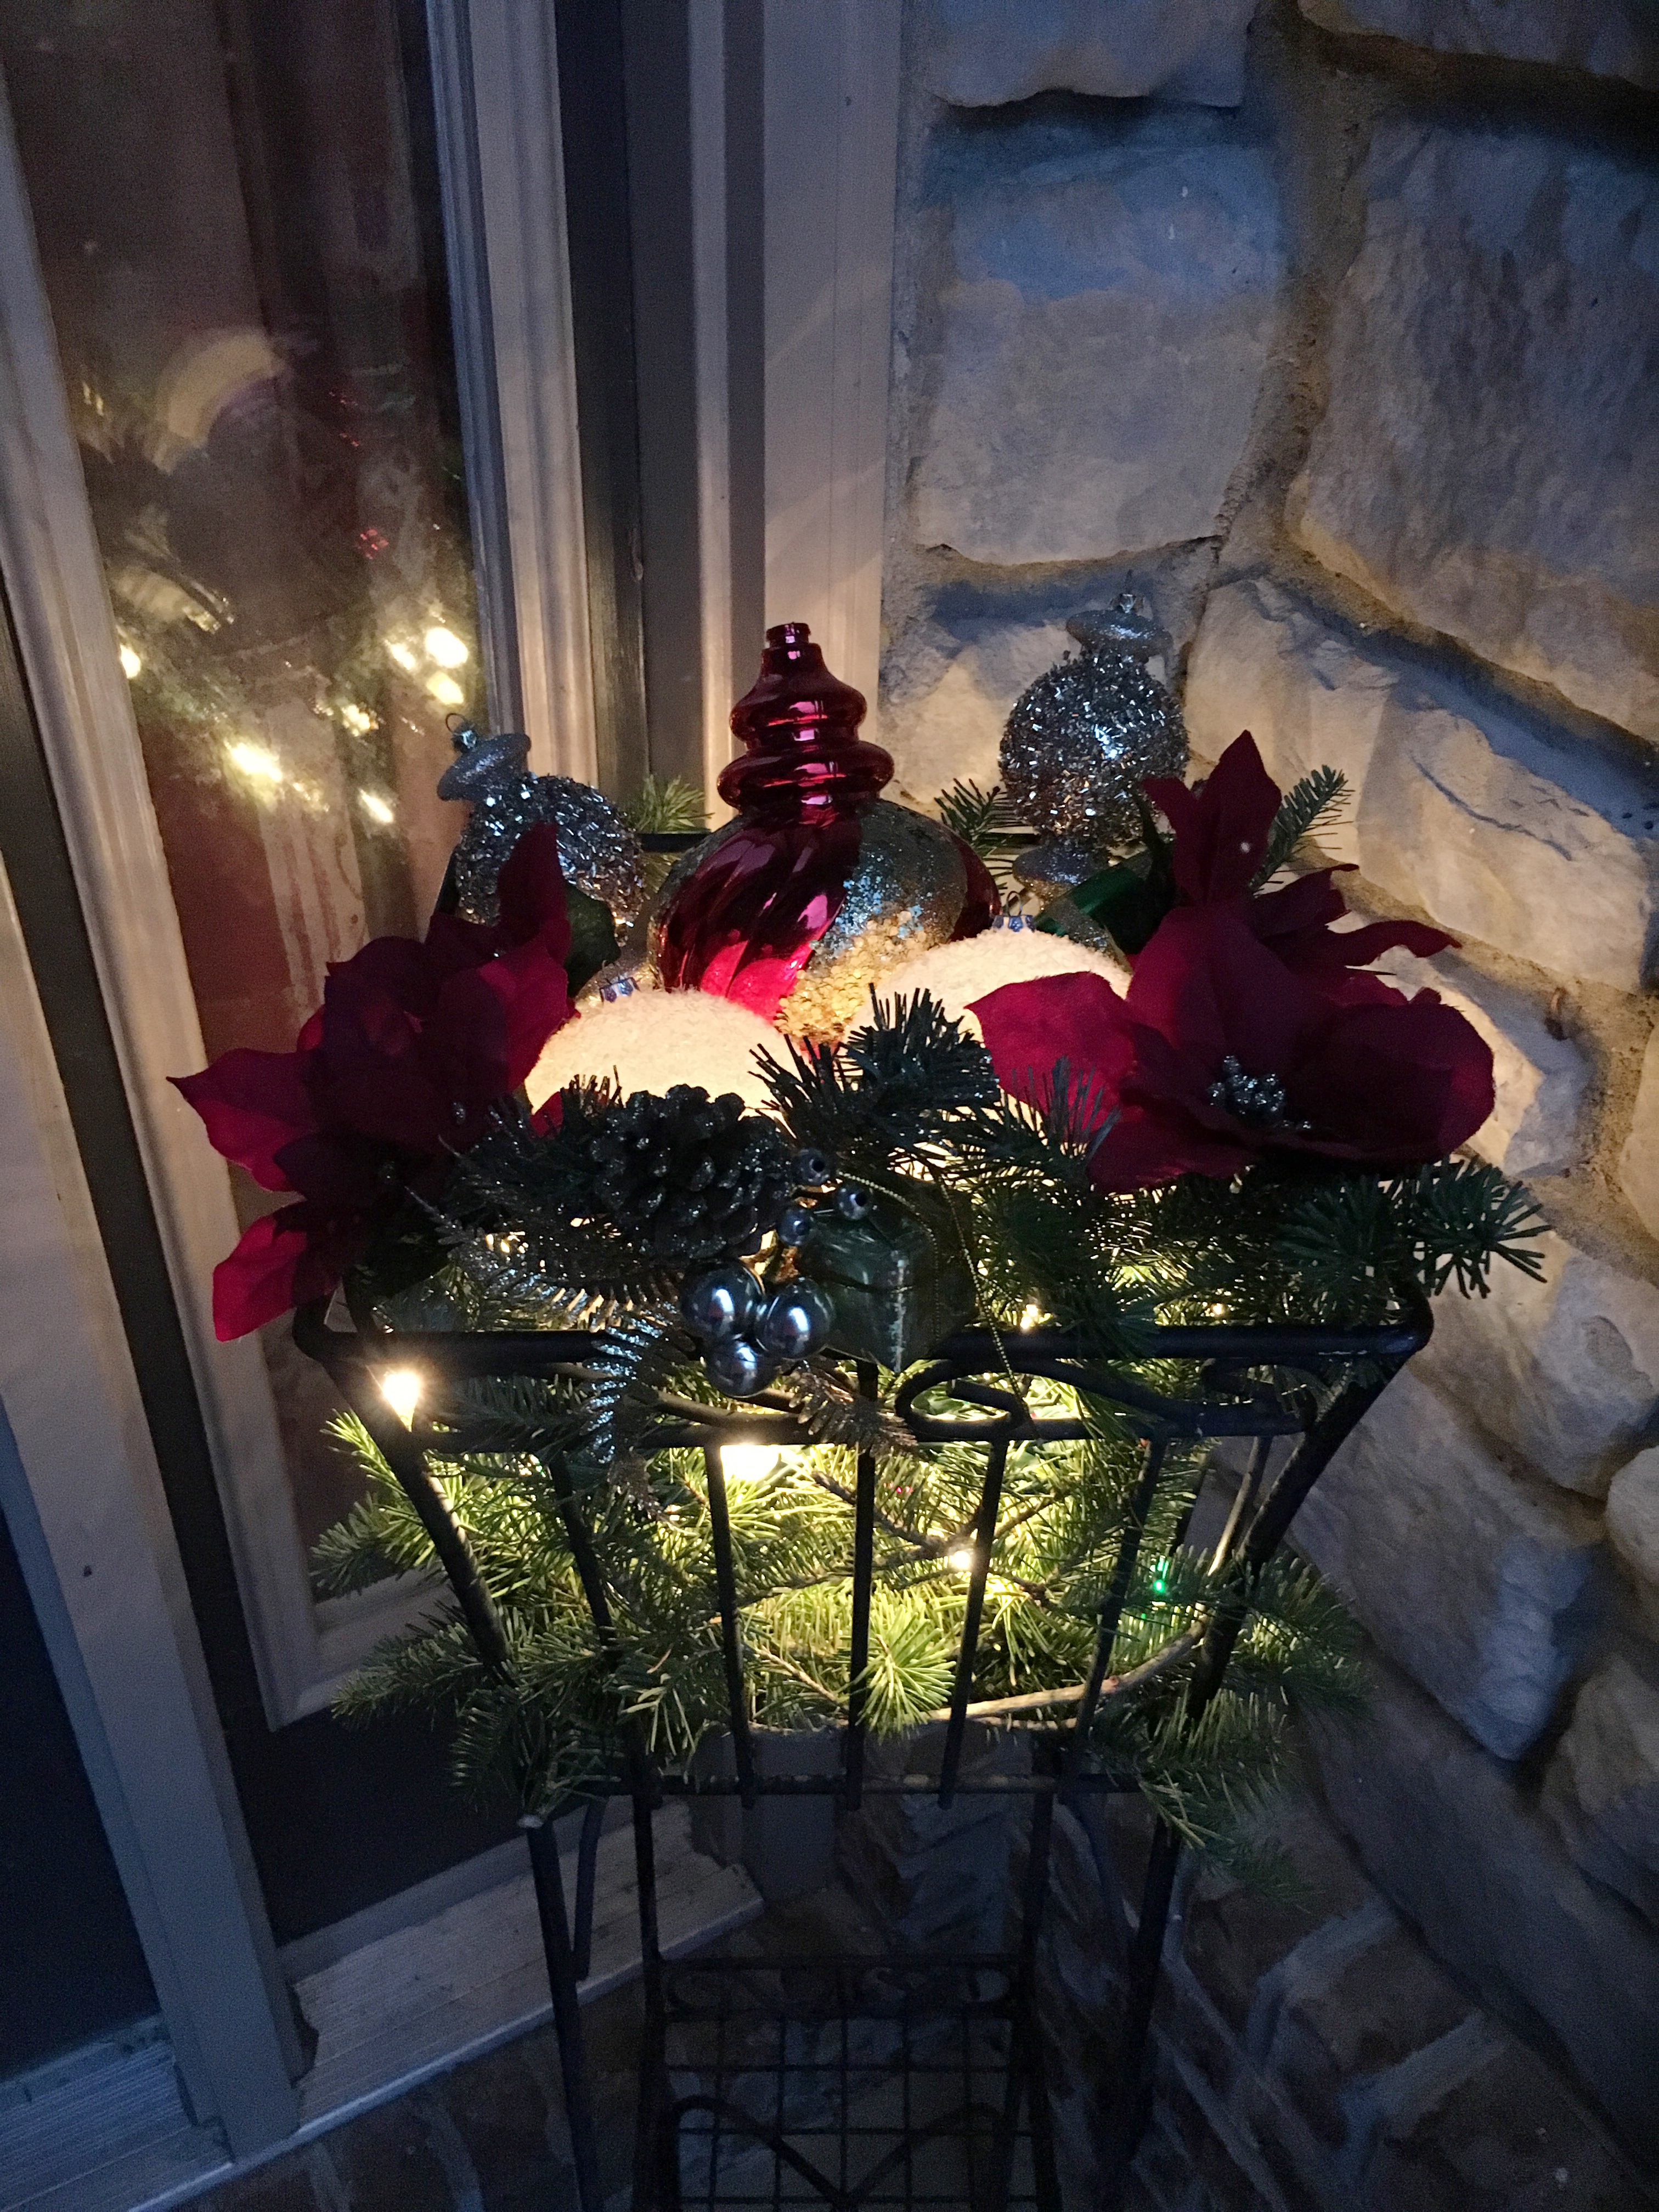
The plant stand in the corner by the door has two great DIYs. Click here to see how I used the leftover branches from the bottom of our live Christmas tree, along with a strand of lights, and some outdoor ornaments to create this adorable decoration. Just wait until you see how it looks at night!
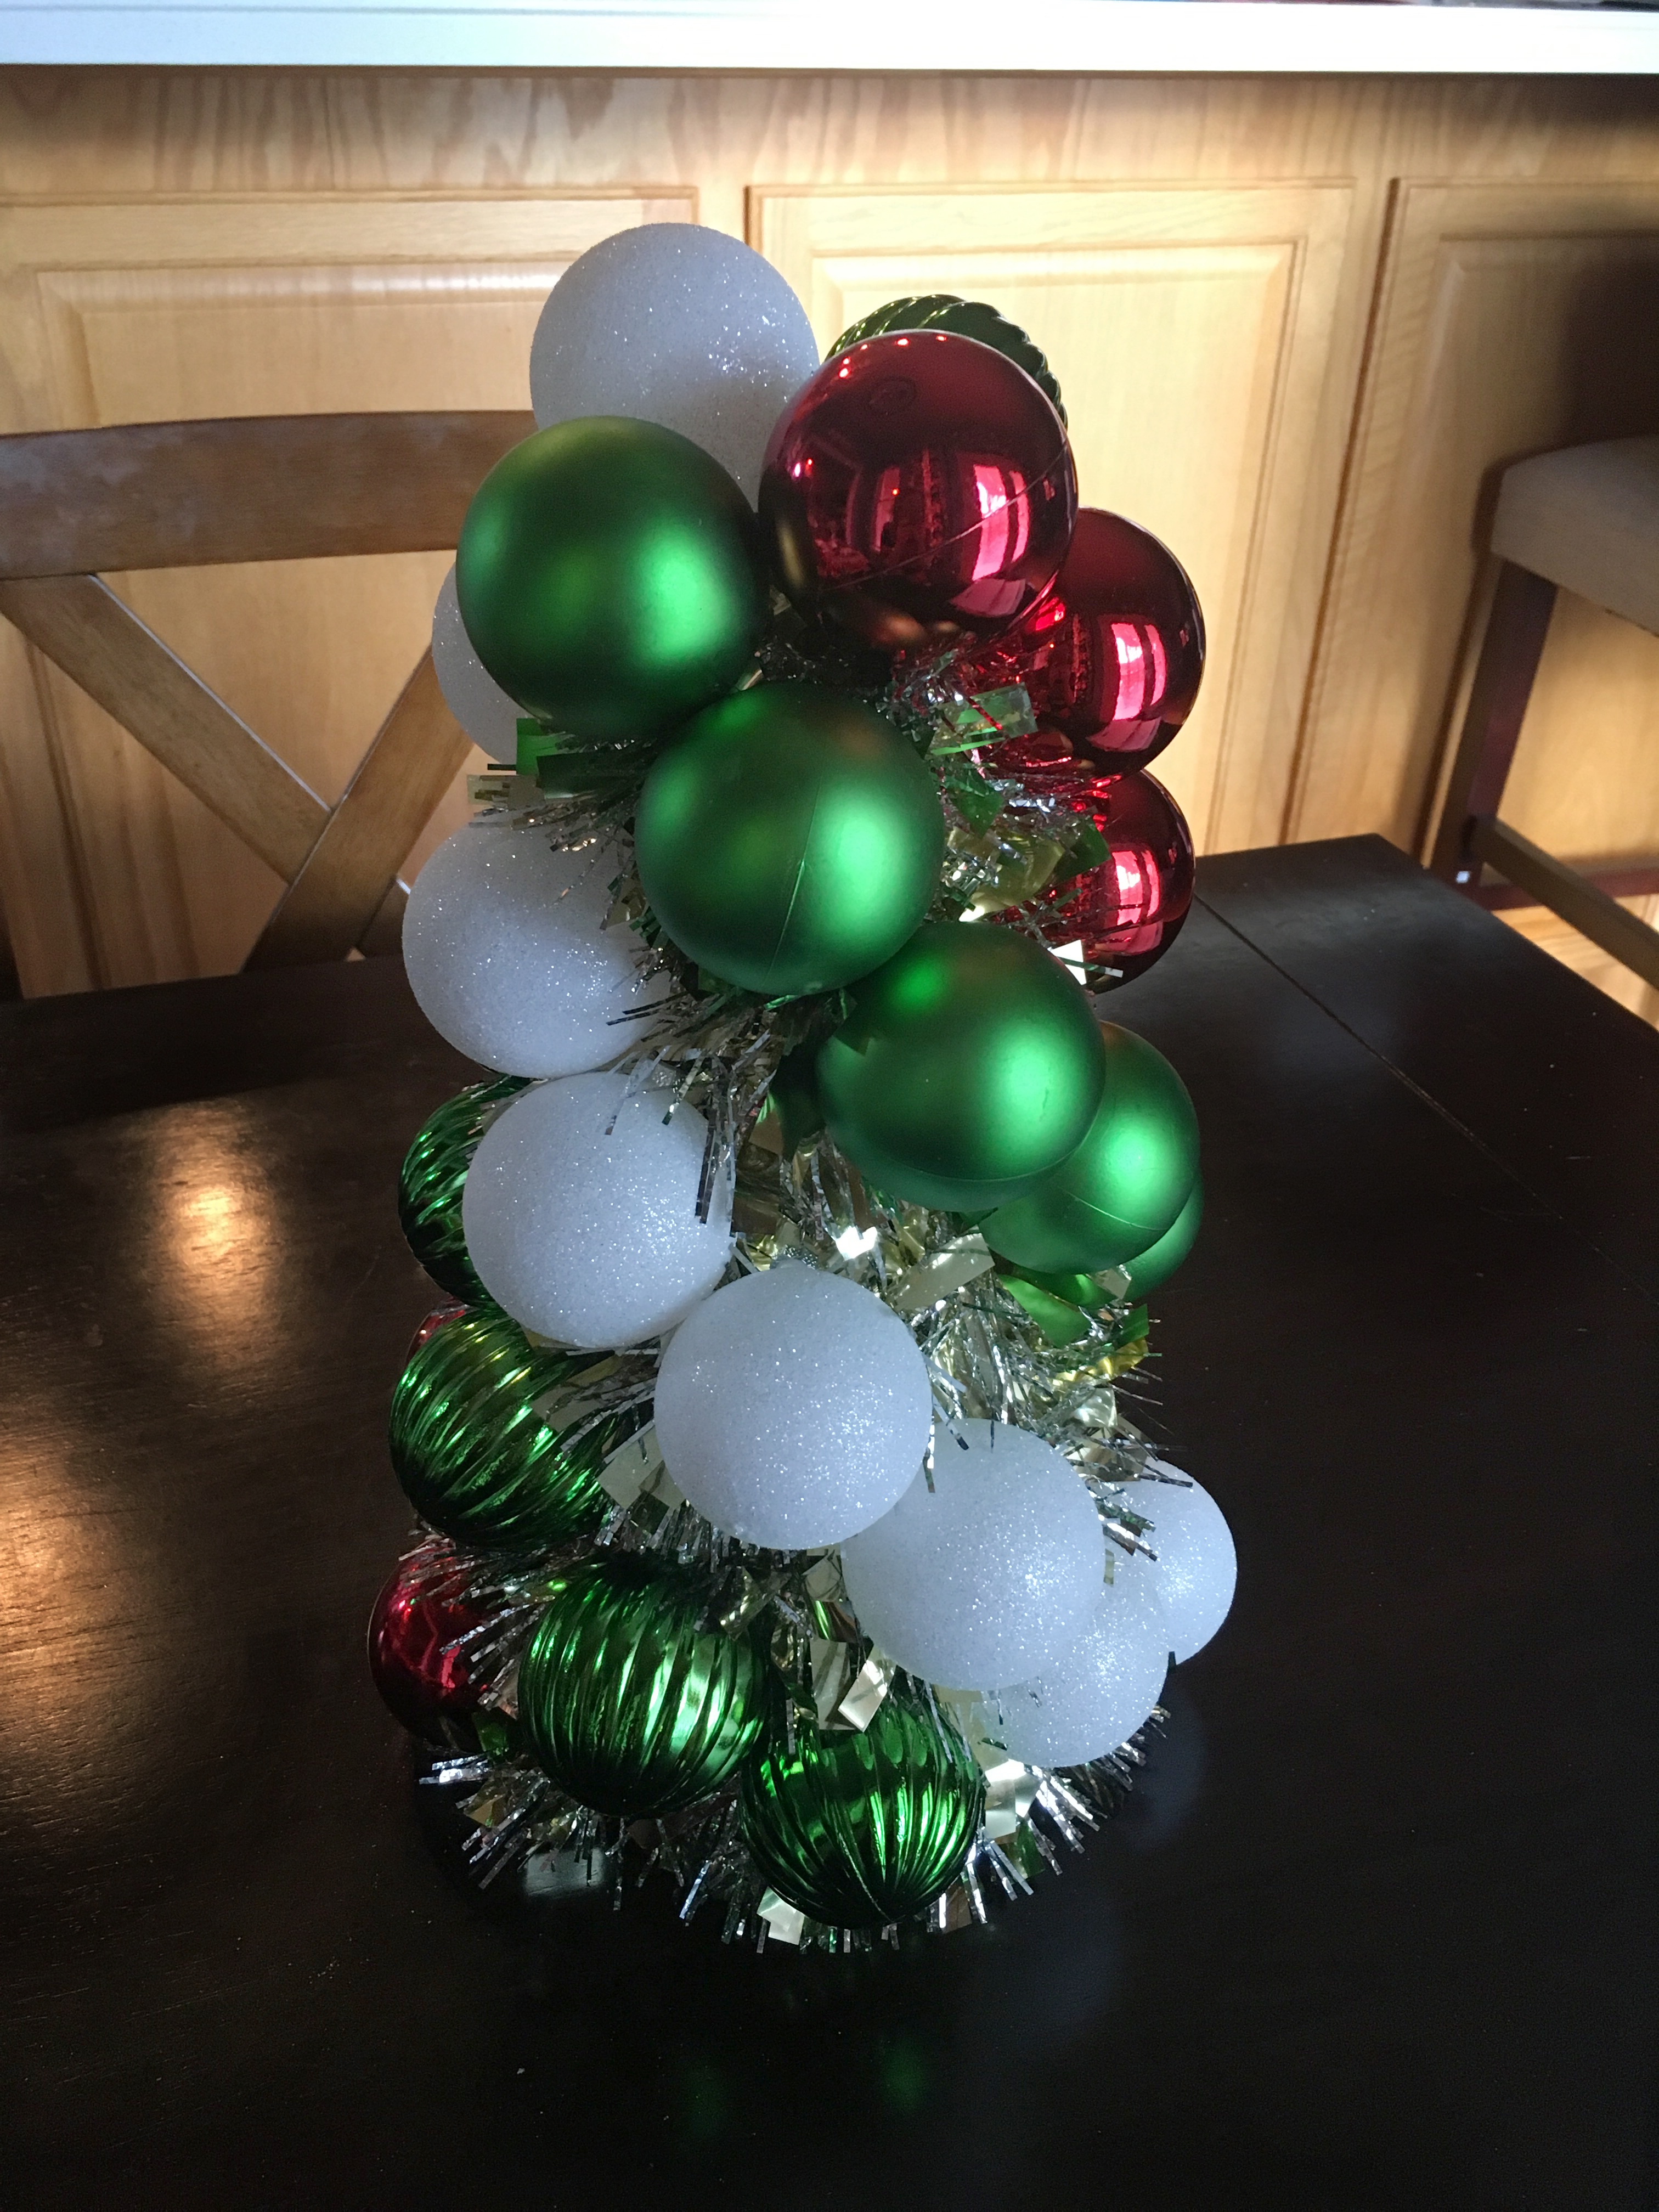
Finally, the ornament tree on the bottom shelf of the plant stand is another DIY, and you can see how we made it here.
You can dust the snow off your boots with the Elf doormat, then come on inside where a giant Santa rug and twinkling Christmas tree will greet us on our way to the hot cocoa bar we have set up in the dining room.
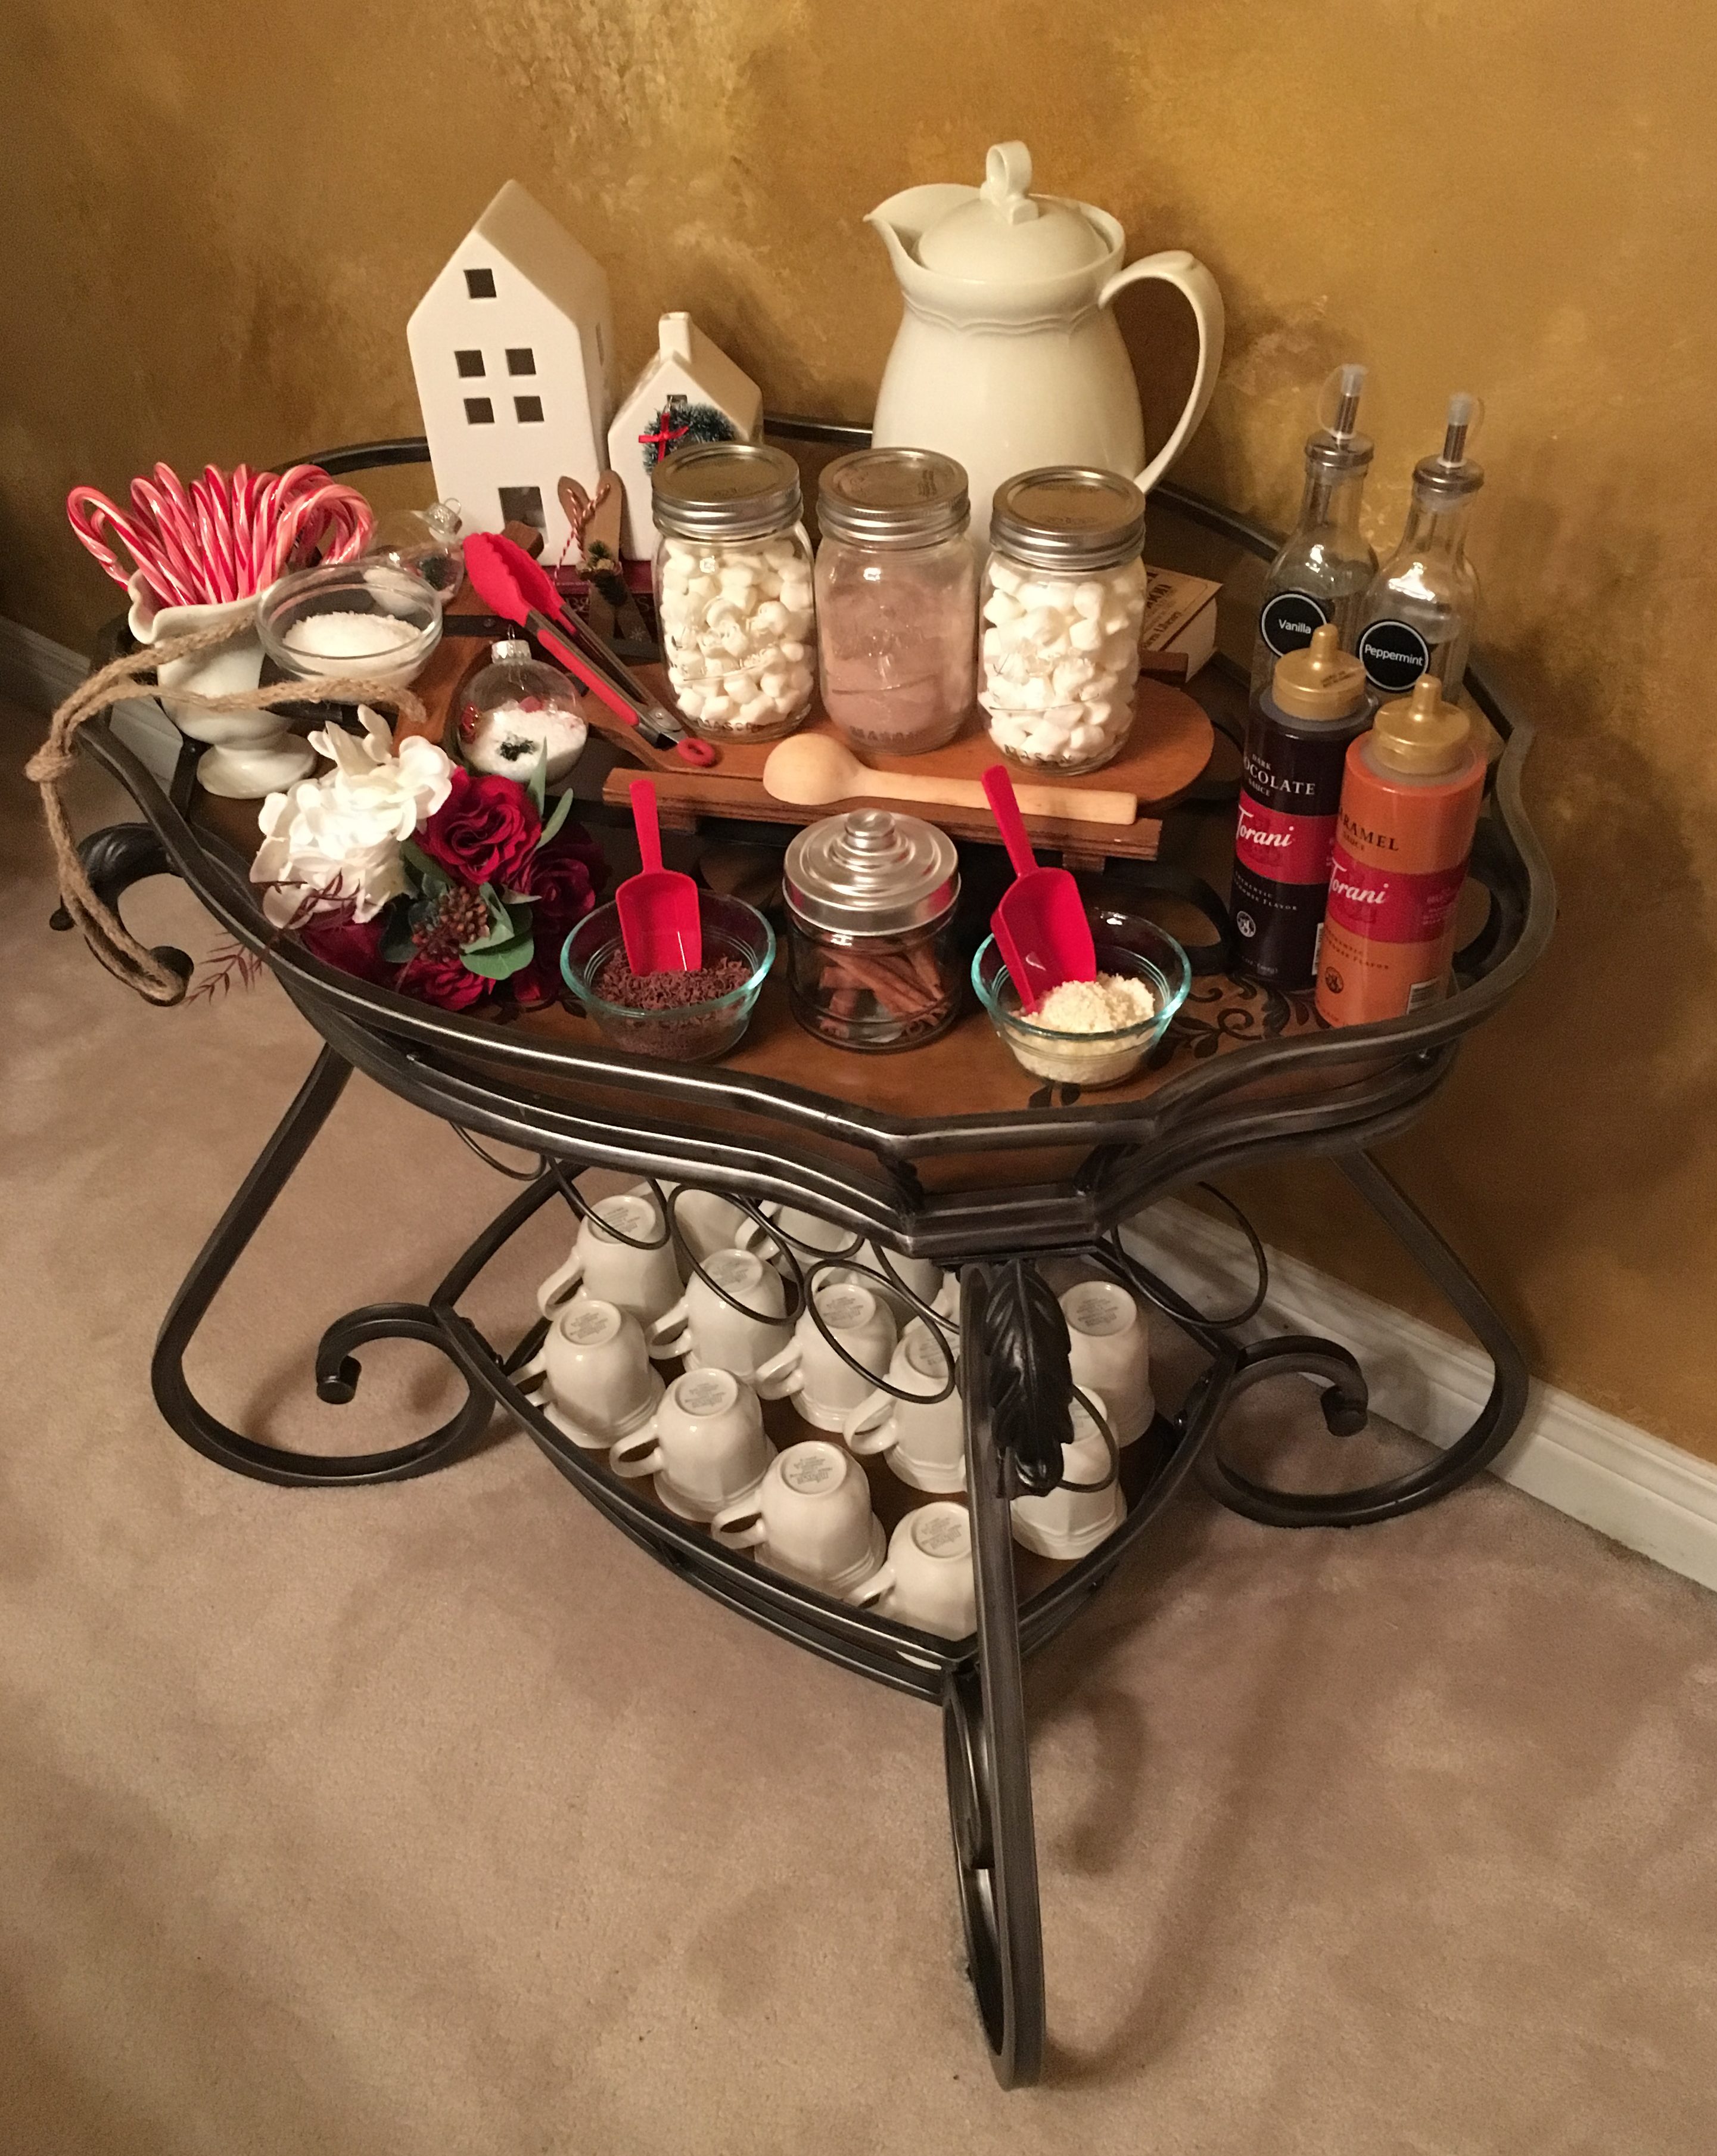
Have a cup of hot cocoa, pull up a chair, and stay a while. My parents bought this lovely wine rack/bar cart for us as a house-warming gift years ago. I love the old leather top, the unique shape, and the versatility. 11 months a year, it serves it’s designed purpose of wine rack. But during that magical 12th month it is transformed into a delightful hot cocoa bar where friends can warm up from the cold and family gathers to create memories.
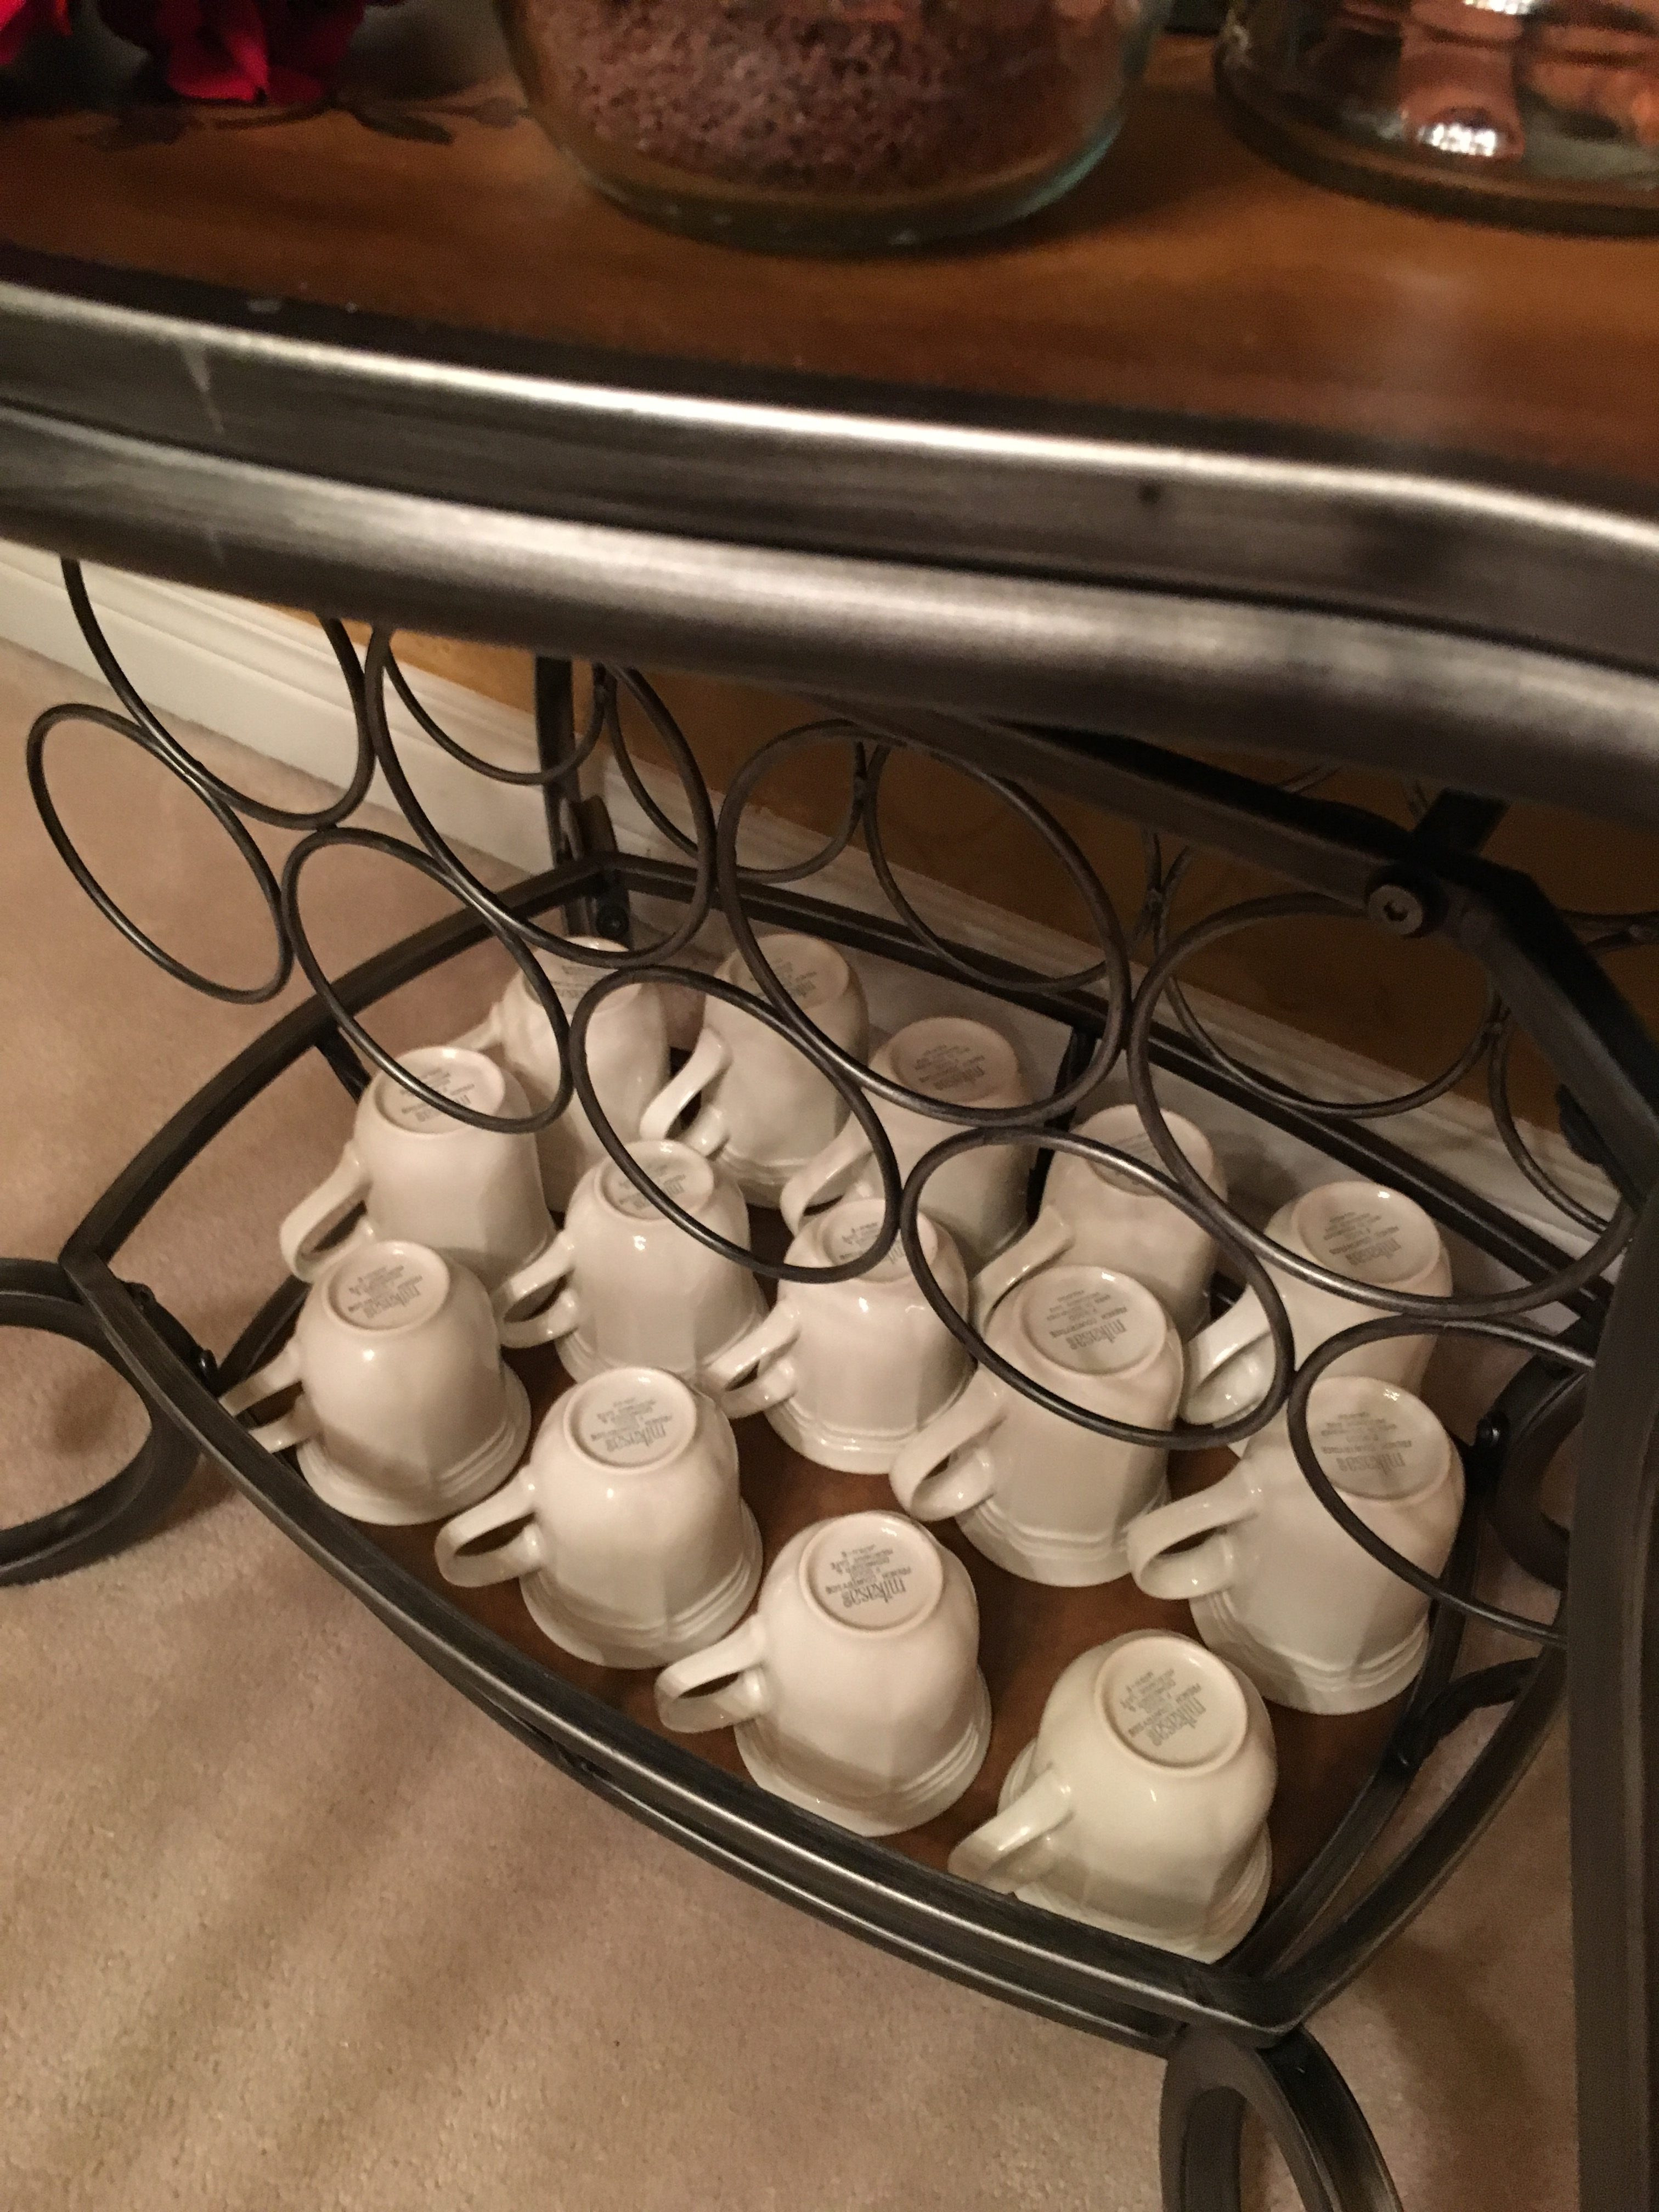
To create this amazing hot cocoa bar, I removed all of the wine and wine glasses from the bottom of the cart. Here I added lots of Mikasa French Countryside coffee cups and mugs. The ample space of the bottom shelf allows me to add plenty of mugs for whomever drops by. While it wouldn’t be a hot cocoa bar without lots of mugs, the top of the cart is where the fun happens.
Note: When we are expecting guests and for our annual Christmas party we will make a batch of slow cooker hot cocoa but for everyday and drop-in guests, we keep the pitcher on the bar filled with piping hot water.
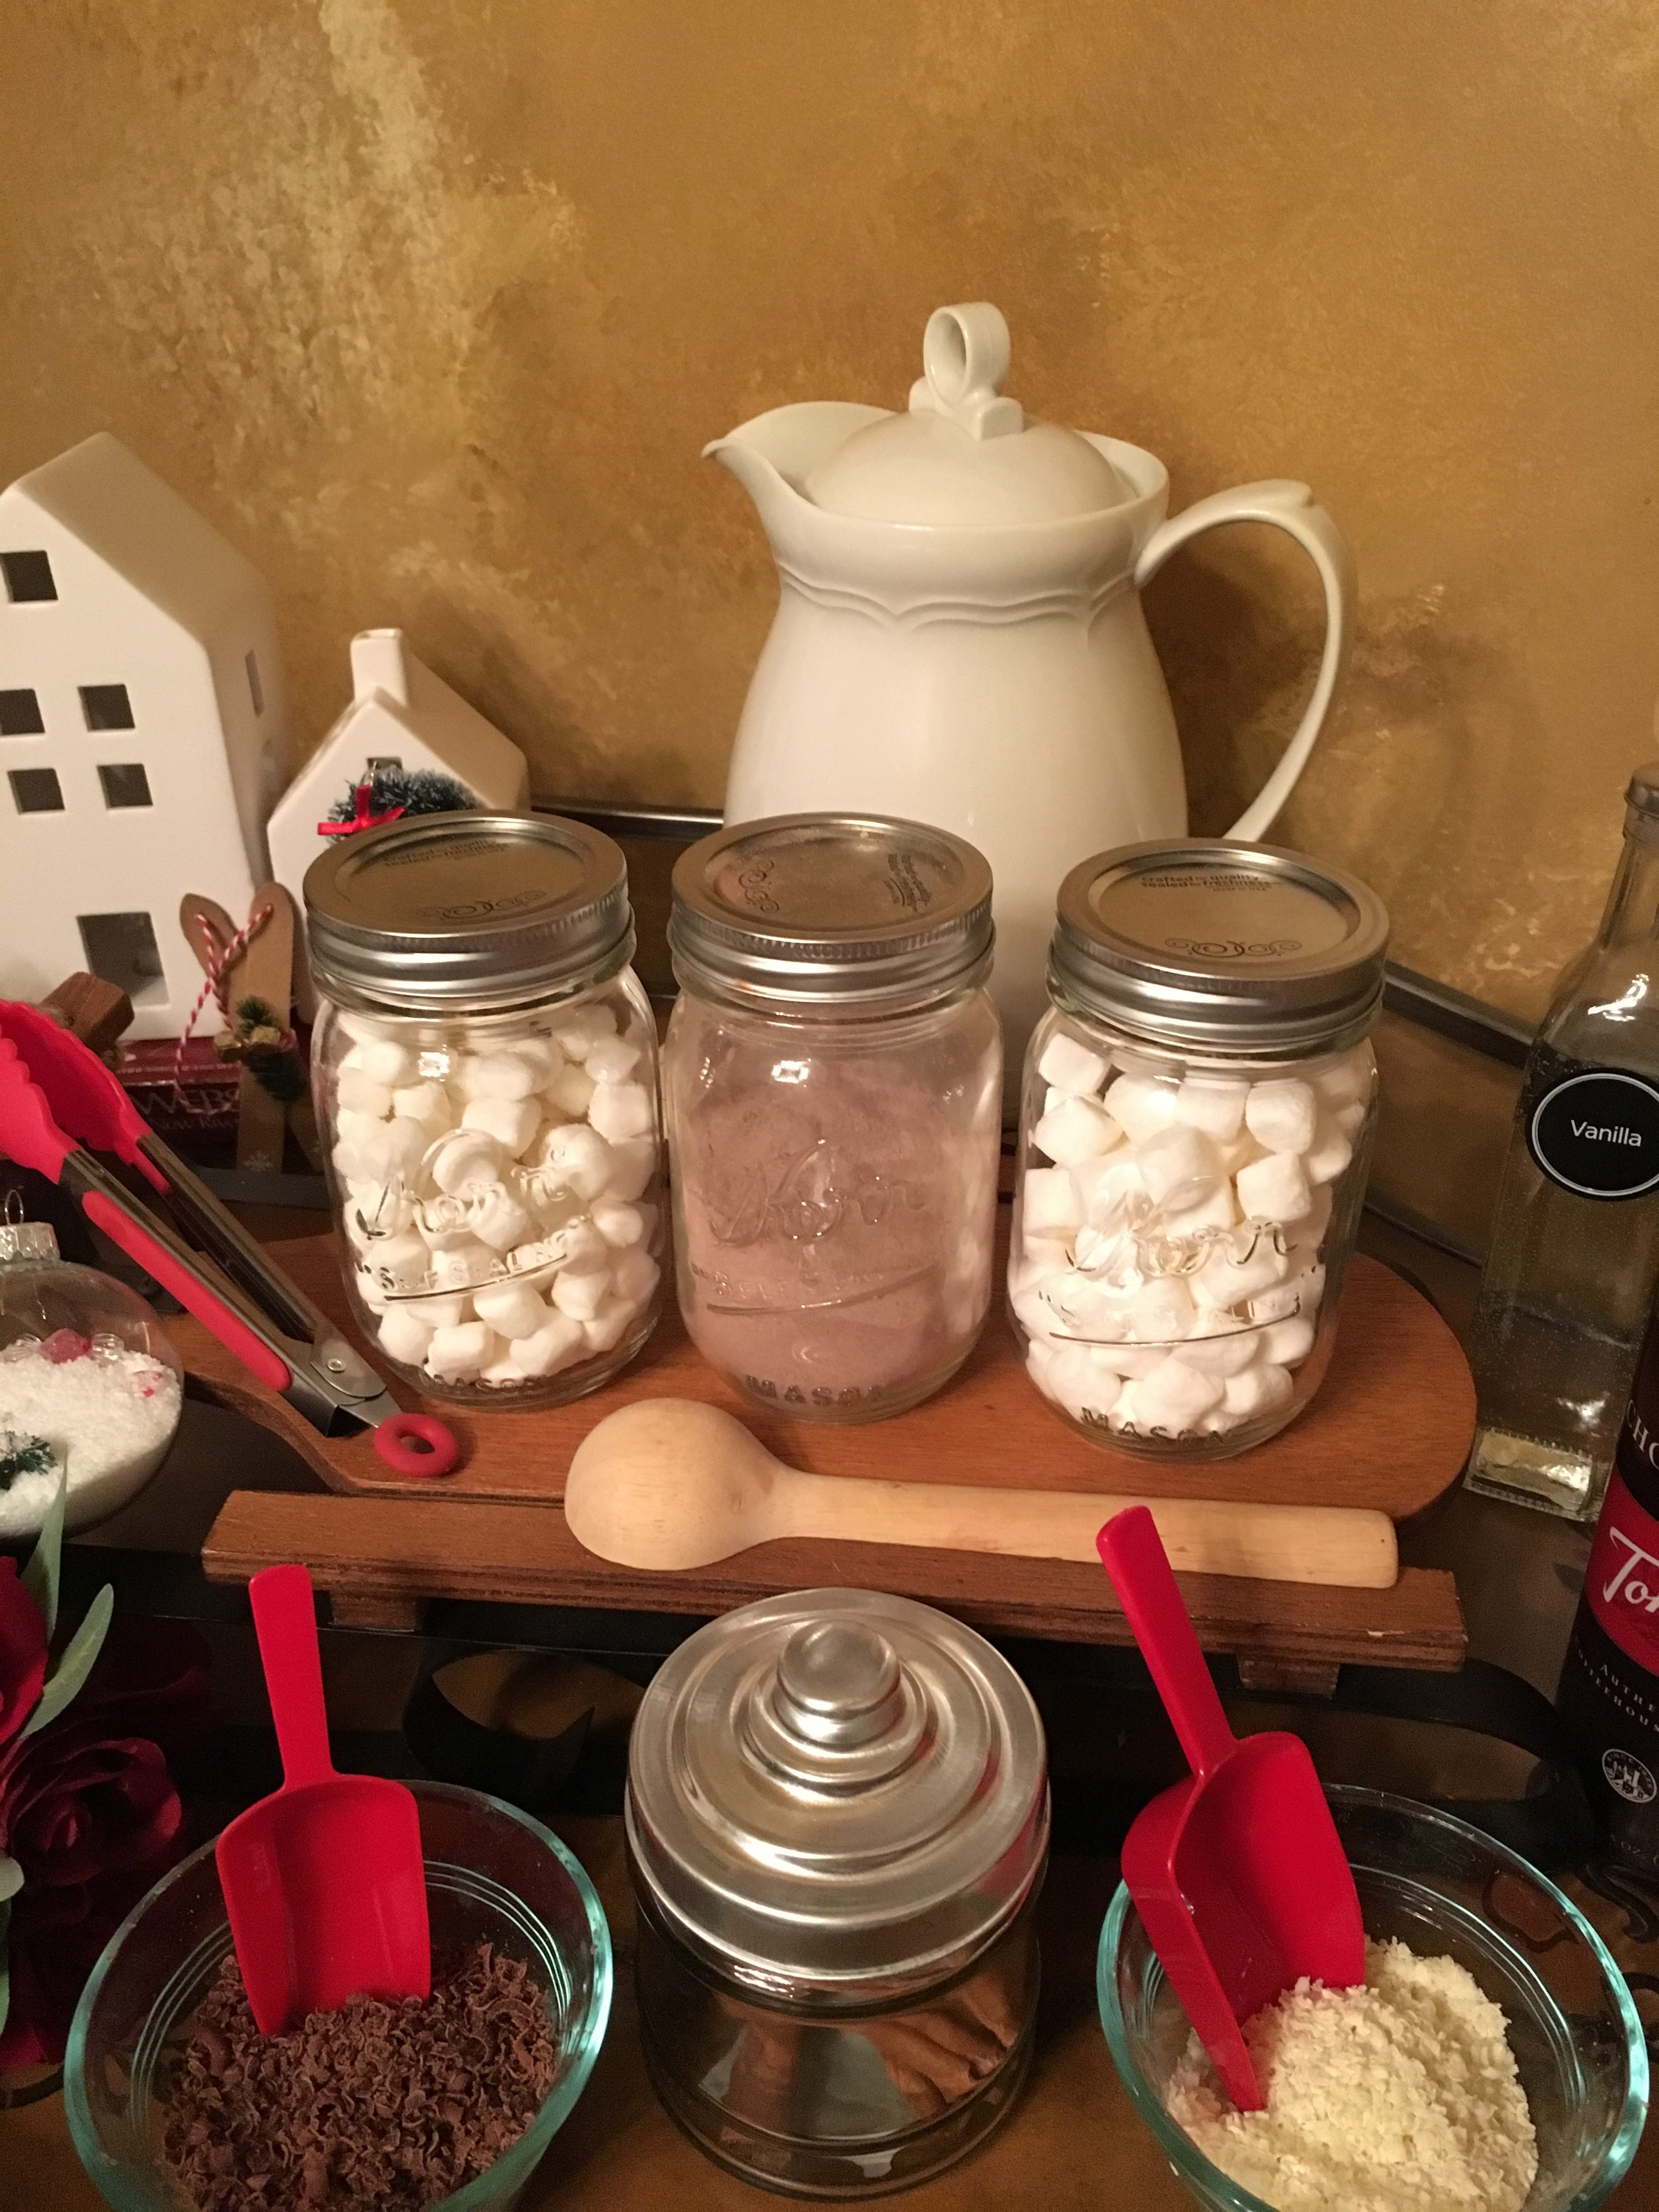
In the three Mason jars we have instant hot cocoa and mini marshmallows. The smaller jar contain cinnamon sticks, while the bowls in front contain white chocolate shavings, and dark chocolate shavings.

I found these glass dispensers at the Dollar Tree and they are perfect for Vanilla and Peppermint syrup. The labels are from this set from Amazon. The squeeze bottles contain dark chocolate and caramel flavorings. And where there’s caramel, there must be salt.

The small bowl on top contains sea salt for the delicious salted caramel hot cocoa lovers – this is a favorite of my son. Finally, no hot cocoa bar would be complete without a cream pitcher full of candy canes.
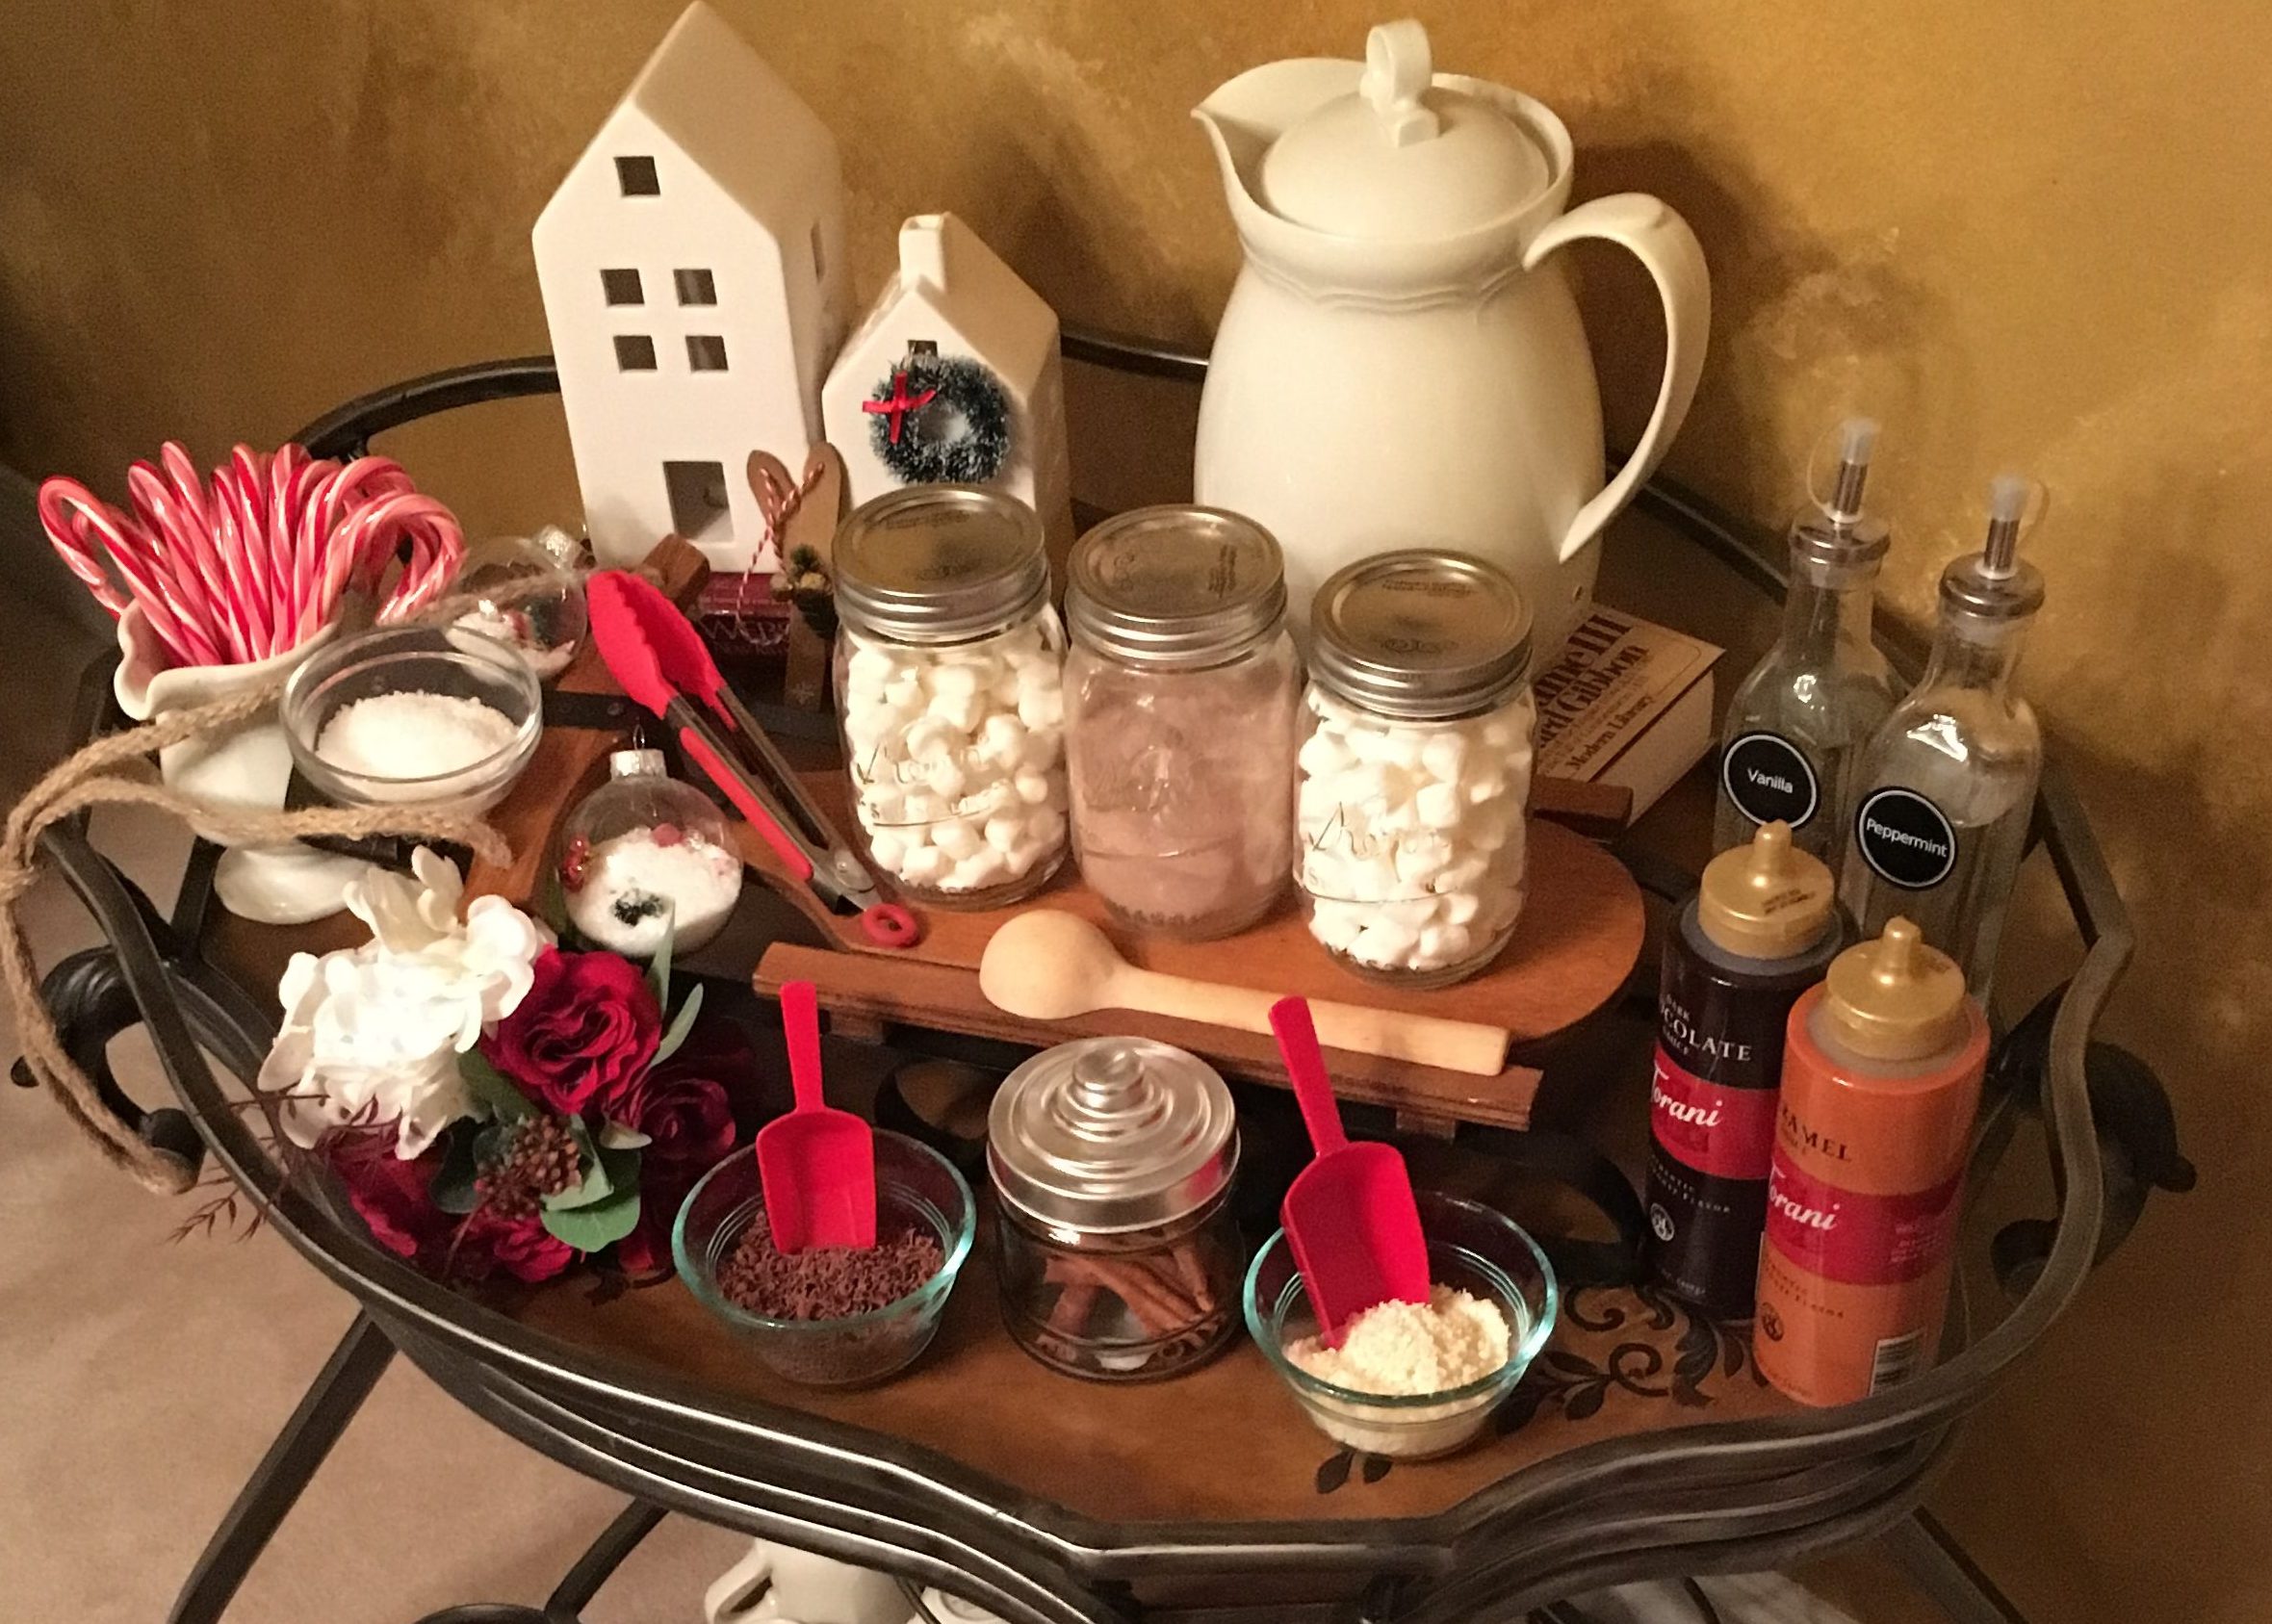
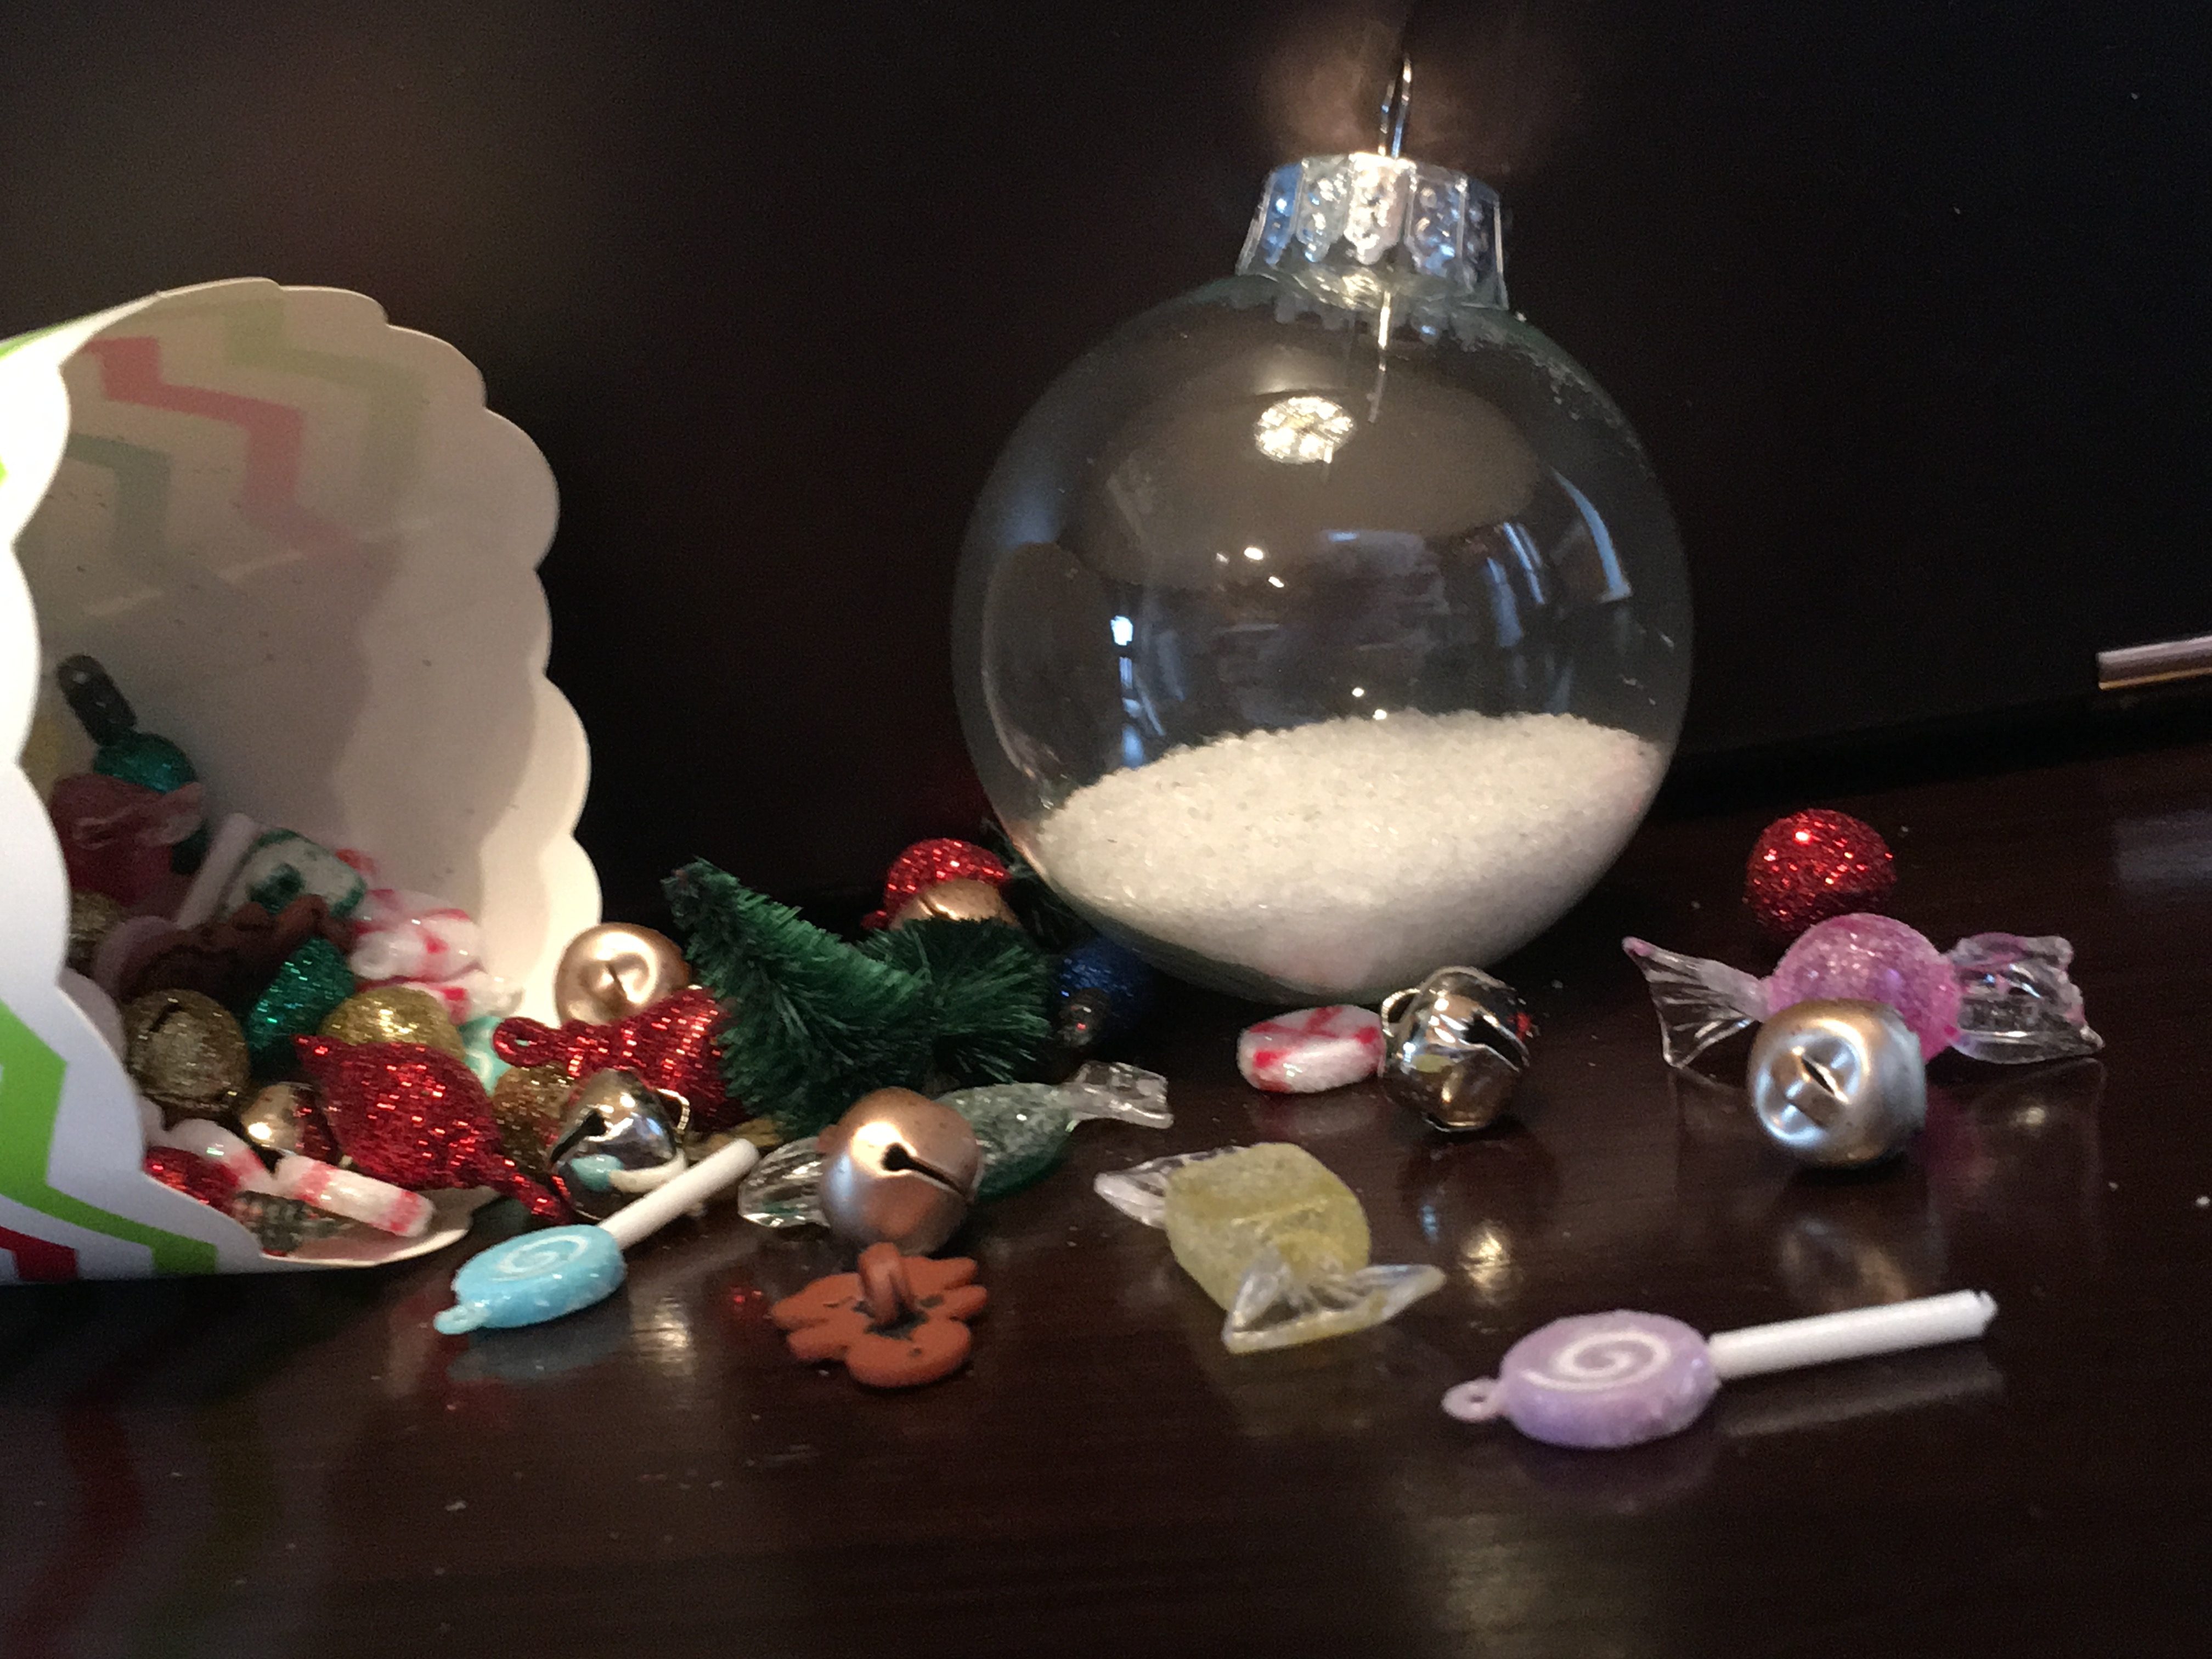
To keep the look fresh and fun, several decor items were added. The entire bar is built around a cute little replica sled we found at Hobby Lobby. The snow ornaments on the bar are ones the kids made at their Christmas party last year – supplies and directions can be found here. The flowers are a winter bouquet I purchased from Michaels and the tiny houses in the back are from the Target Dollar Spot and they have been making appearances in my various locations in my home since spring. To update the houses for winter I simply hot glued a tiny wreath (also from Target Dollar Spot) to the front of some. I completed the look with red and wooden utensils and I added a few books to give height to the items in the back.
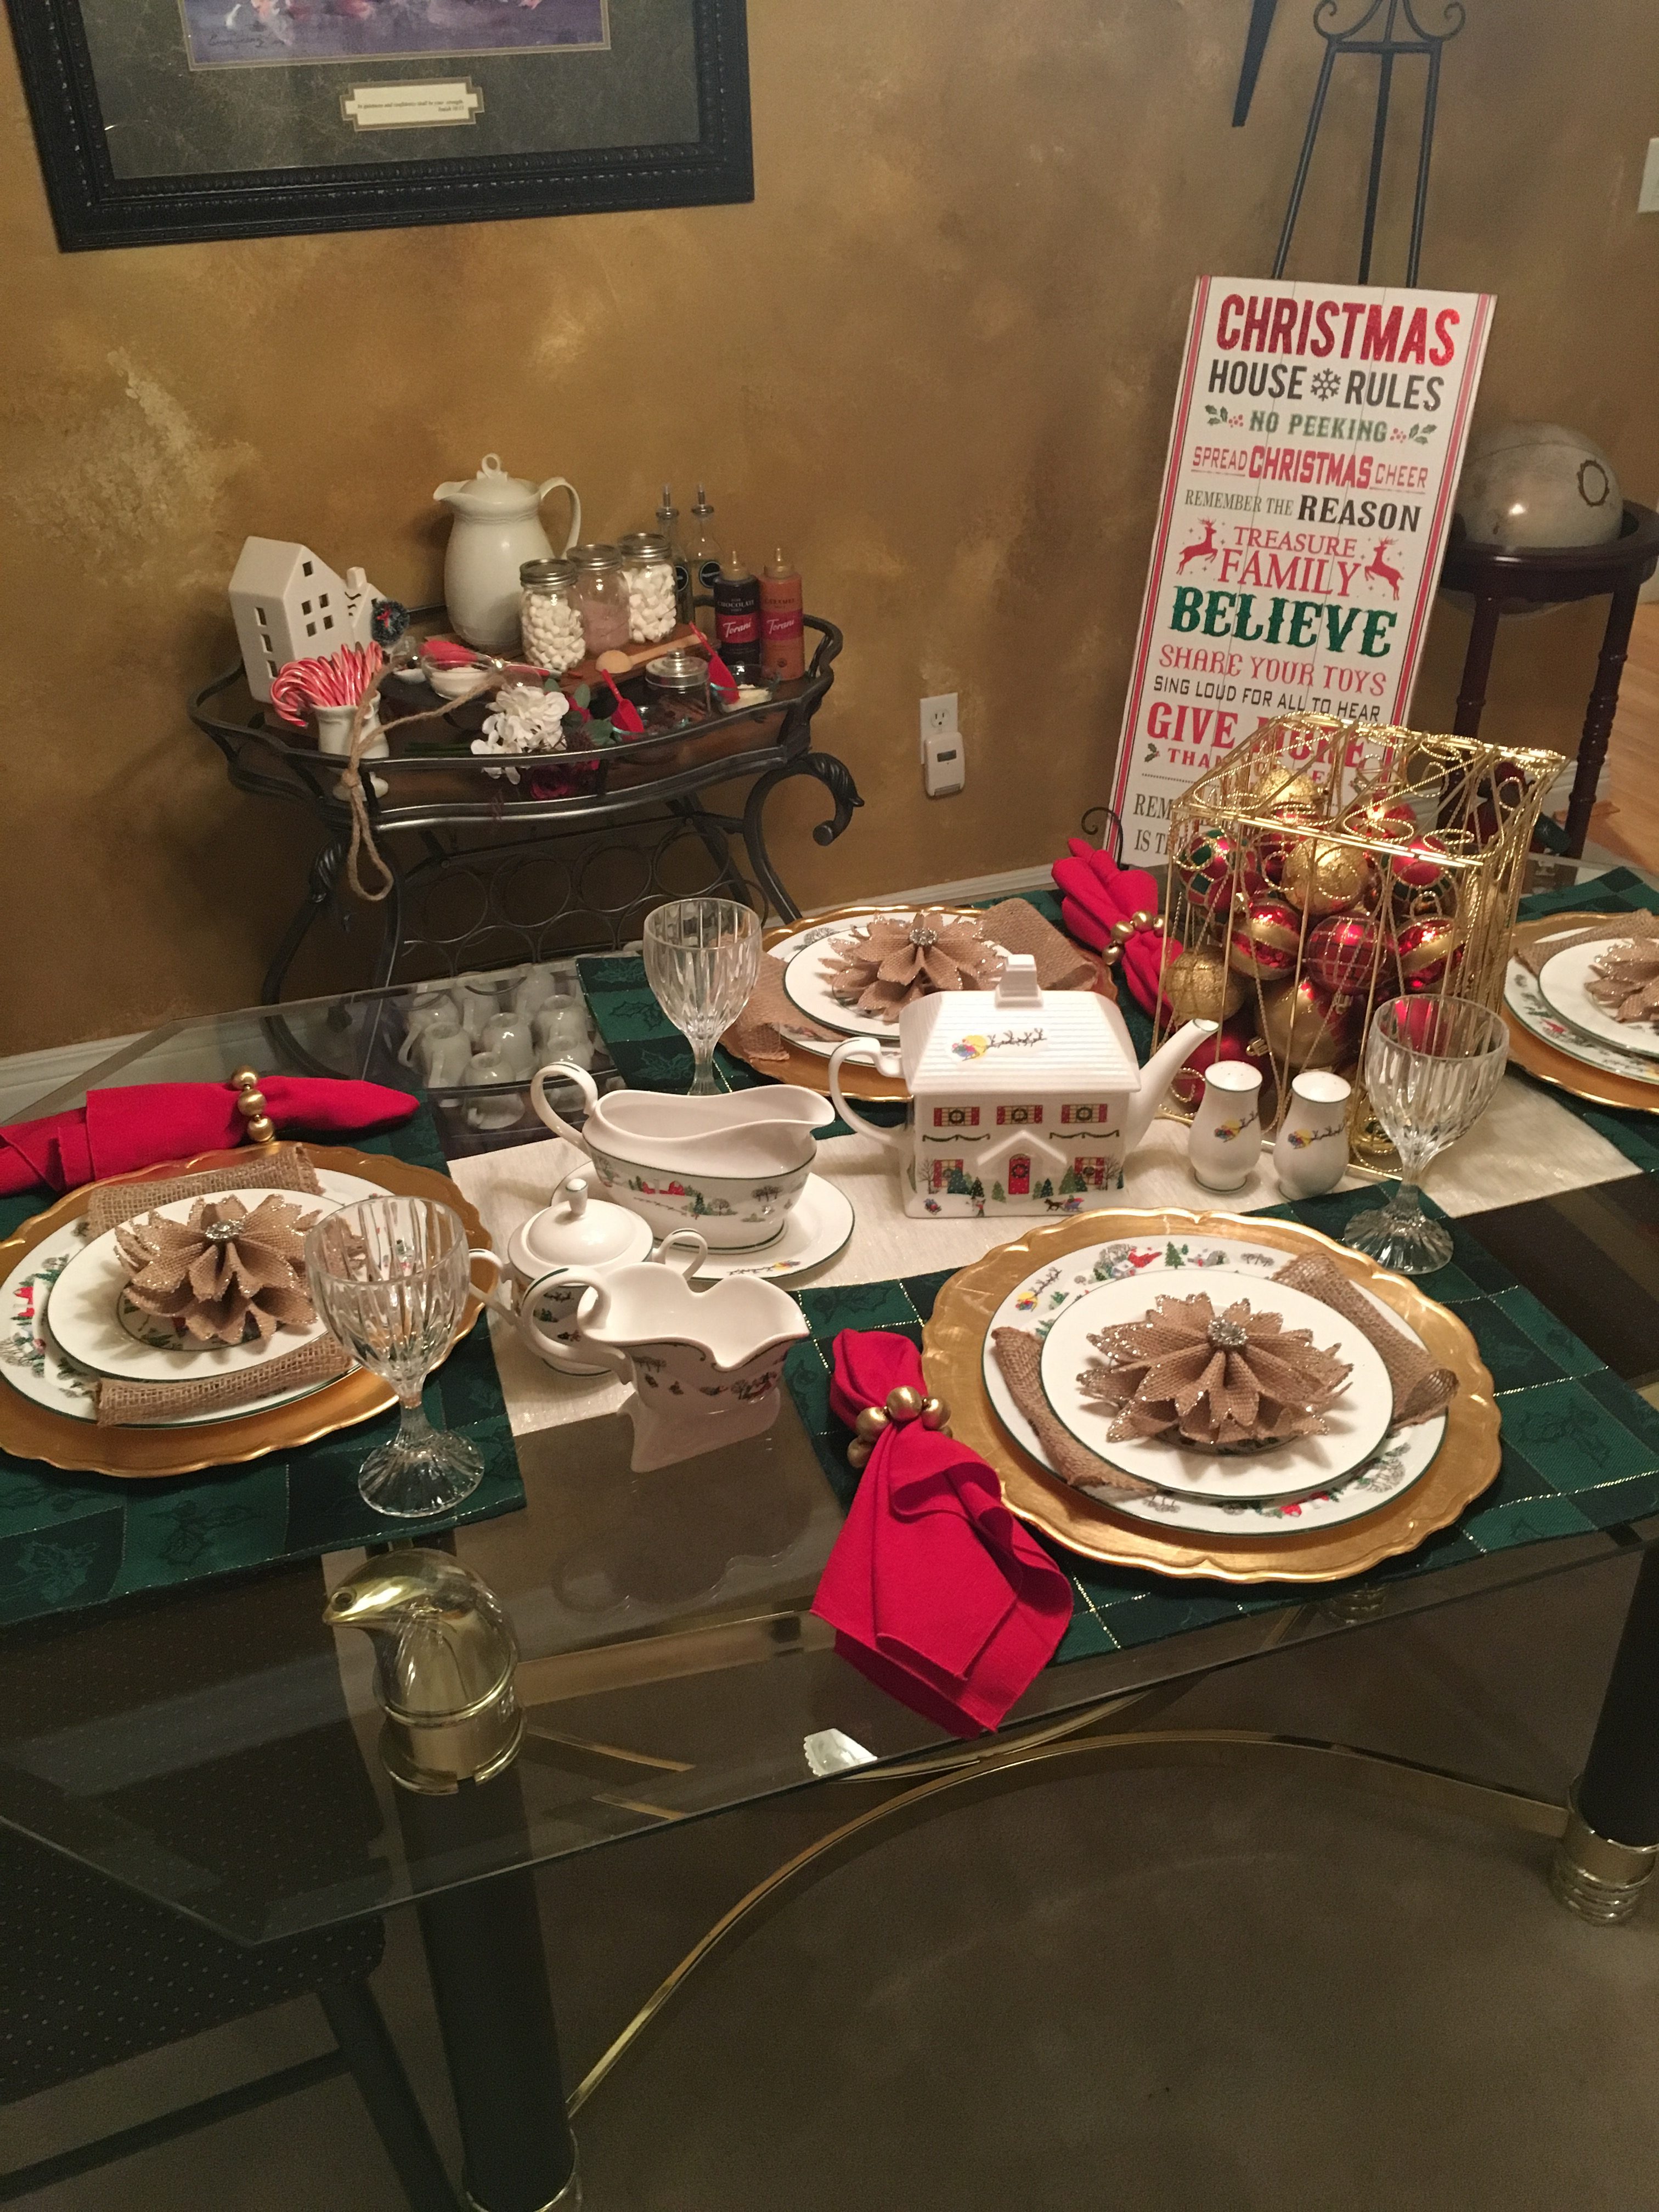
I love using traditional items, and items that I already have on hand, both for sentimental and economical reasons. I could never afford to purchase all new items each year. Nor would I want to. But I do like to keep my look current and not as if I am stuck in a different era. To accomplish this I like to mix old and new. For my dining room, I have adorned the chandelier with this gorgeous glass ornaments for the last couple of years. I simply tie them to the arms of the chandelier with white ribbon. The Christmas china is from Lennox and is my most favorite set of Christmas china I have ever seen. Most of it was wedding gifts, so I have had it for years. Some years I have used the complete set – I have everything from the dishes to placements in this pattern. Some years, I use more of a mix of patterns.
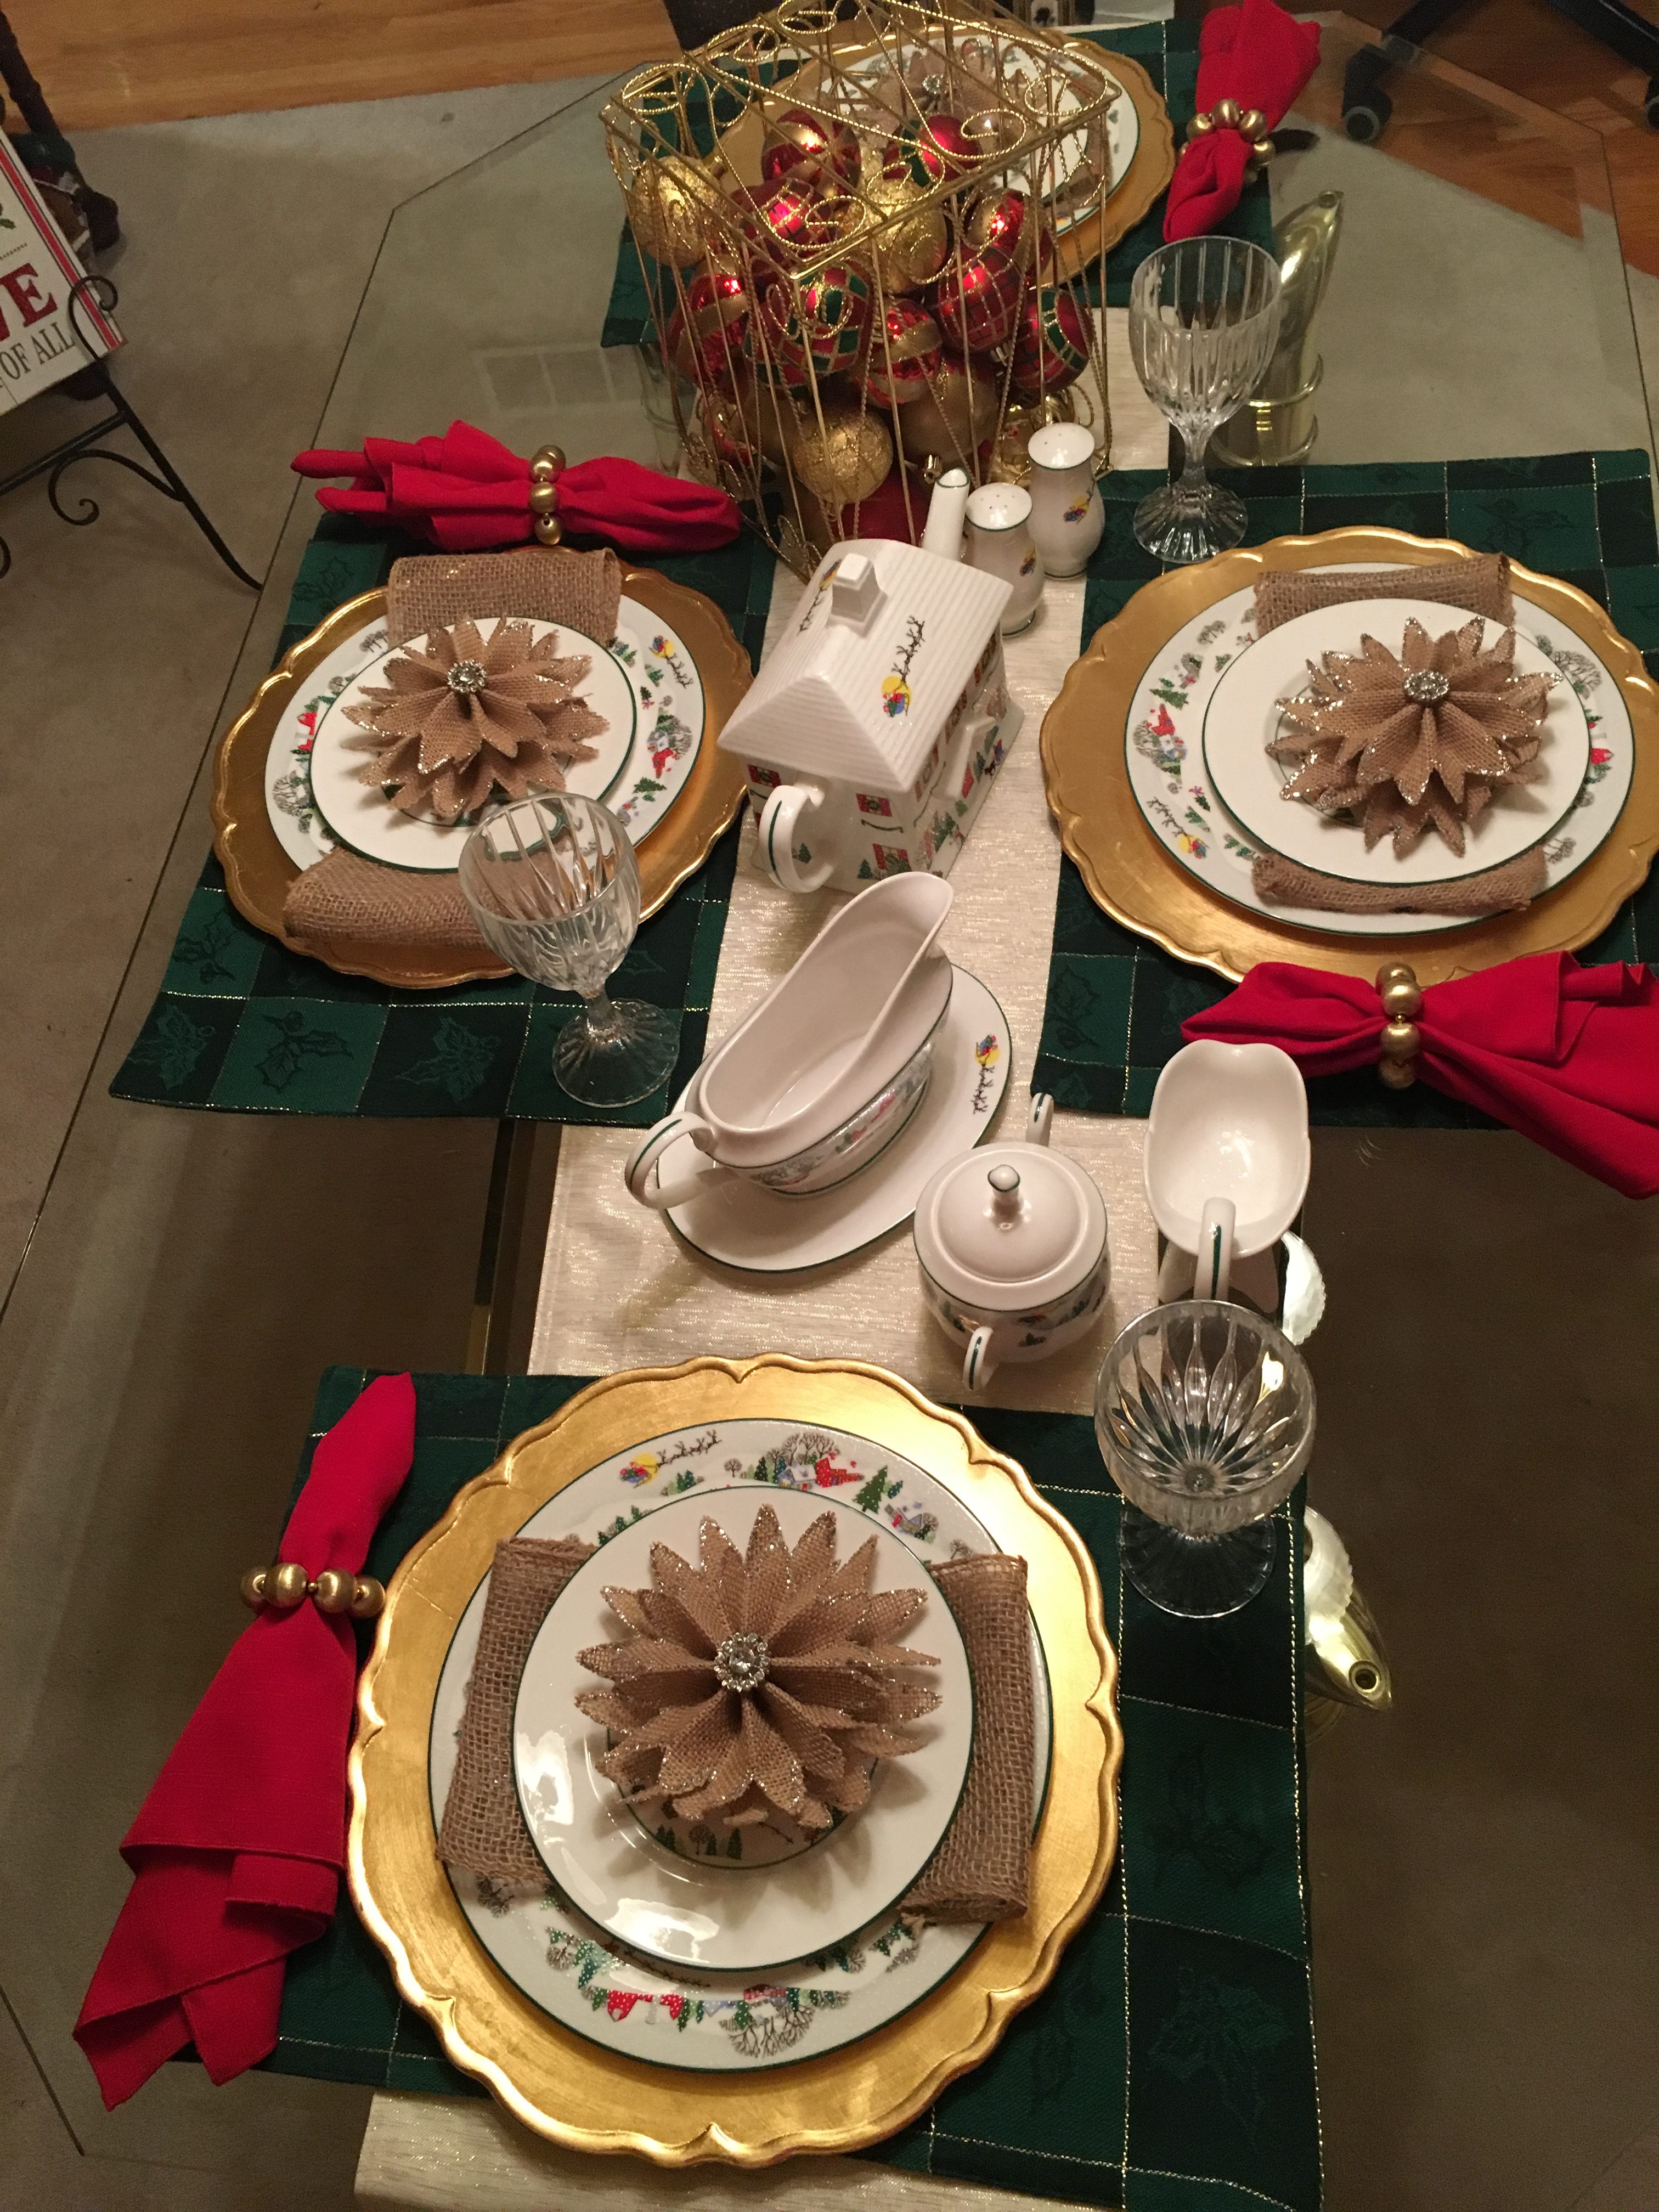
To keep things fresh, I added a new golden table runner this year. If coordinates perfectly with the golden thread in the dark green placemats. Also new this season are the burlap and crystal snowflakes. Those are actually Christmas ornaments. I purchased one early in the season and sat it on the dining room table while I was unpacking the items I had purchased. It happened to land on a plate that was on the table at the time and looked so good I returned to the store for 3 more. I guess sometimes the best decor ideas are accidents. Most of the other items on the table I have had for years. The cage of ornaments has been a part of my Christmas decor in one place or another for years, and the Mikasa stemware was another wedding gift.
Thanks for stopping by today, I hope you enjoyed our visit as much as I. I have so much more to show you, I do hope you will come back again.

9 Comments
Ana
I adore your festive porch!
Laura Pursley
All of your décor looks so great! I love your front porch. I am a big fan of filling lanterns with ornaments too! So easy and festive! Great job! Happy Holidays!
Laura
Crystals and Cleats
Thank you so much Laura. Aren’t the lanterns the best. I have some really cute Easter items I put in the lantern also. I think after christmas I may get some snow themed filler to finish out the winter.
Libbie
I love all these festive touches!. Love the front porch!
Libbie @alifeunfolding
Crystals and Cleats
Thanks so much Libbie. The front porch is one of my favorite spots to decorate.
Sonya
Super excited to be on the holiday blog hop with you. I love that you find items at the dollar store and the Target dollar spot, that is one of my favorite things to do.
Crystals and Cleats
Aren’t they the best Sonya. I wouldn’t be able to get nearly as much fresh decor each season without them.
Shea | The Fogue Abode
So lovely! It’s great to be on this hop with you.
Crystals and Cleats
Thank you Shea. I love doing these blog hops with this group!!