Transitioning my Front Porch Decor From Christmas to Winter
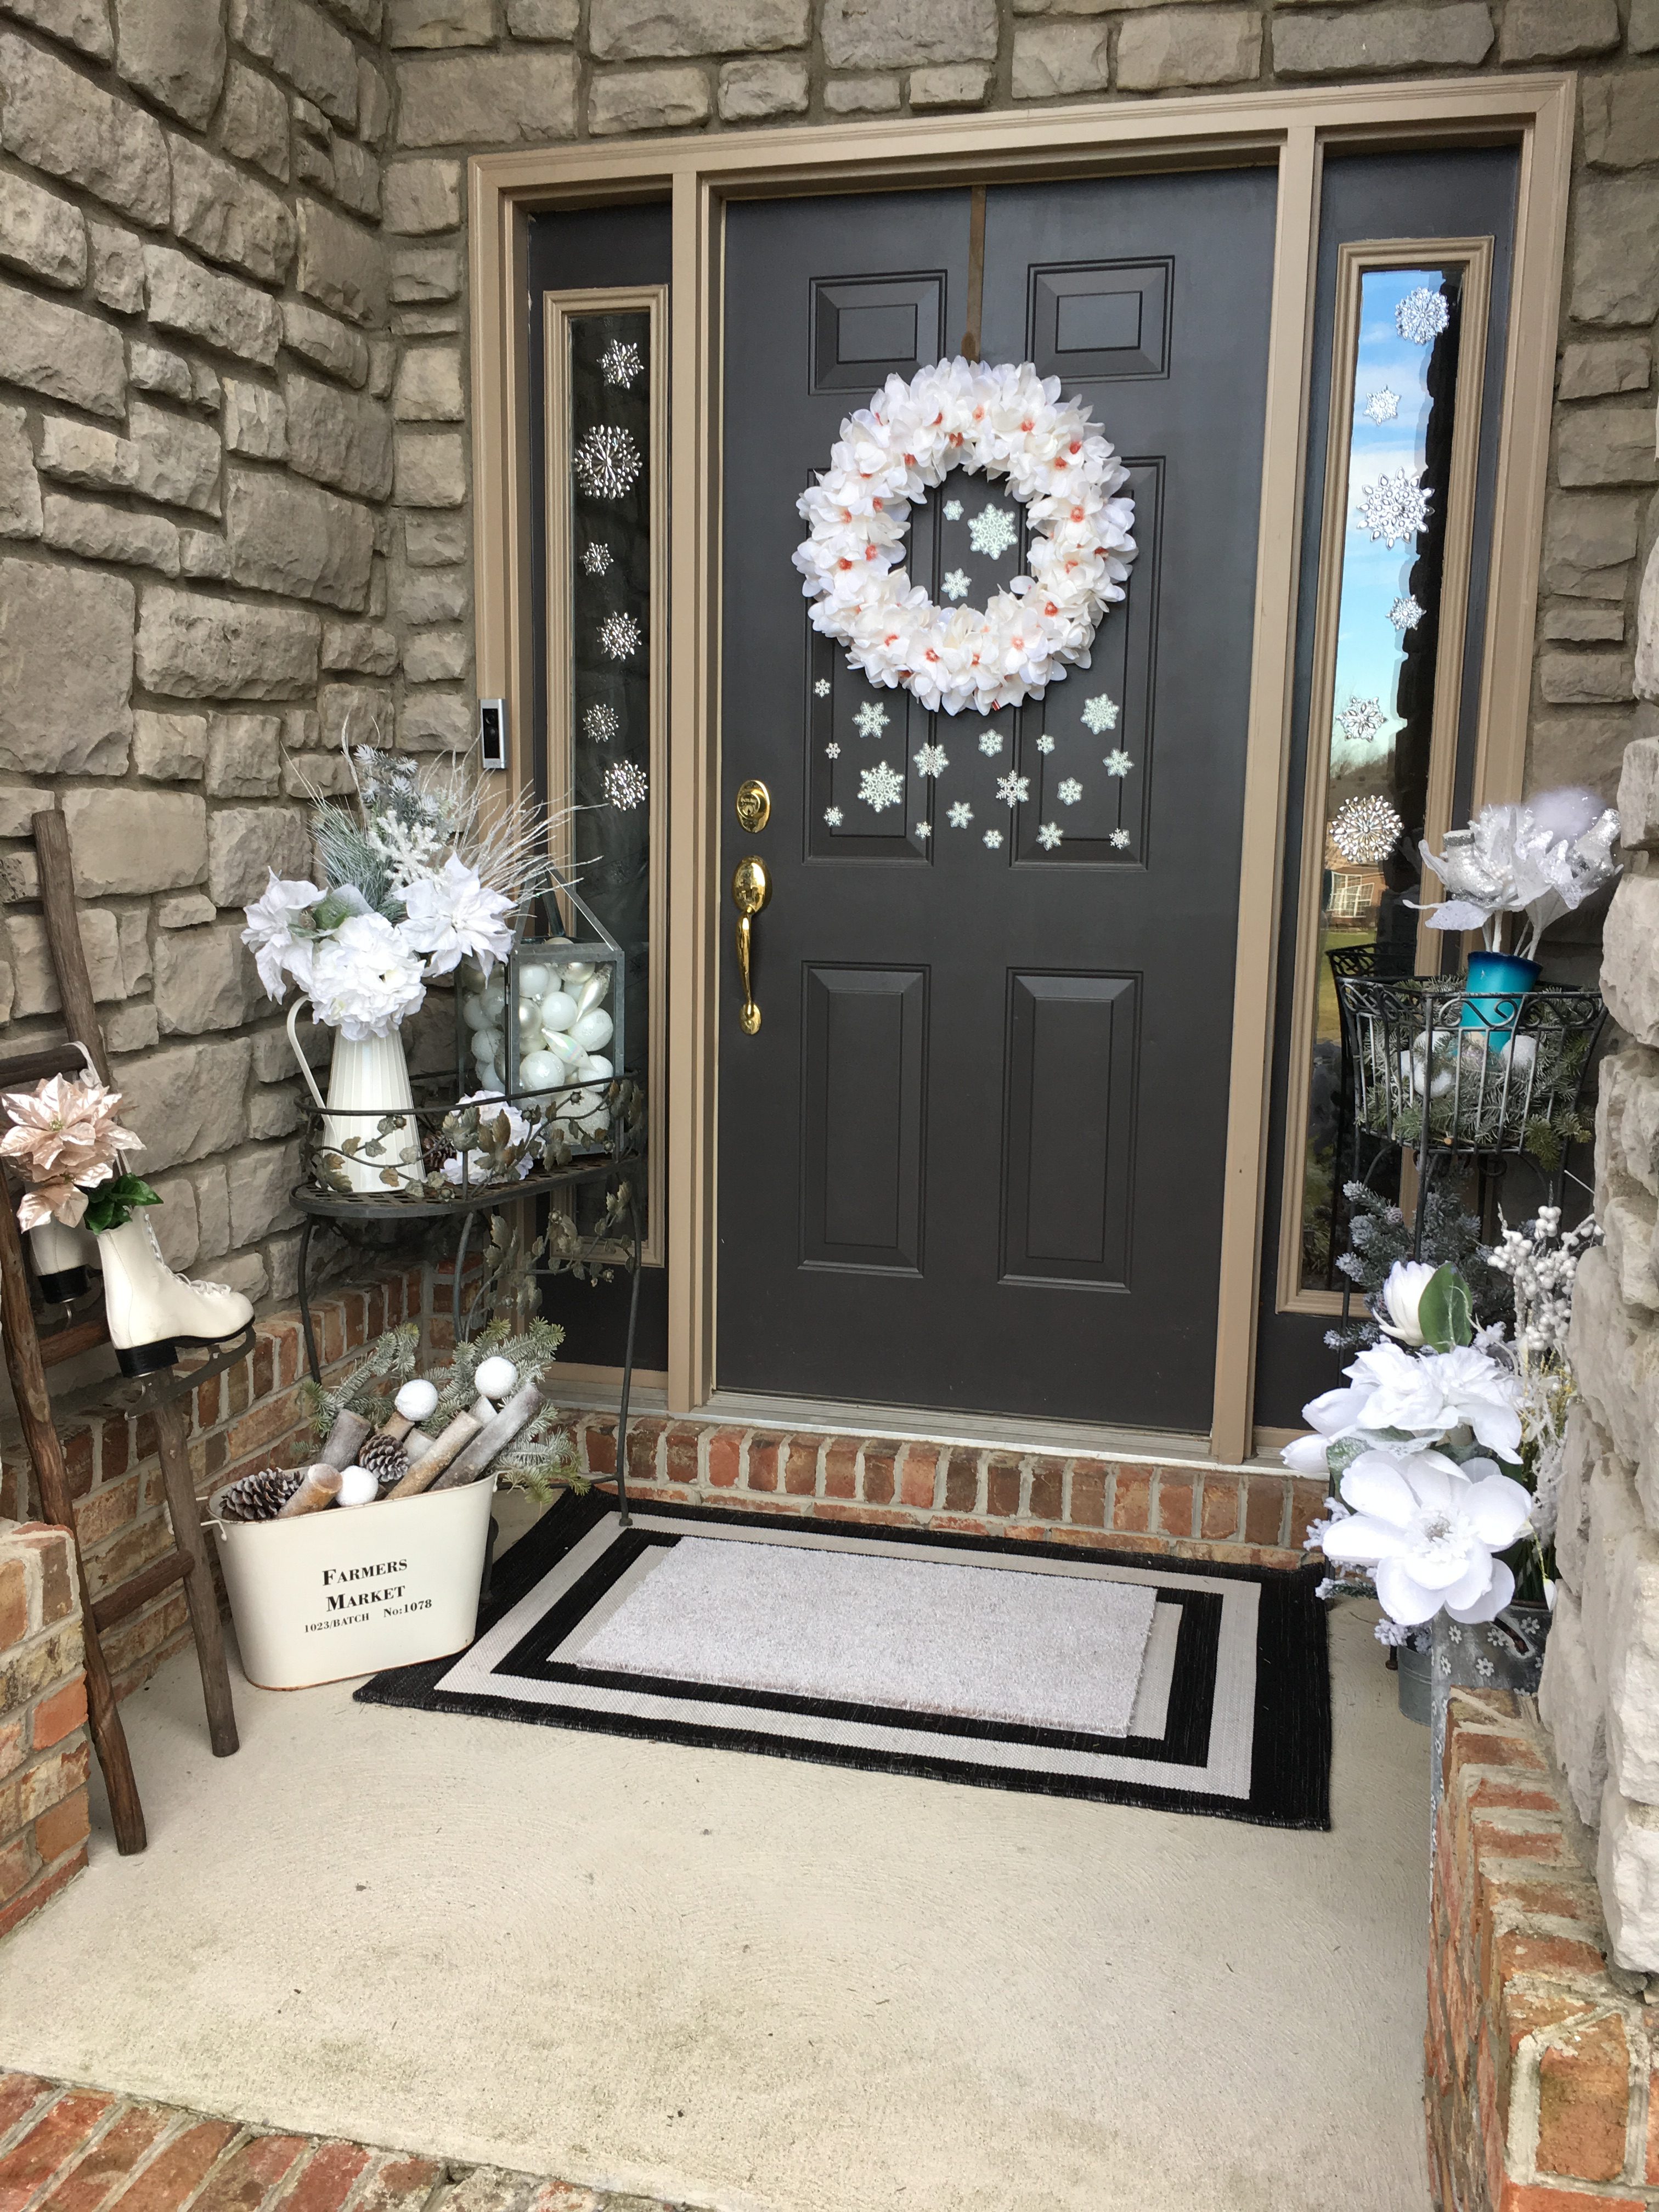
Christmas has come and gone and we are beginning a new year, so what better way to start it off with some fresh new decor. I decided to keep the Christmas magic alive as long as possible by transforming my Holly Jolly front porch into a white winter wonderland. After all, with the dreary days of winter still looming, who couldn’t use a little more magic, and what’s more magical than snow?

Disclaimer: We are a participant in several affiliate programs including the Amazon Services, LLC Associates Program, an affiliate advertising program designed to provide a means for us to earn fees by linking to Amazon.com and affiliated sites at no additional cost to you.
Here’s a photo of my front porch decked out for Christmas. All the details can be found on this post.

To change out the decor from Christmas to Winter I began by removing anything obviously Christmas. The wreath, the signs referencing Santa and the North Pole, and the red and green decor were the first things to go.

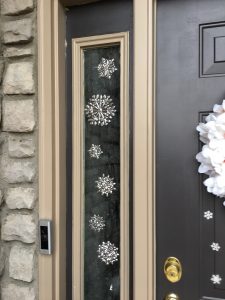
I changed out the red and green Christmas wreath for this lovely white one my son bought me as a Christmas gift. This wreath came from Michaels, but one that would equally gorgeous can be found here. I love that it’s mostly white, but includes subtle hints of blush. This will help me slowly transition to spring when the time comes. I added removable snowflake decor to the door to give the wreath a more snowy feel. A similar set of snowflake stickers can be found here. Again, when it’s getting closer to spring, I will simply remove the snowflakes and keep the wreath. Since my budget isn’t unlimited, I love being able to reuse decor pieces.
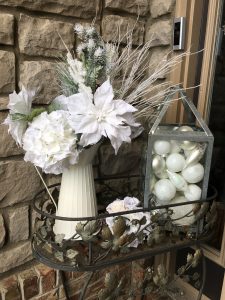
Next I updated this lovely tray from Hobby Lobby by removing the Christmas sign. I replaced the snowman, who looked a little too Christmasy with his red scarf and Holly trim on his hat, with this lovely pitcher from Homeologie. They have such unique home decor and their site can be accessed here. Many white faux flower options can be found at this link. White Faux Flowers

I added these cute white floral pieces to my Homeologie pitcher. The pitcher says “Garden” on one side, and for spring, I will absolutely turn the piece so the label shows, but for winter I turned the piece where the word faced the back so it wouldn’t take away from the snowy goodness. I love how versatile this pitcher is and I have plans for it in the spring and beyond.
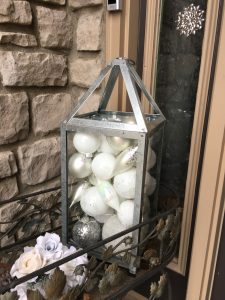
Finally, I removed all of the red ornaments and white floral pieces from my lantern and added snowy white and a few silver ornaments. To finish the area I added a white bouquet from Michaels. Similar decorative lanterns can be found here Silver Lanterns and white and silver ornaments can be found at this link. white and silver ornaments
Many of these items were used in other locations for my Christmas decor. The white and silver ornaments were in a cute sleigh and some were also used to adorn my dining room chandelier, you can see those photos here and here. Again, since my budget isn’t unlimited, I needed to reuse pieces but in a fresh way.
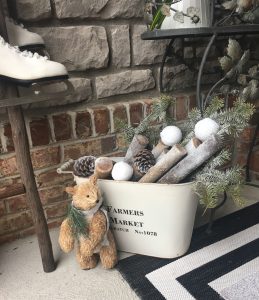
For Christmas I had added a red ribbon and bow to this cute little metal bin from Hobby Lobby, but for winter I removed the ribbon and bow and added some pine cones which I had flocked and a few fake snowballs from Michaels. I also added a little spray snow to the birch logs and tree clippings. The birch logs were from a tree we trimmed in our yard and the evergreen clipping are from our Christmas tree. Finally I added this cute little bear, which was another Christmas gift from my son. (He came wearing a Christmas scarf which I covered by pinning a faux fur scarf over his Christmasy one. That way I can easily remove it next Christmas but for now he’s looking ready for a snow day!”
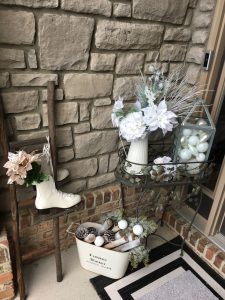
I replaced the potted poinsettia with this rustic ladder and hung a pair of ice skates over it. I added these icy blush flowers to the ice skates to give just a bit of color to this area. I kept the theme very snowy by using predominately whites but added a few touches of blush here and there. These should help me slowly transition this area to spring in the coming months.
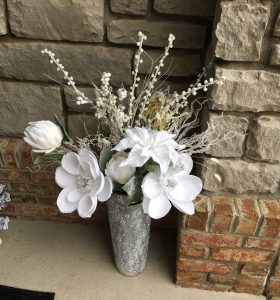
I replaced the potted poinsettia on the other side of the stairs with this metal vase from Michaels spring line. I love how the silver and white colors look with my all white flowers and I love how this will easily transition to spring as I add more colors of flowers and take away the white snow-covered ones.
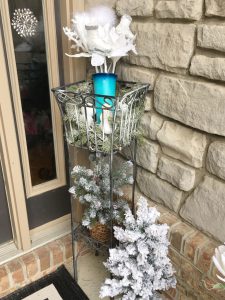
In the back corner I removed my nutcracker – also from Michaels – and my DIY Christmas decorations. You can see how I made the ornament tree here and the Christmas ornament basket using a plant stand here.

I kept the plant stand, and added some spray snow to the greenery. Inside this I added this beautiful vase my daughter painted for me. I filled the vase with white flowers, sparkly snowflakes, and a couple of floral pick ice skates that had been in an arrangement inside during Christmas.
Beside and beneath the plant stand I added two flocked mini trees. One is from Michaels and the other Bed, Bath, and Beyond. Similar ones can be found here.
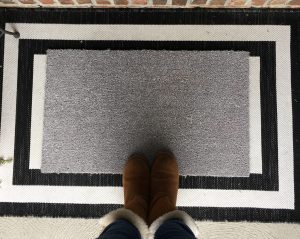
I swapped out my cute little elf feet rug for this plain one I painted with white spray paint. The mat I began with is similar to this one. I had planned to add another coat of paint so that it really looked white, but when I saw it like this I decided to keep it because to me it really looks like a normal doormat covered with frost.

Finishing Touches!
Often it’s the little things that really finish off a design so I added these silver snowflake decals to the sidelights and these cute snowmen and snowflakes to the large window above the door.

The look ended up exactly what I was going for and my hope is that it will keep the excitement of the season alive a little longer by featuring the magical look of snow instead of the basic blah of winter.
Thanks for visiting. I hope you have enjoyed these ideas. Don’t forget to sign up for our newsletter and follow along with us on Pinterest and Instagram.
You May Also Like
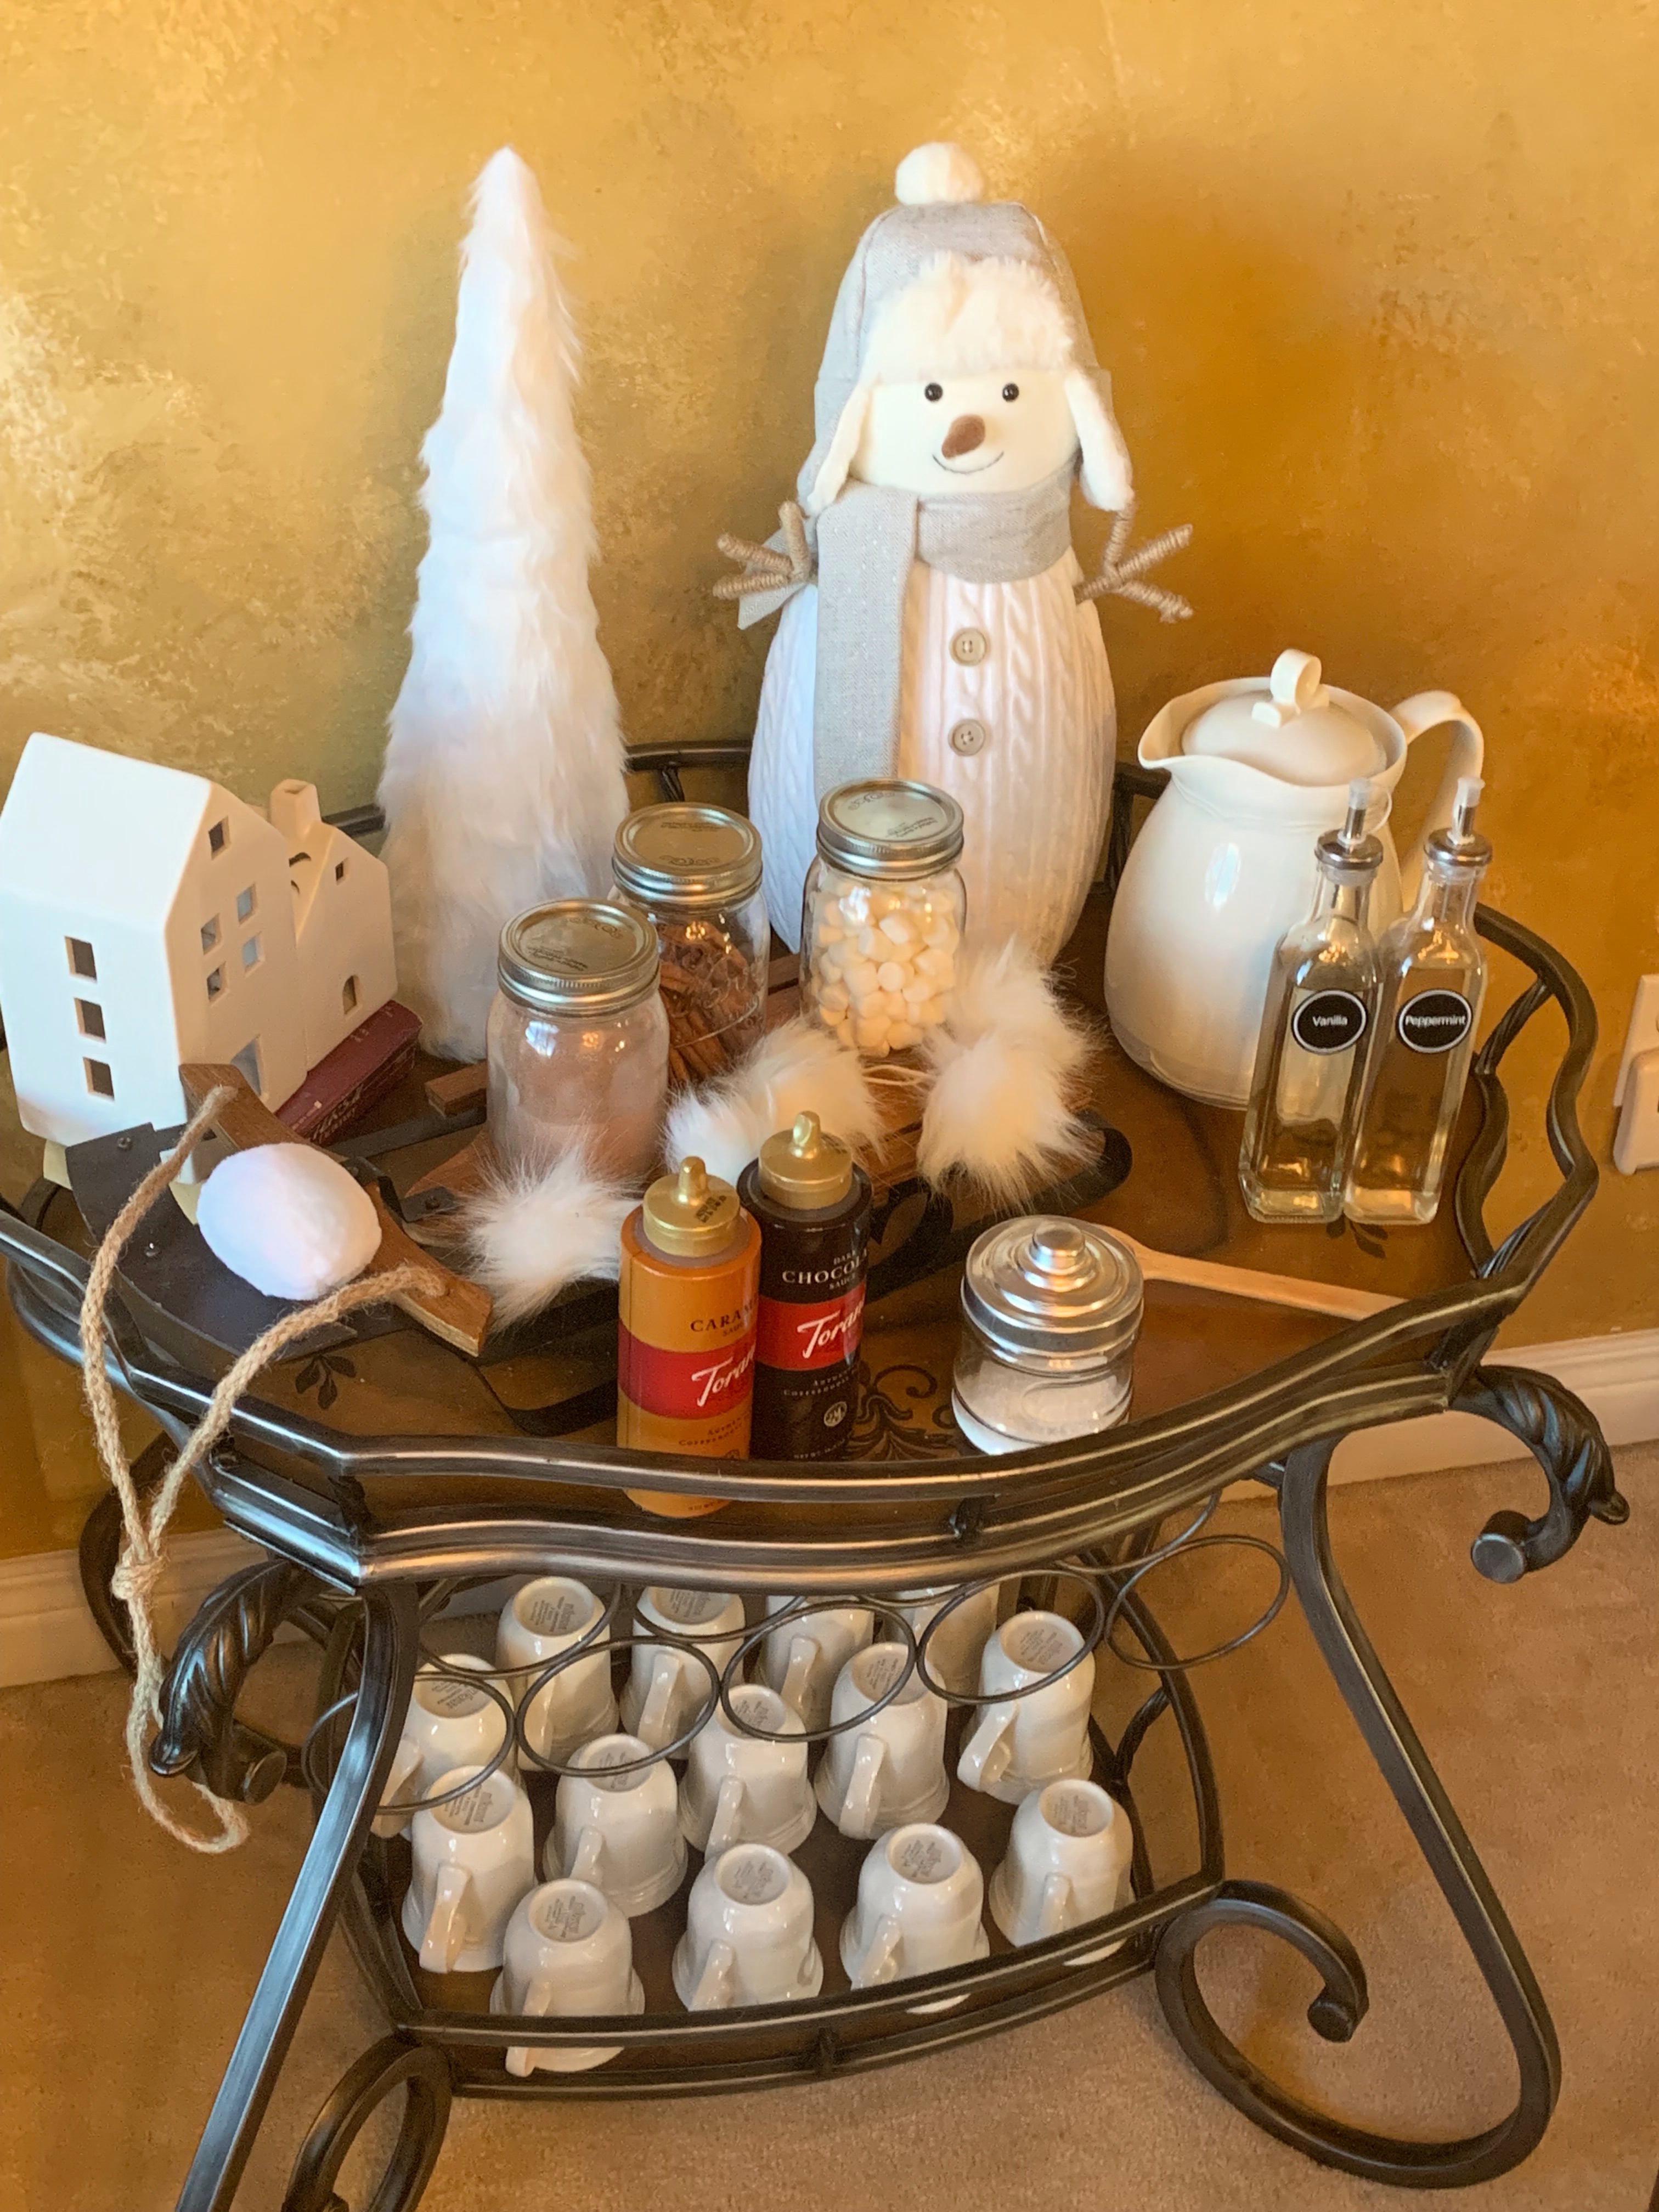
How to Create a Winter Themed Hot Chocolate Bar
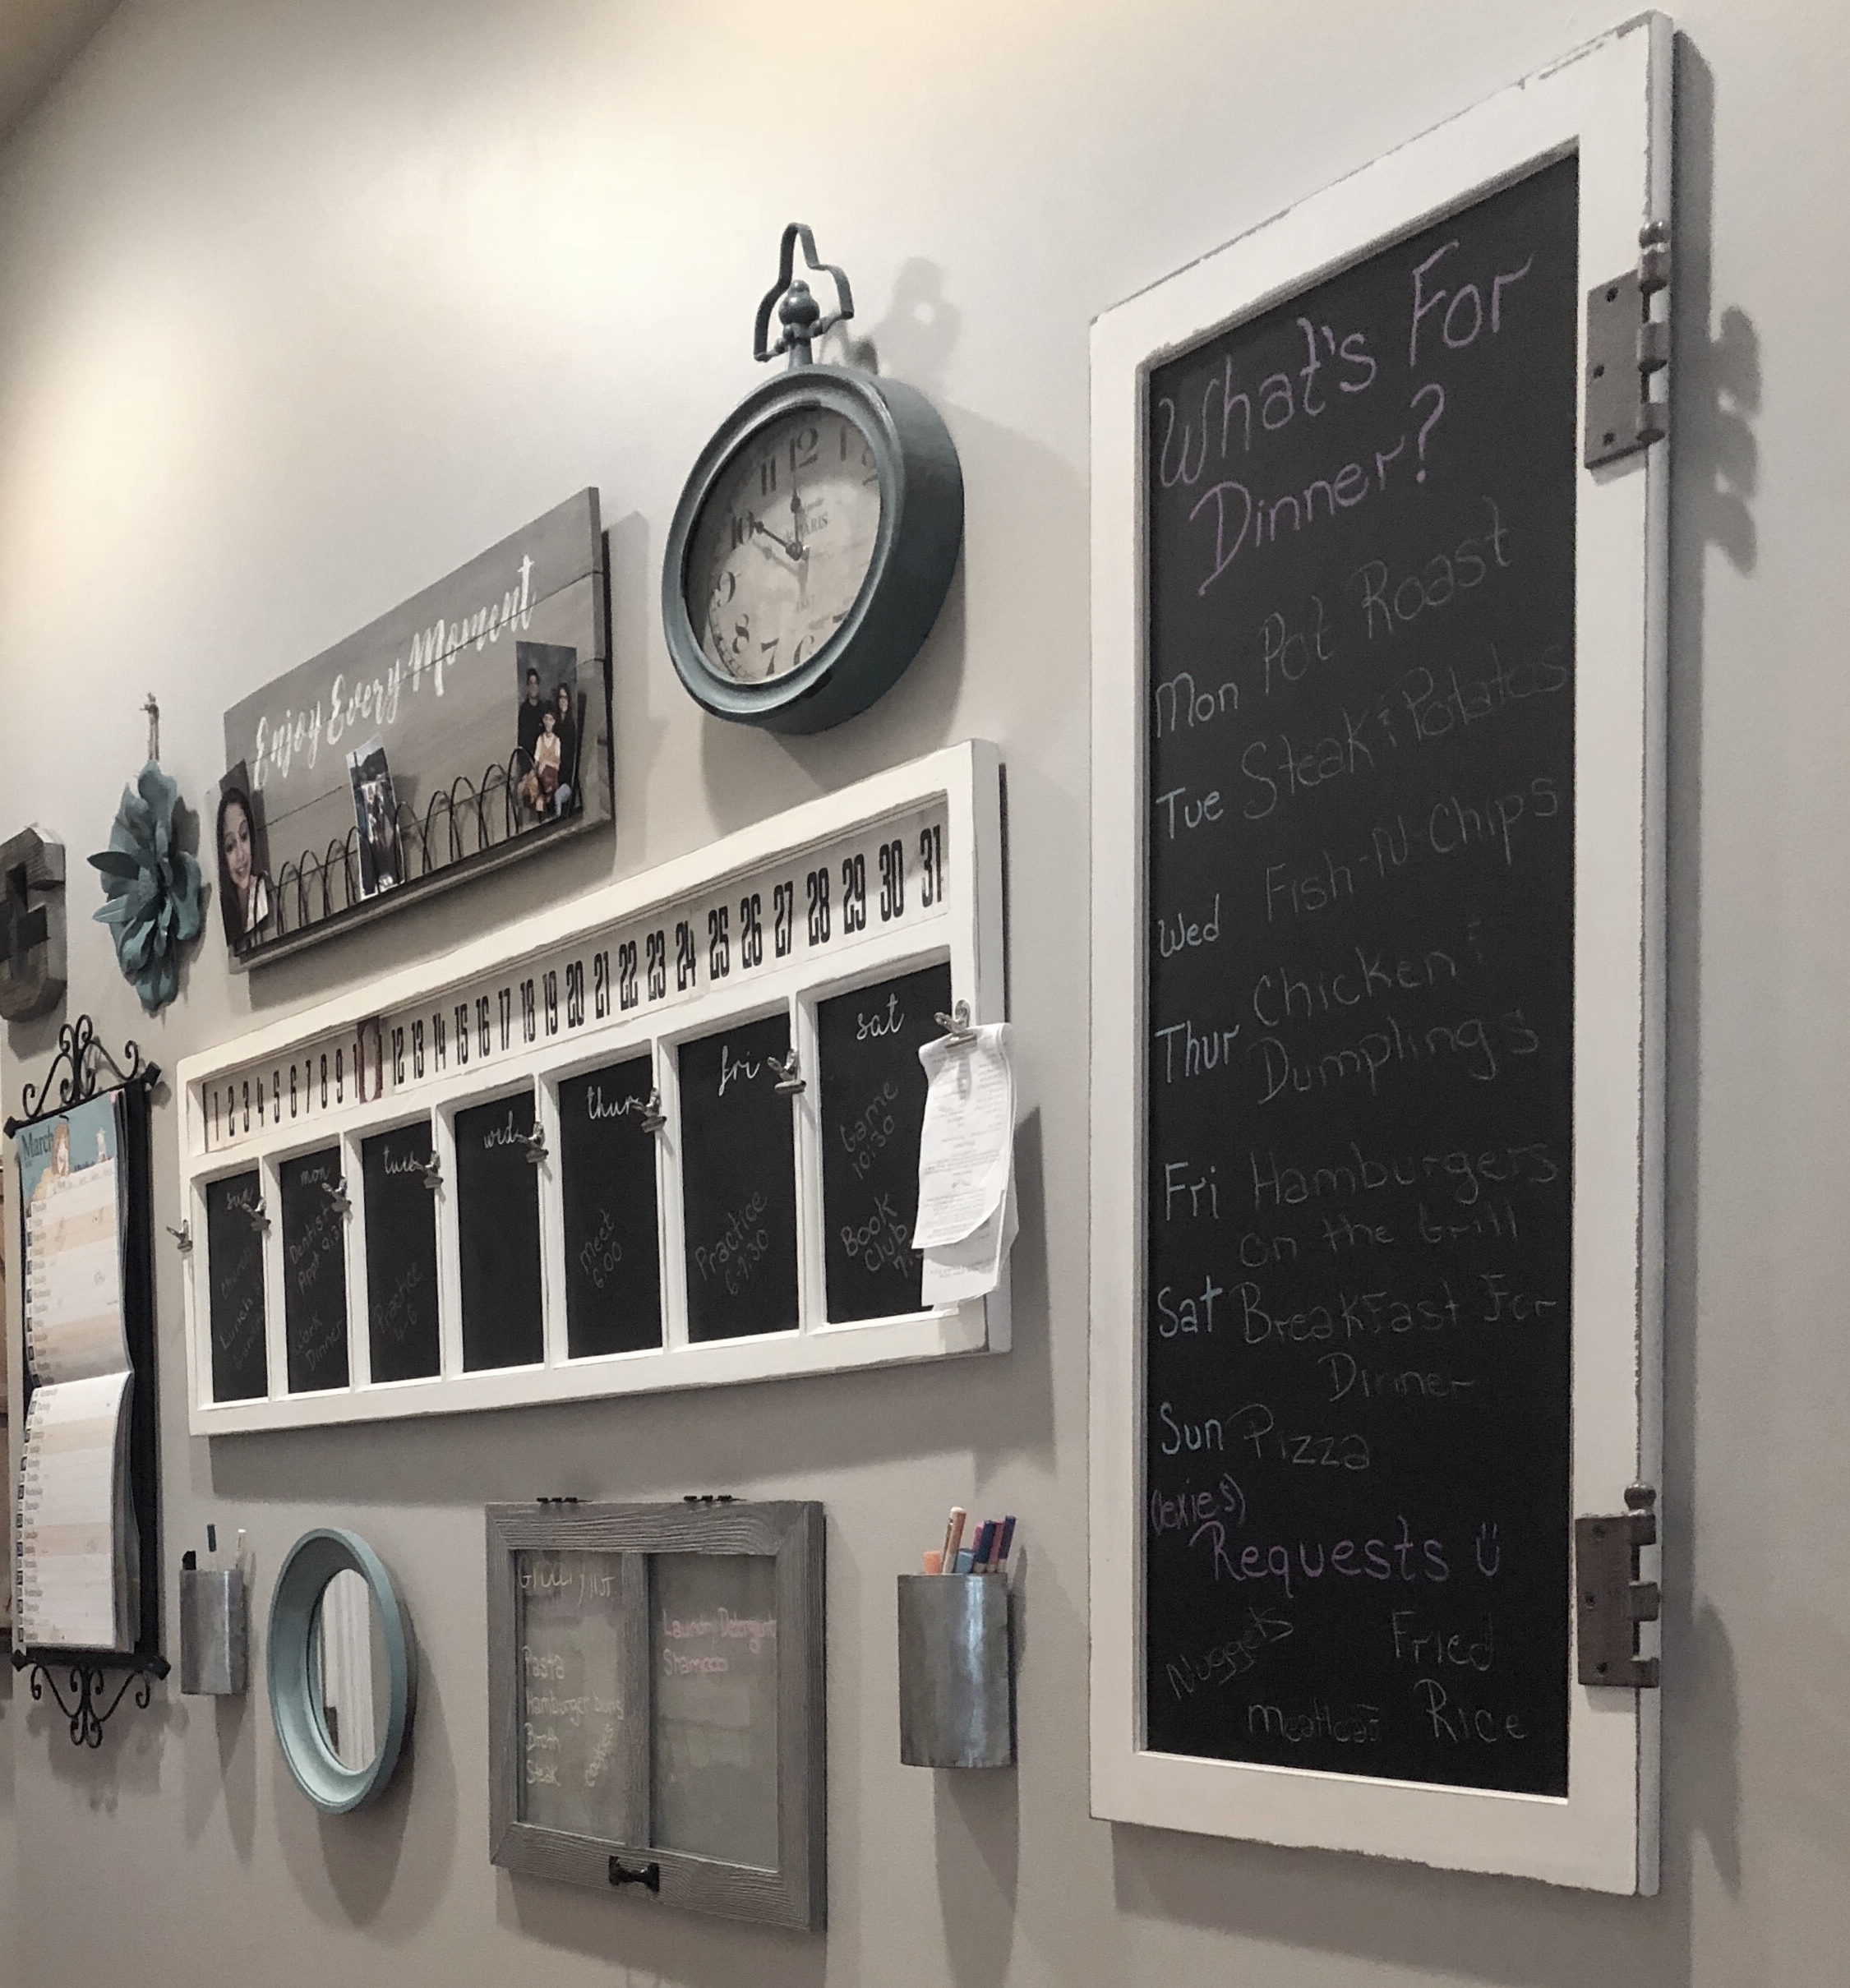
Christmas Farmhouse Beads and Wall Decor