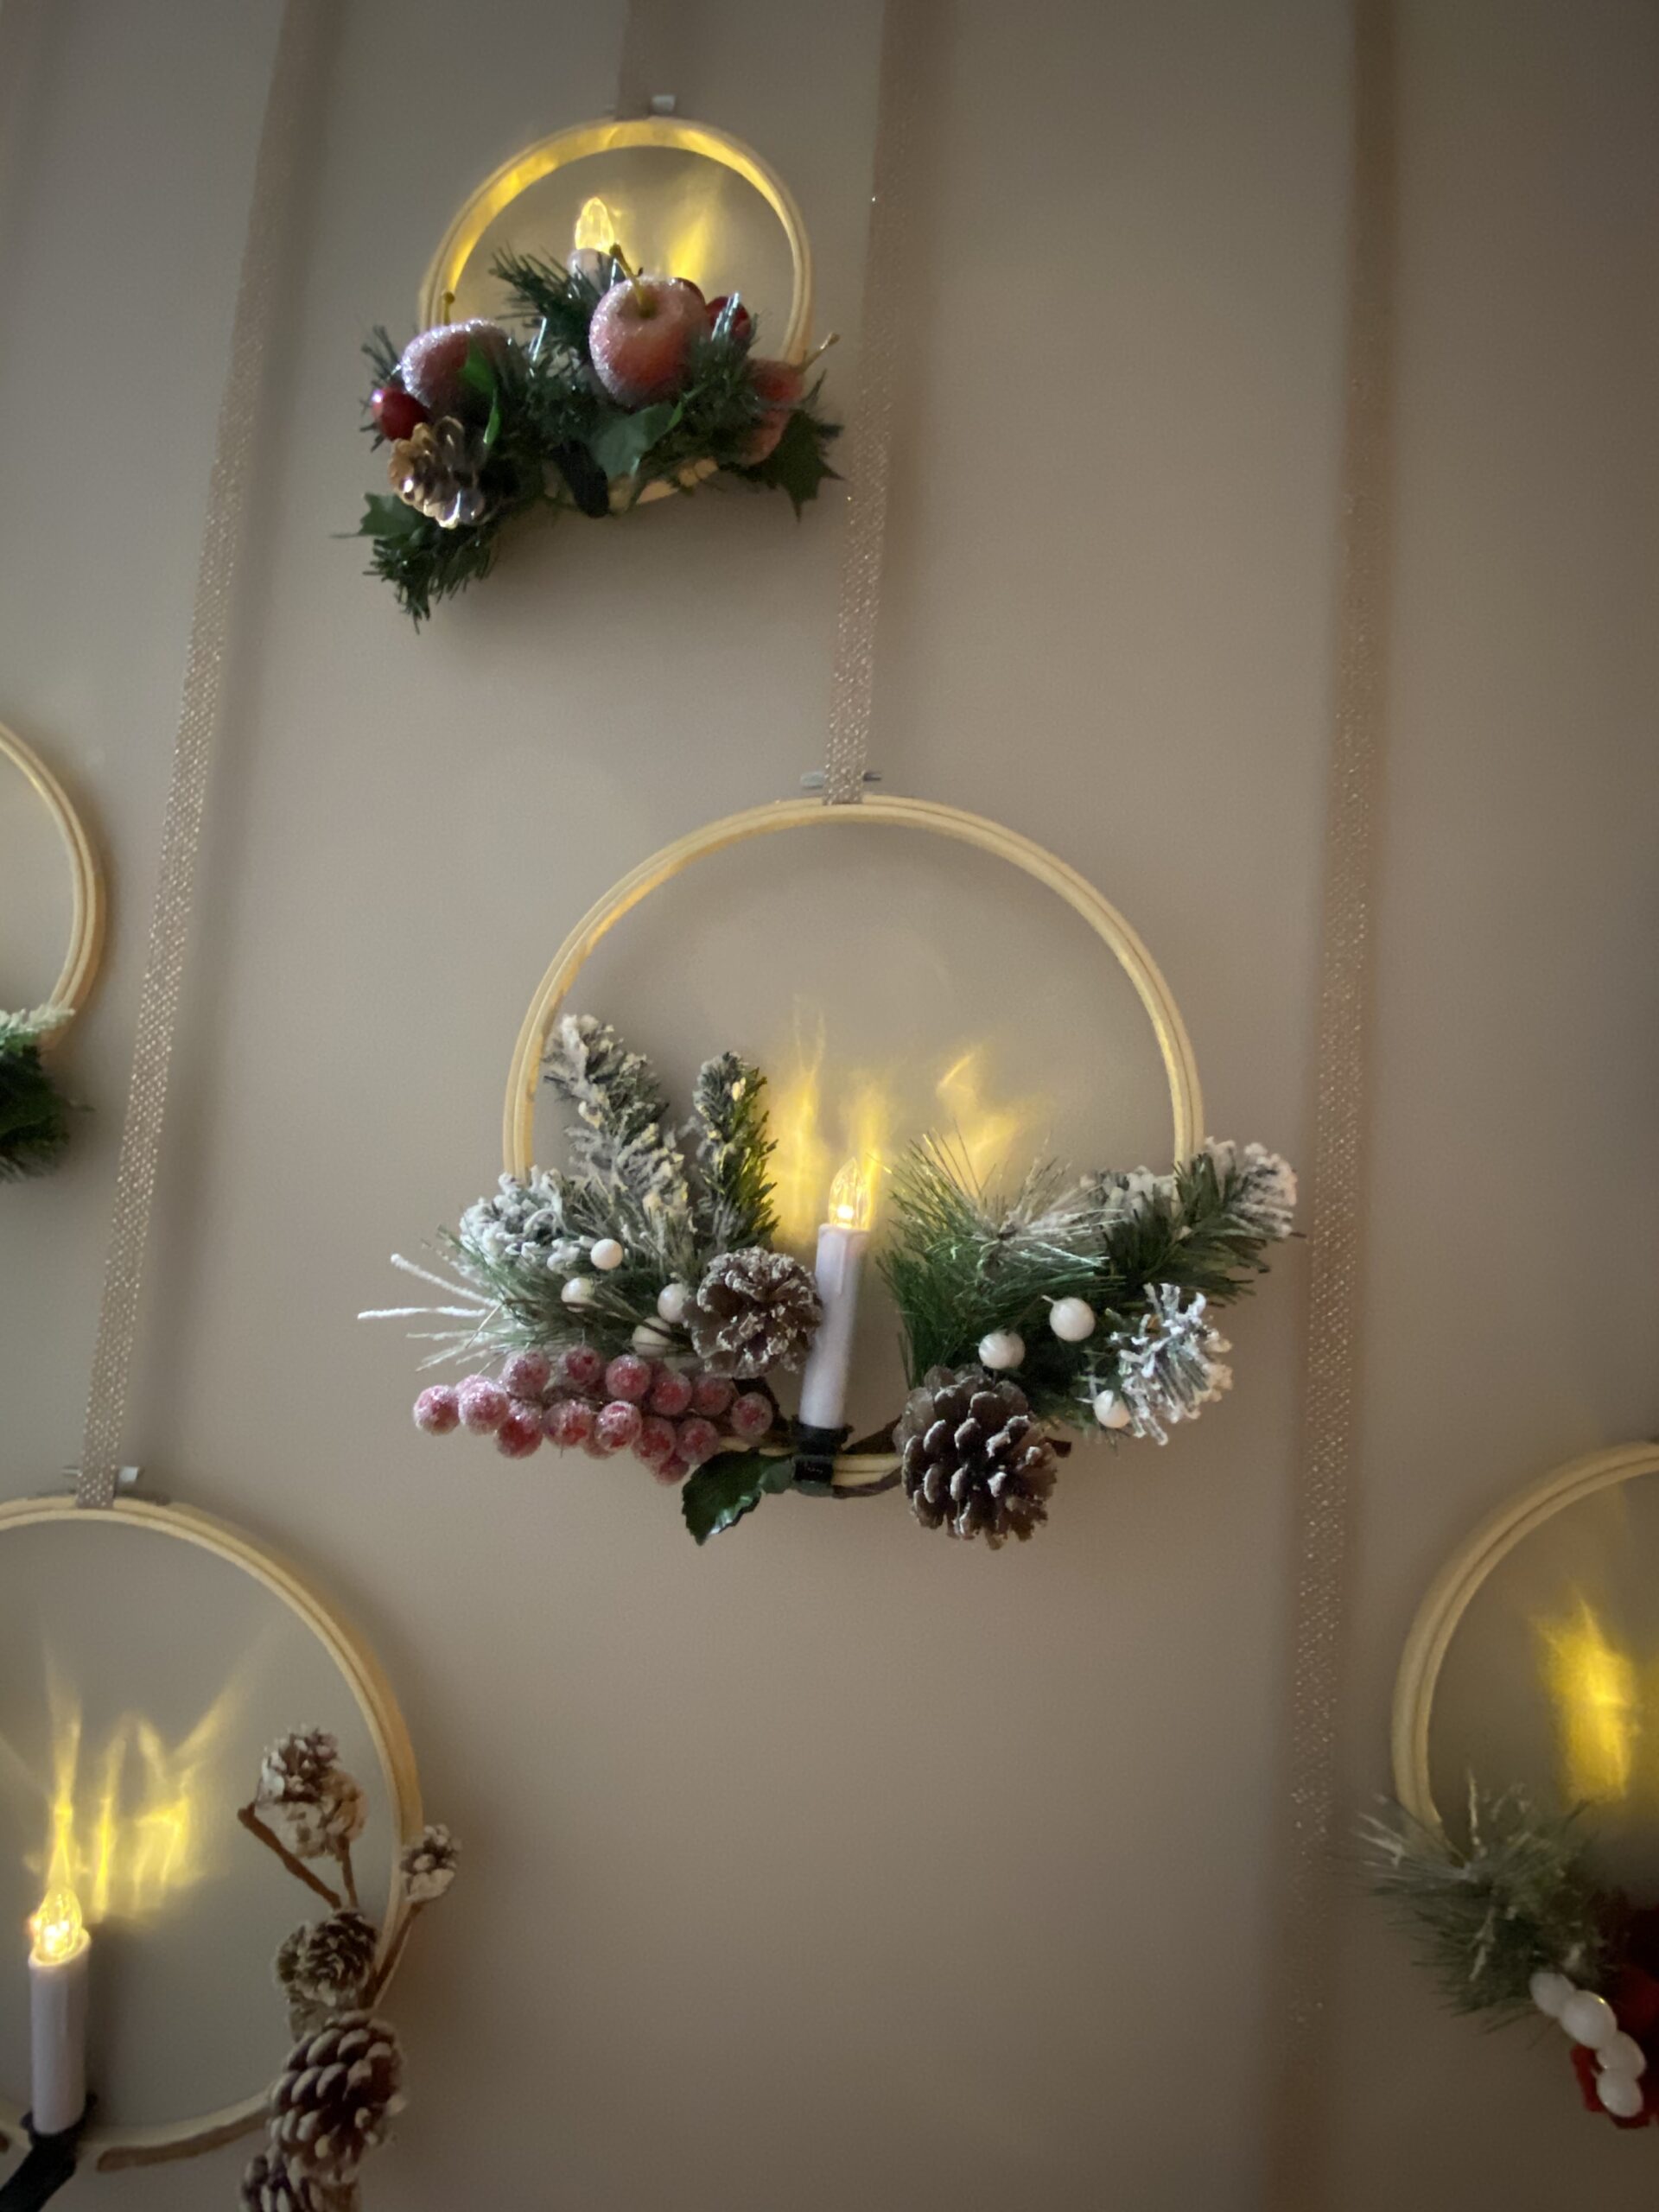
DIY Christmas wall decor
Hi everyone and welcome to our tutorial for this really amazing DIY Christmas wall decor. This may well become one of our families favorite Christmas decorations.
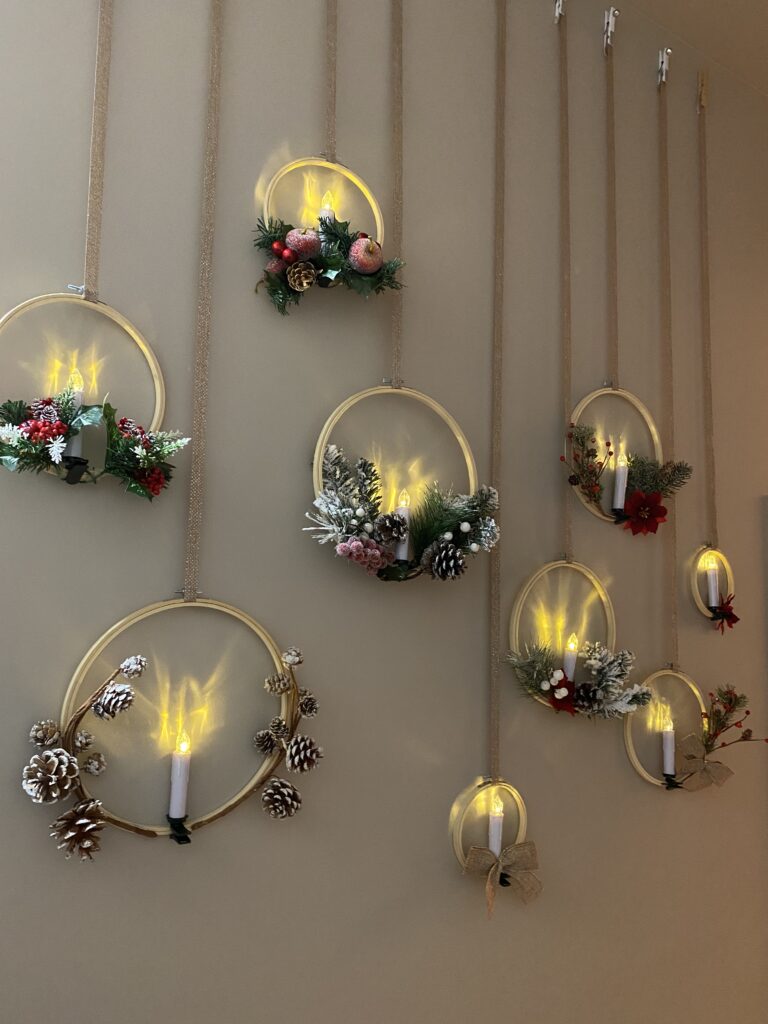
Here’s another look.
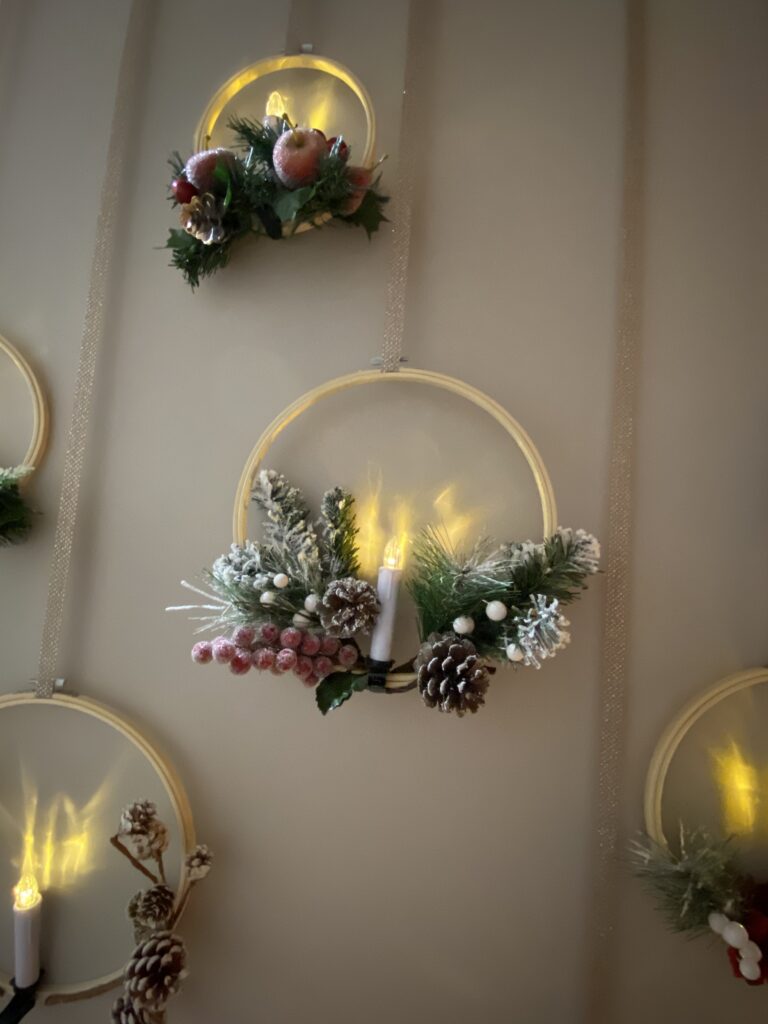
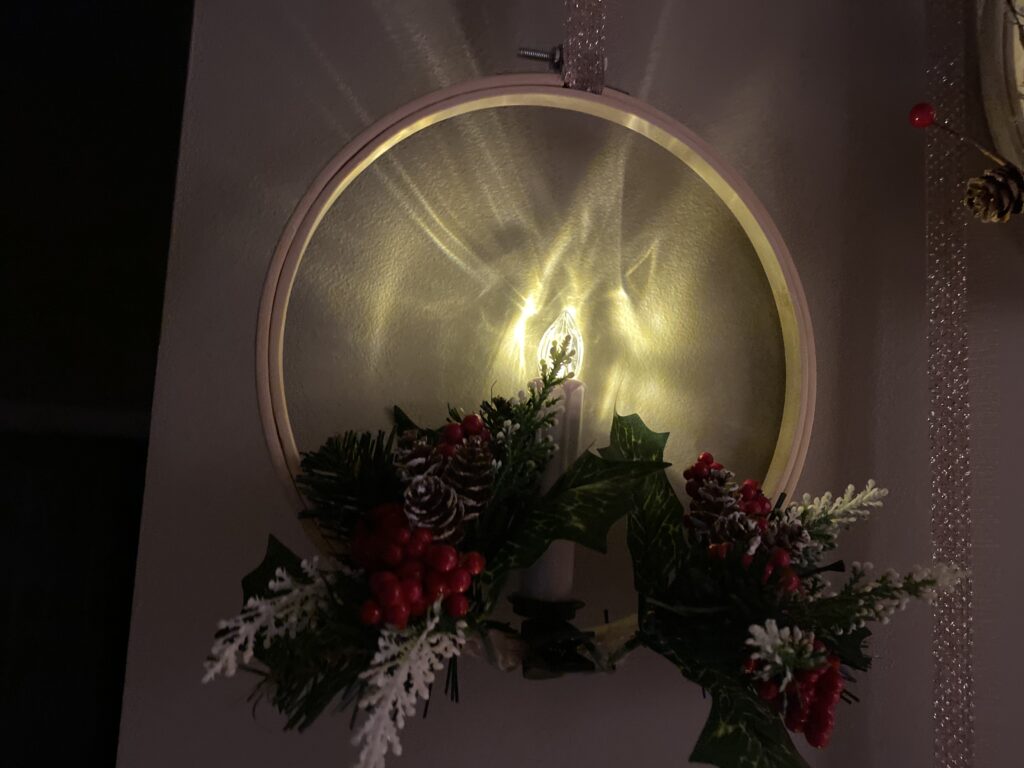
I have these decorating the hallway and it adds such a magical touch to an area of the house that is difficult to decorate. The great thing about these; they are so much easier to make than they look!
Gather your supplies:
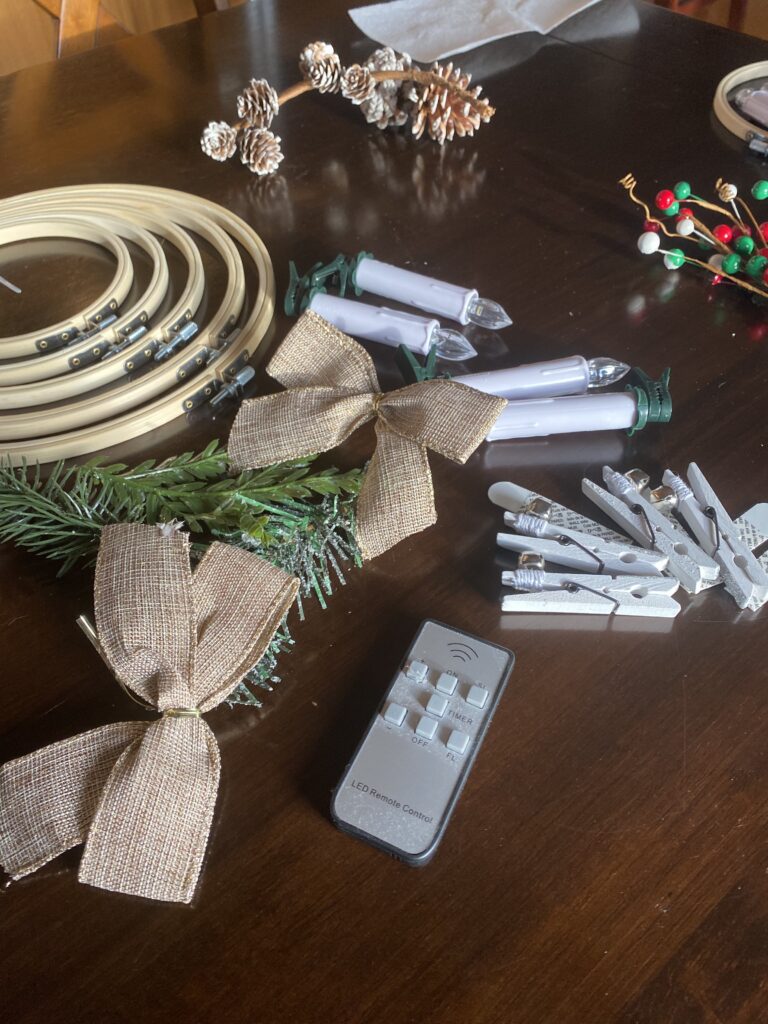
You will need wooden embroidery hoops like these.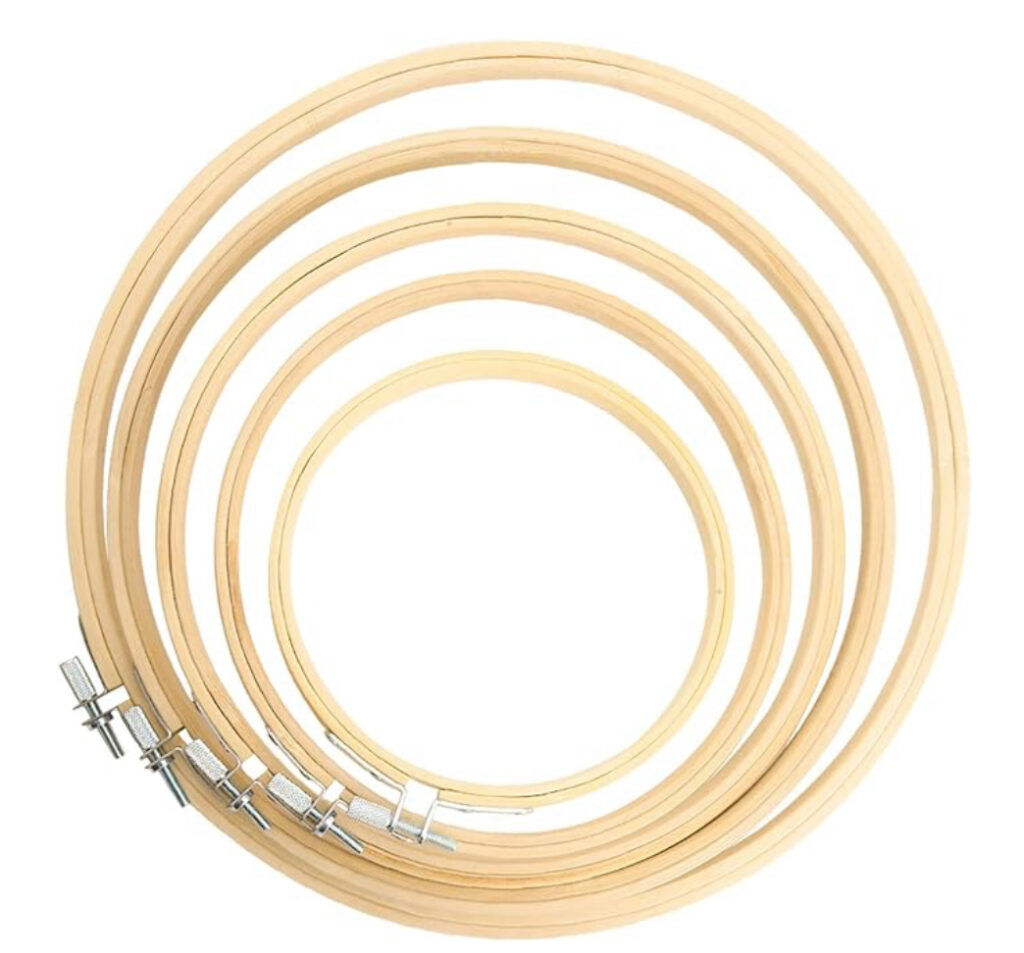
The number of hoops you need will depend on the size of the area you wish to decorate. I used 9 hoops for a section of wall that is approximately 5 feet long. Also, you want to use varying sizes, but the smallest size should be no smaller than 5 inches diameter.
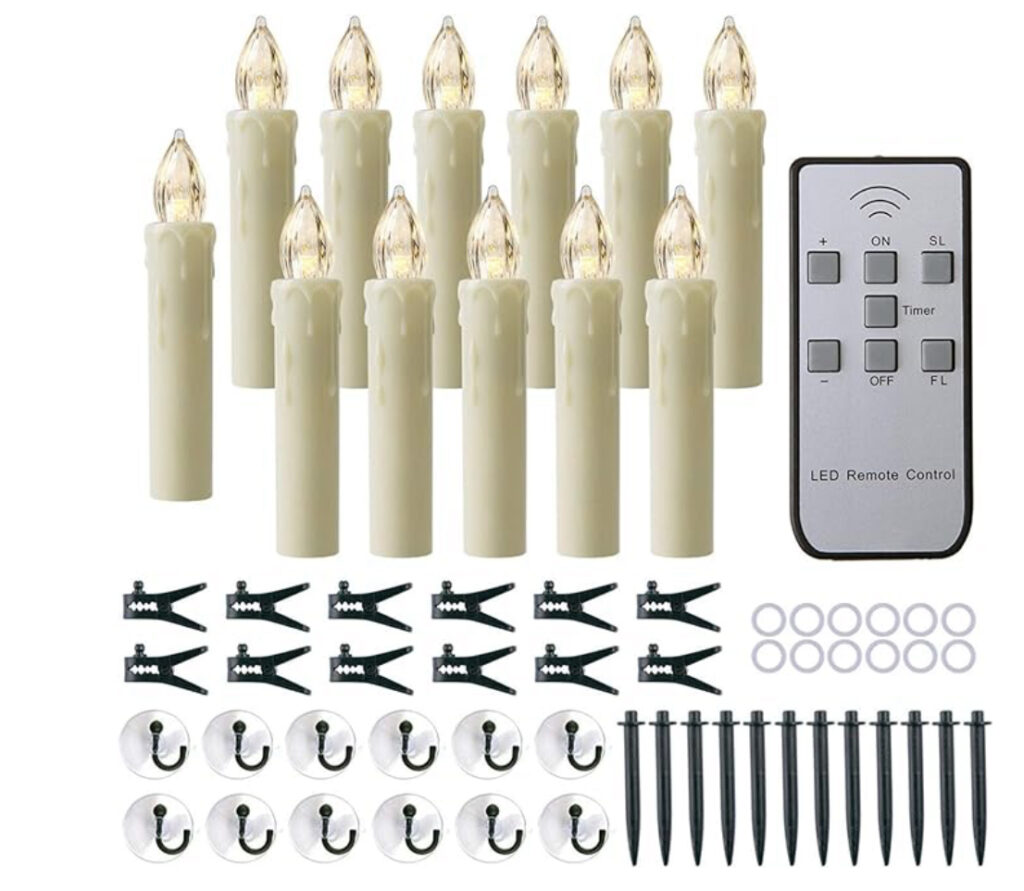
Next you will need remote control LED Candles. I used these:
I especially looked for ones with a timer! It’s so nice when they automatically come on at twilight. The ones I use have a “flicker” feature which makes them look more realistic. You can link to them by clicking the photo above.
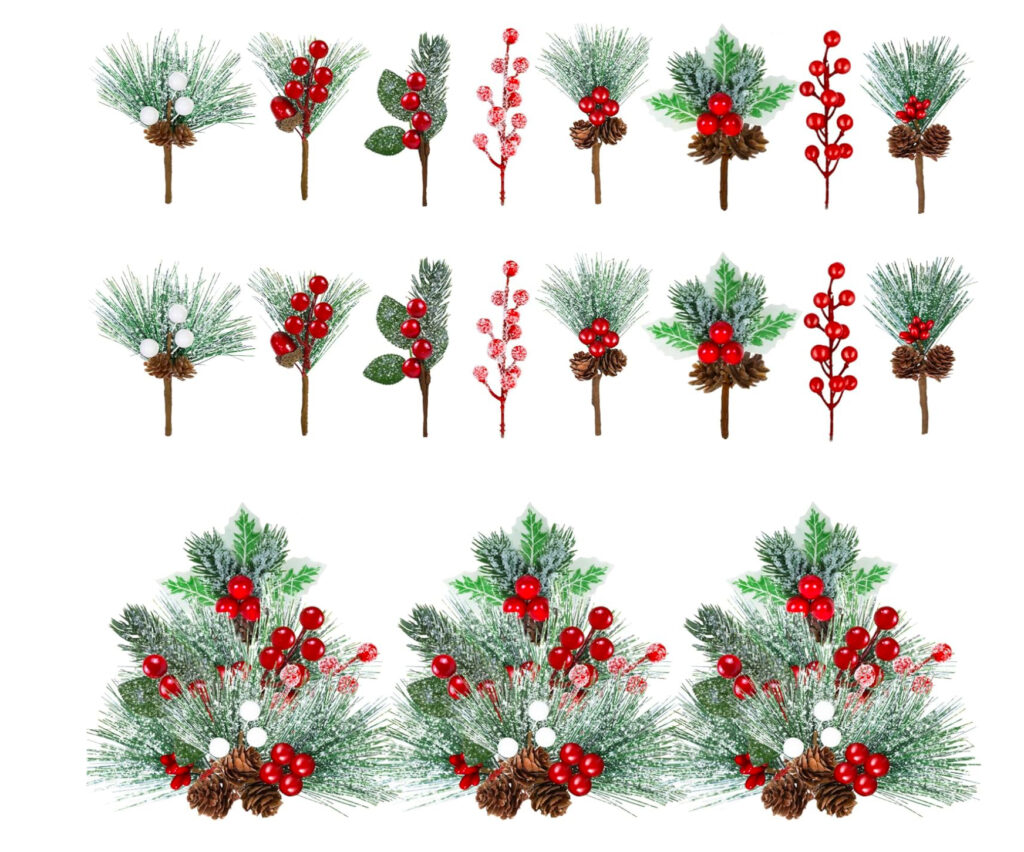
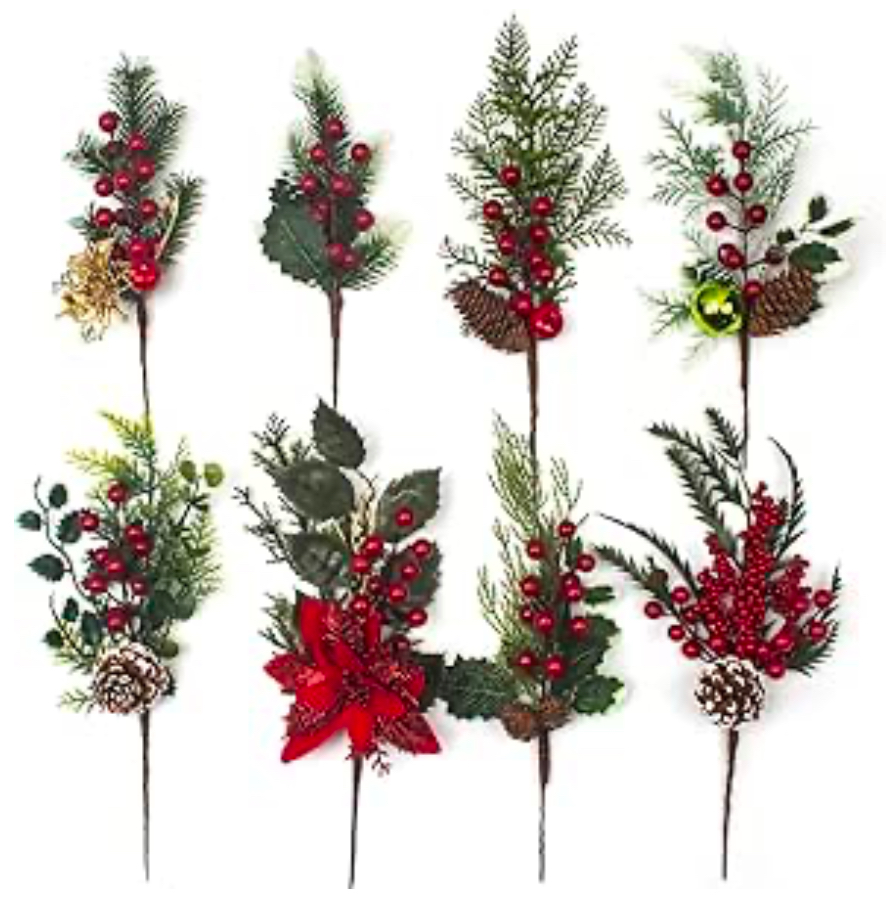
You will also need some Christmas picks, bows, flowers, etc. You can find lots of great ones here: Christmas picks.
And these.
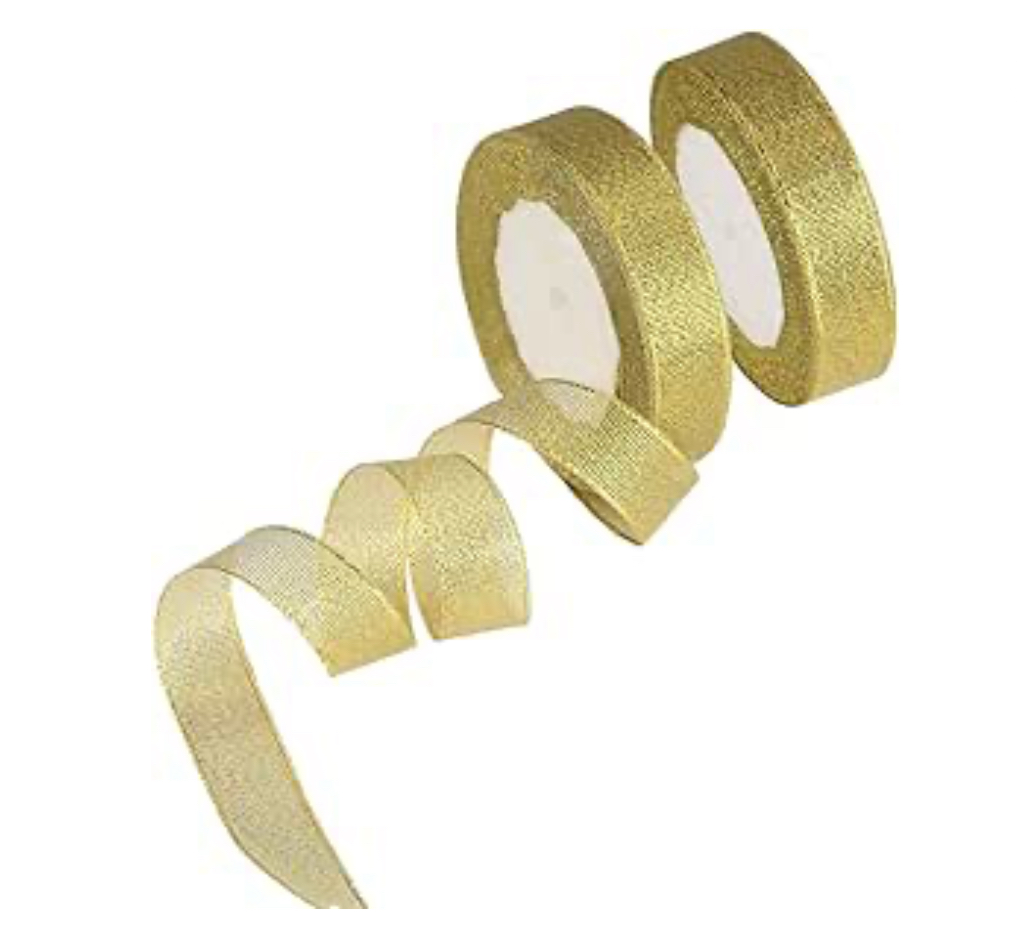
To hang the hoops, I used 1/2 inch gold ribbon like this.
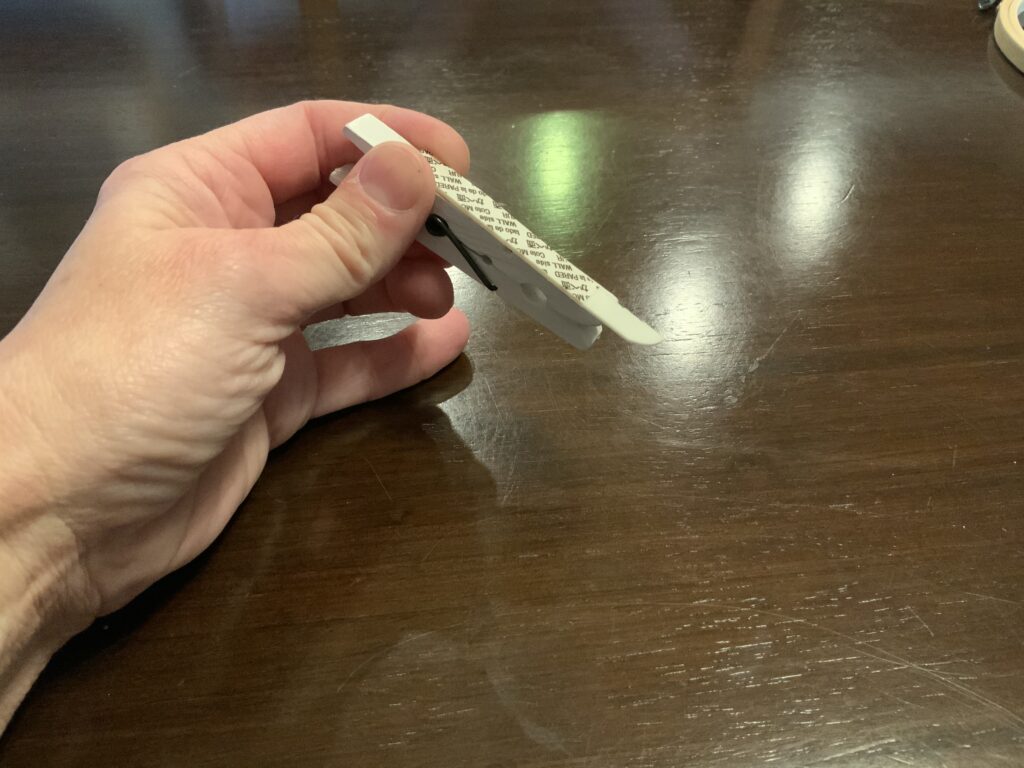
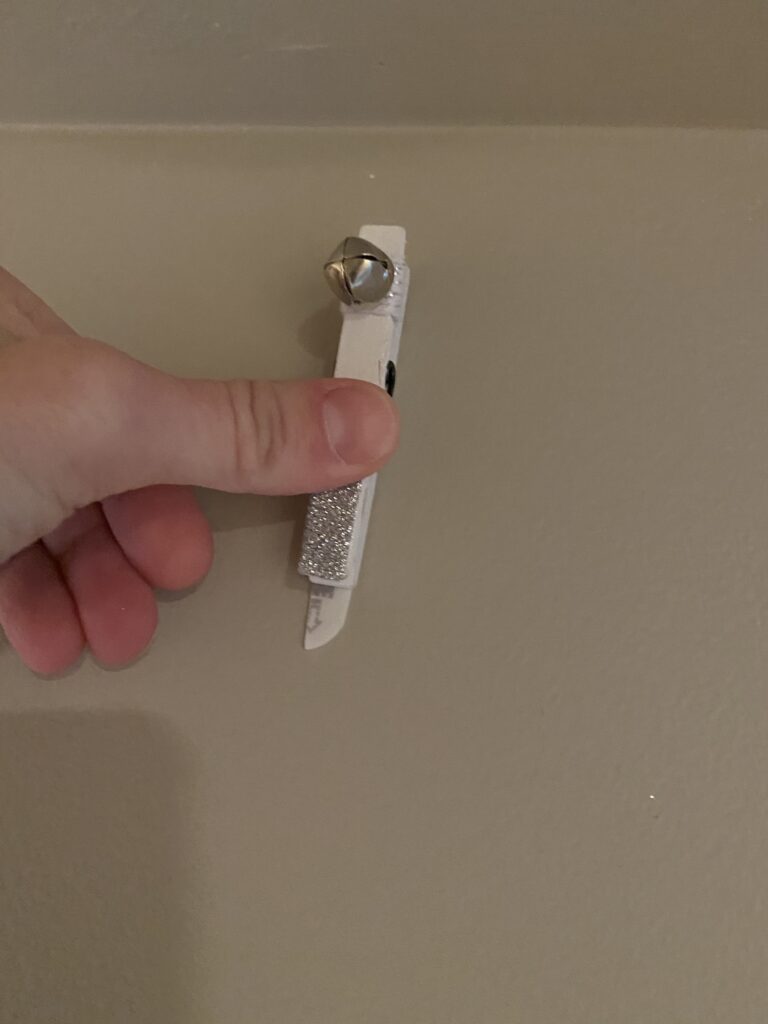
To attach the hoops to the wall I used Christmas clothes pins. You can find many cute options here.
You could also easily DIY some cute clothes pins.
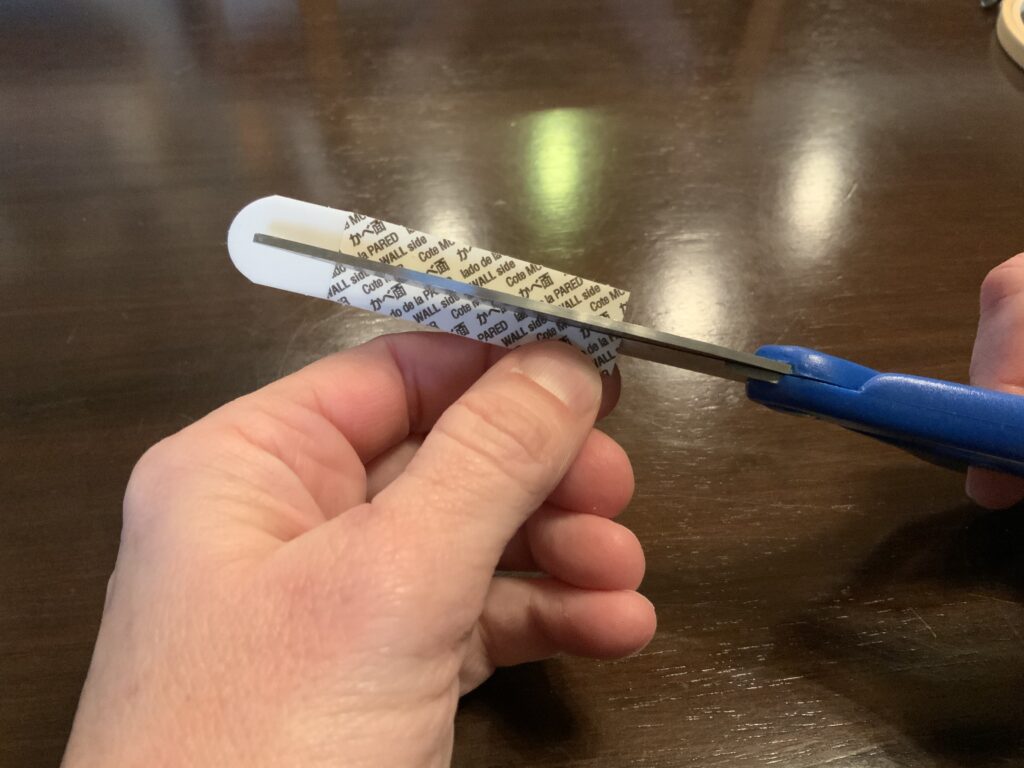
To attach the clothes pins to the wall, I used 3M Command Adhesive replacement strips. I bought heavy duty ones like these and then cut them in half so they would be no wider than the clothes pins.
Assembly:
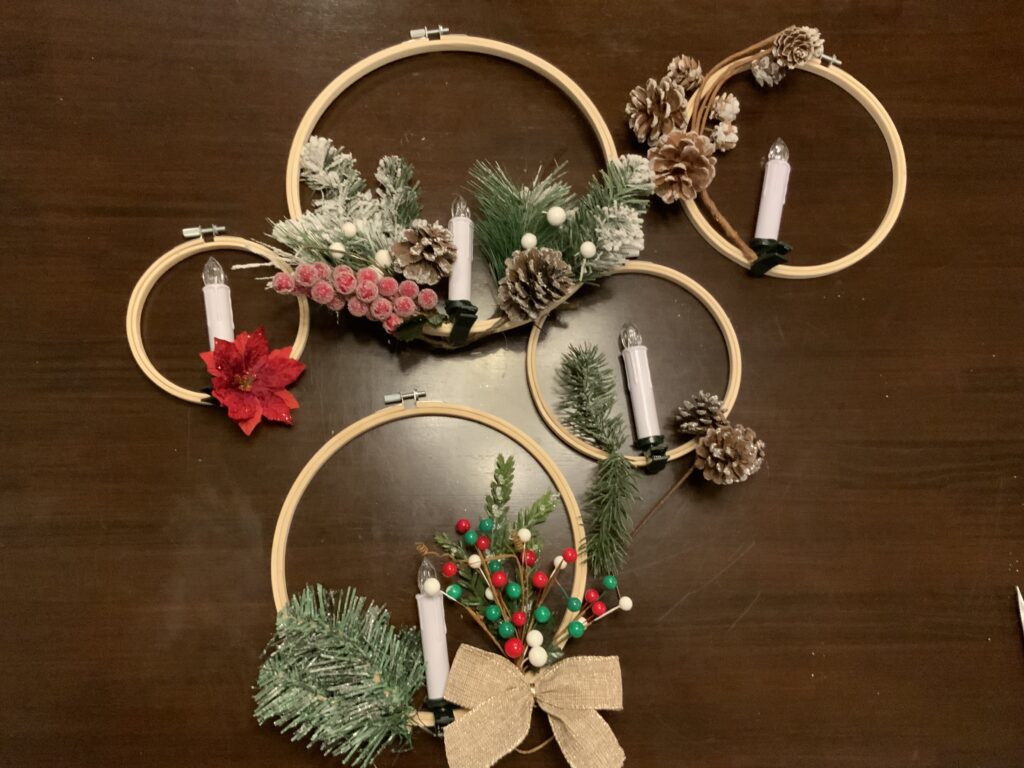
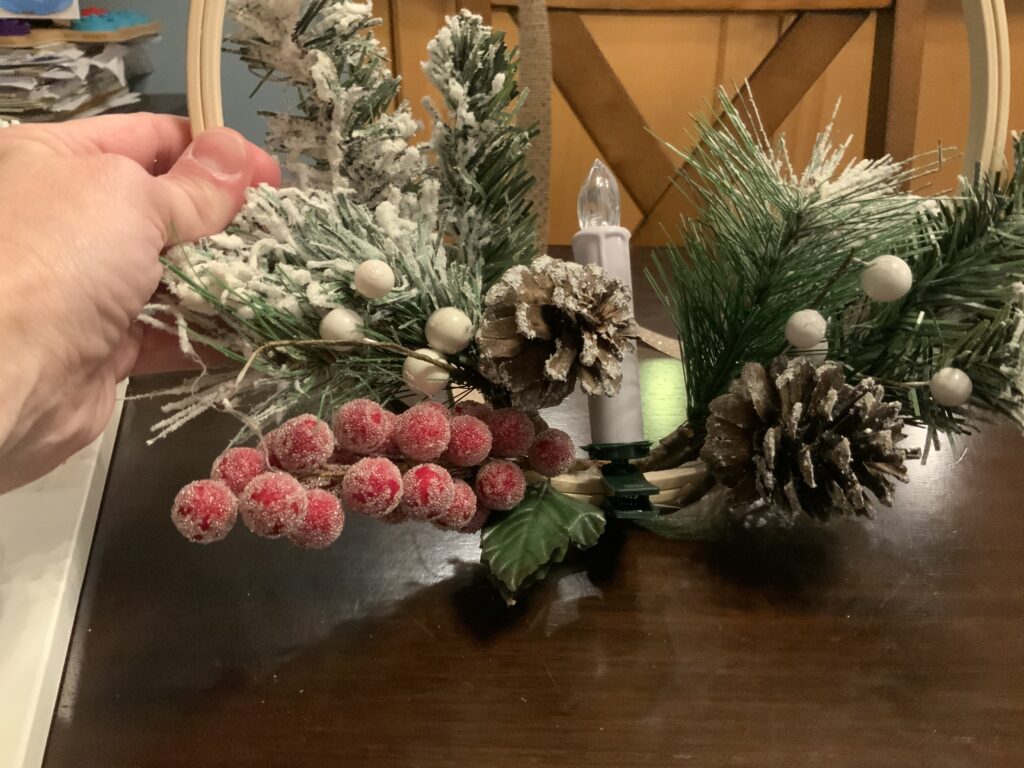
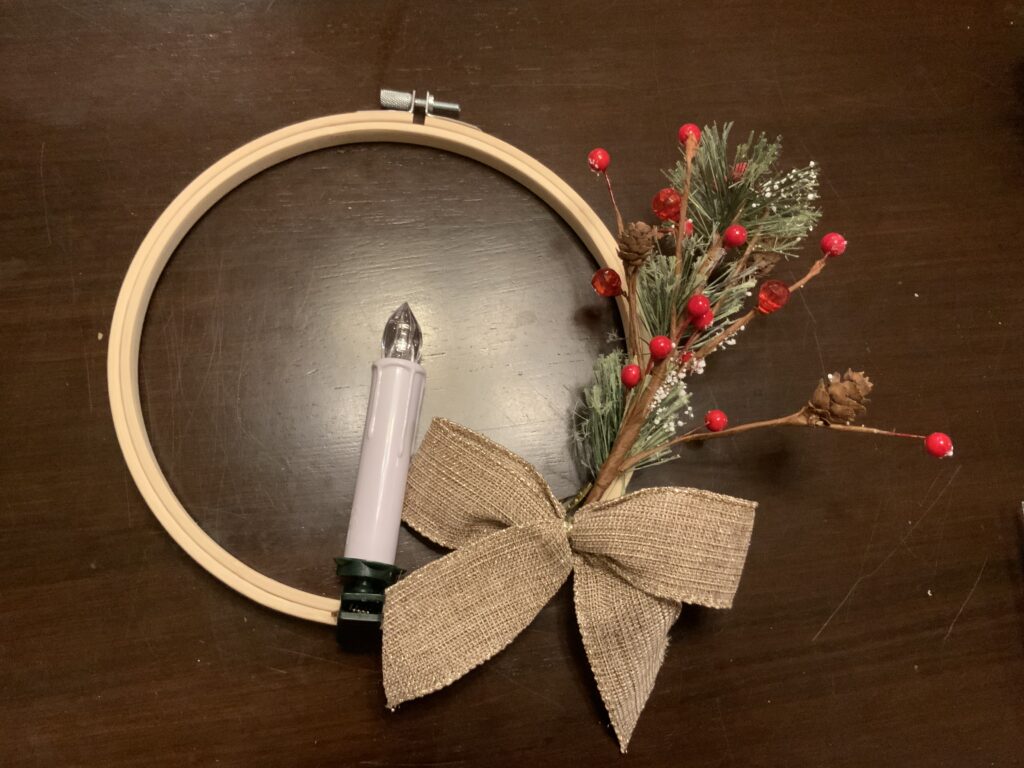
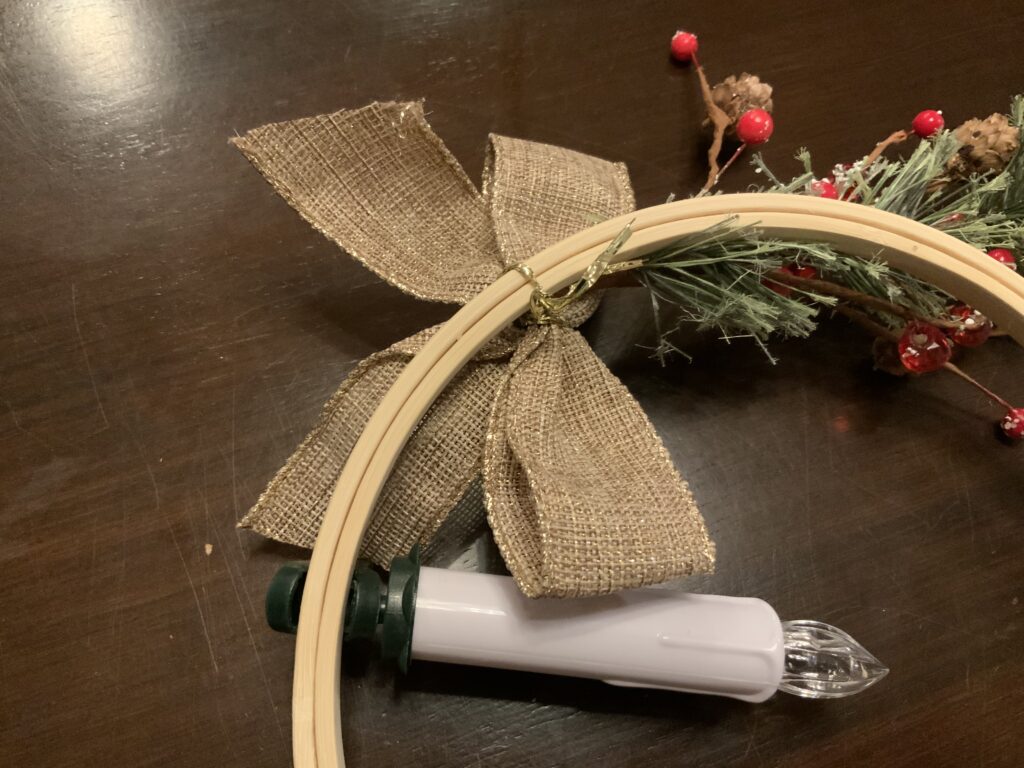
To get an idea of which picks, stems, bows, flowers, etc I wanted to attach to which hoops, I began by placing the candle on the hoop. Clamp the candle to the hoop using the enclosed clamps. The hoops will be hanging with the thumb screw at the top, so you will want to position the candle in the exact center of the hoops opposite the thumb screw, like this:
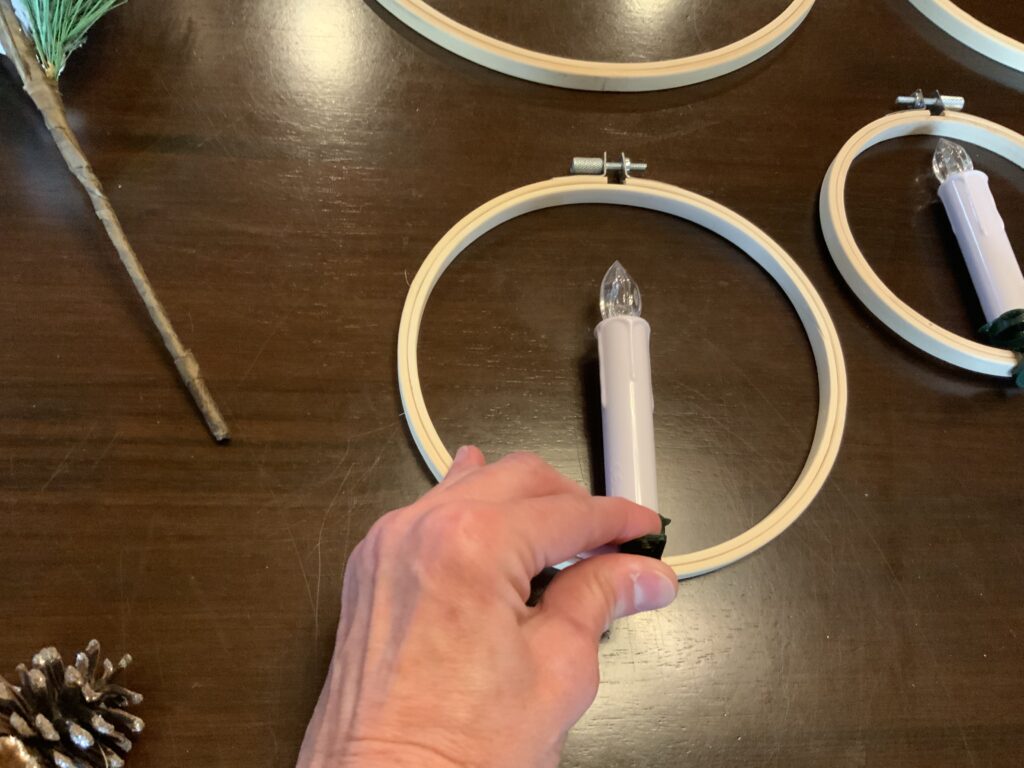
Do this for each hoop you plan to use.
Next, play around with the various decor items you have on hand to see which fit best on each hoop, and which combinations you prefer. It will look best if some hoops have more pieces of decor and some are more simple. Before you start gluing you can try several arrangements of your items.
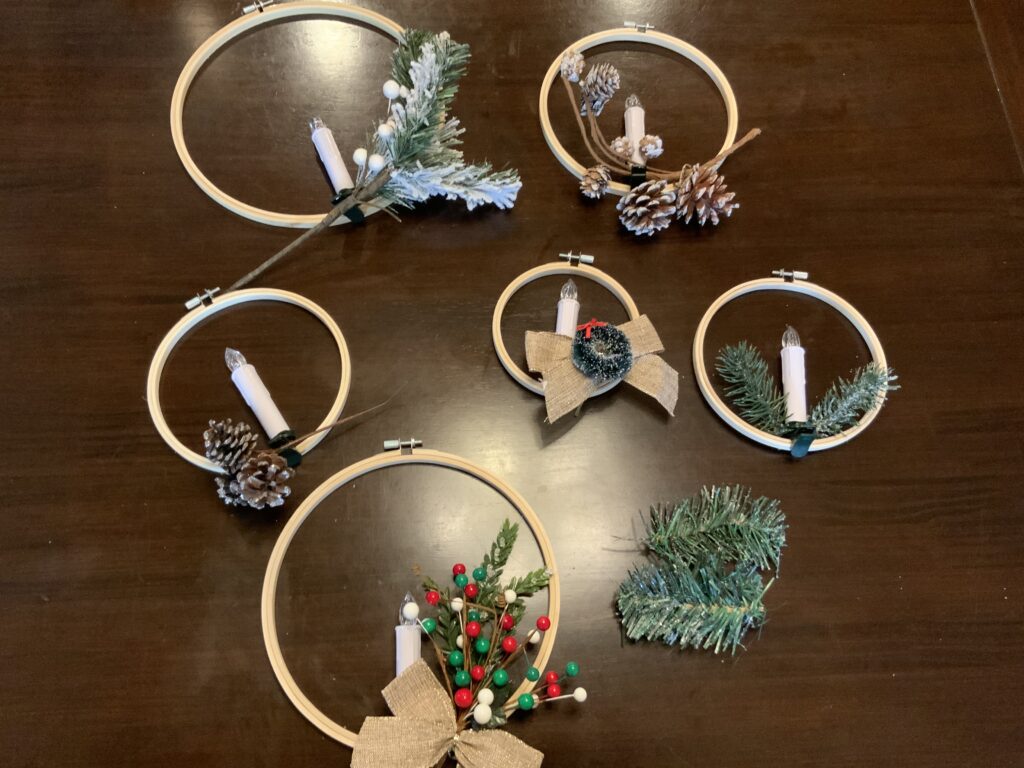
After you determine what pieces you want to attach to a hoop, remove the candle and begin attaching your decor. Most items will need to be hot glued in place.
To make the picks and stems more secure, you can wrap the stem around the hoop before you glue.
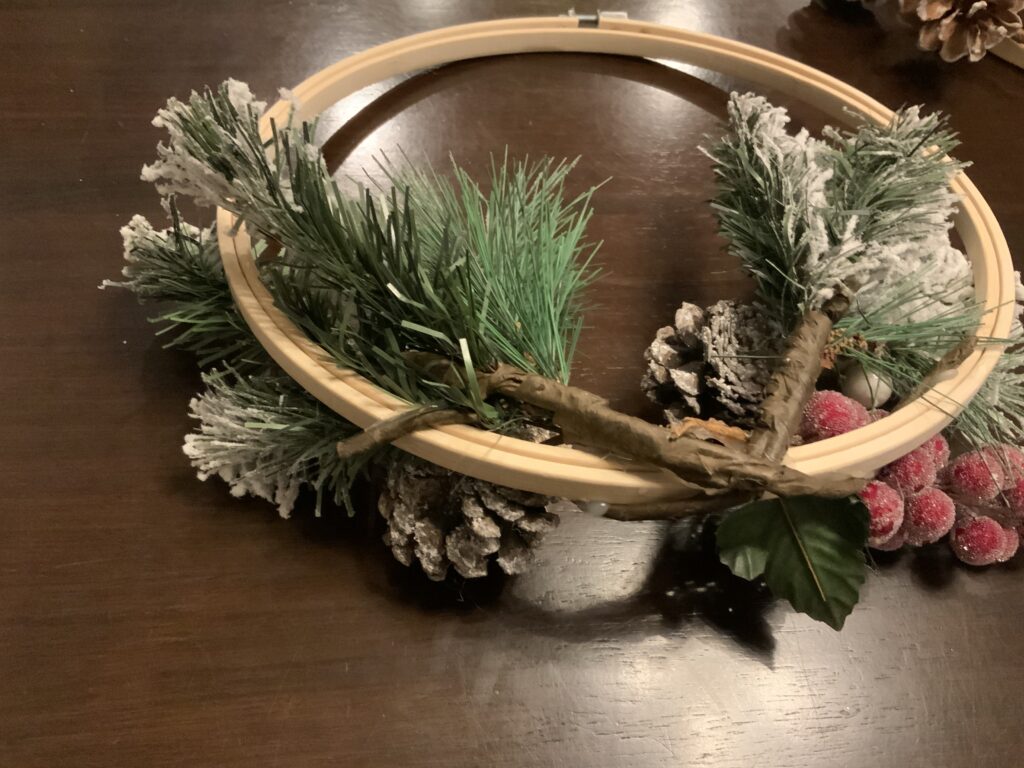
On others you might want to use the stem as part of the decor. I plan to glue this one with the stem on the top of the hoop.
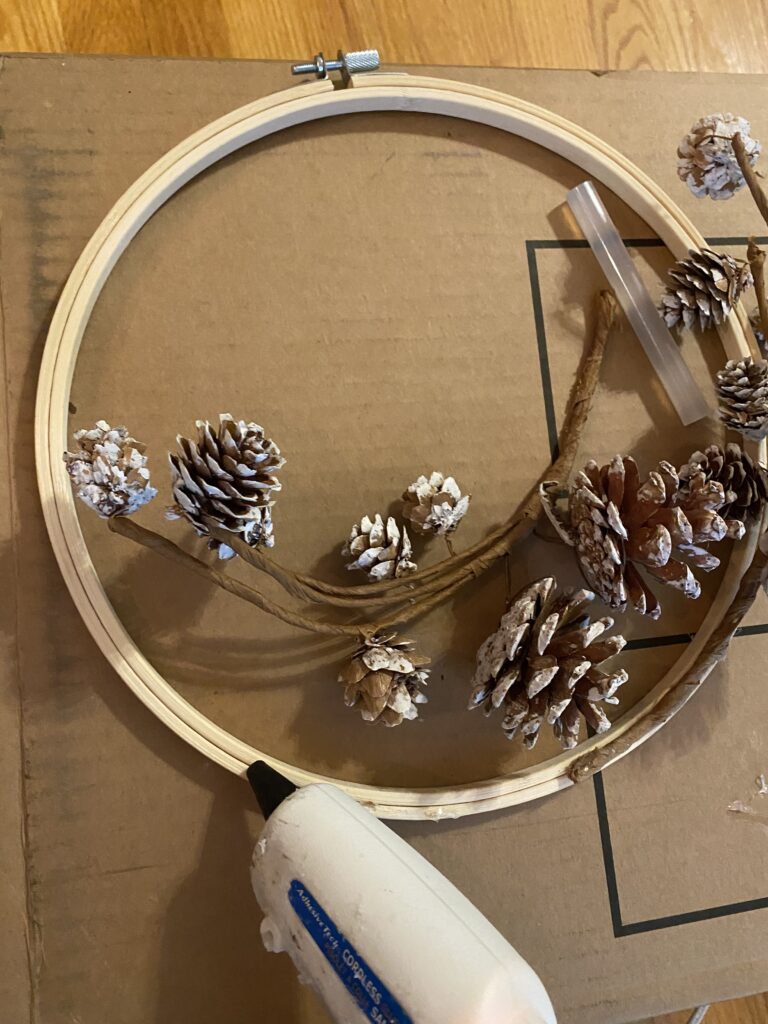
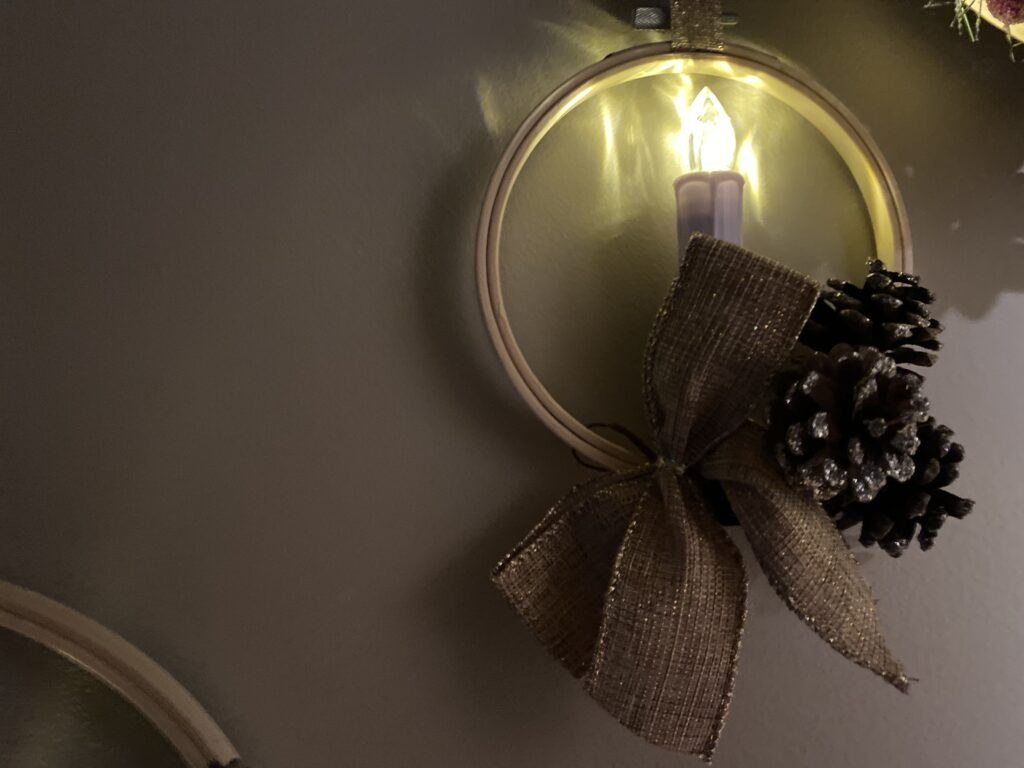
With some decor, especially bows, it might not even need to be glued. For this one, I glued the stem, but I simply wrapped the end of the bow around the hoop.
Here’s a look from the back:
Final steps:
I began by attaching my command strips to the wall. I placed them approximately 1 inch below the ceiling and approximately 5 inches apart. I left these on the wall for about an hour before I attached the clothes pins, and then I left these overnight before I added the weight of the decorated hoops.
Next I determined how long my ribbon strips should be. A couple of things to keep in mind here are the height of your ceilings and how far down the wall you want the decor to hang. You want them at varying heights, but in the vicinity of eye level for your family members. (Also, we have 2 cats, so I want them high enough they don’t become cat toys.😊)
When cutting my ribbon, I keep it longer than I thought I would need for a couple of reasons. The first is to make last minute adjustments to the length. The second is so that the ribbon can be at least triple folded at the top to give the clothes pins a bit more thickness to hold on to.
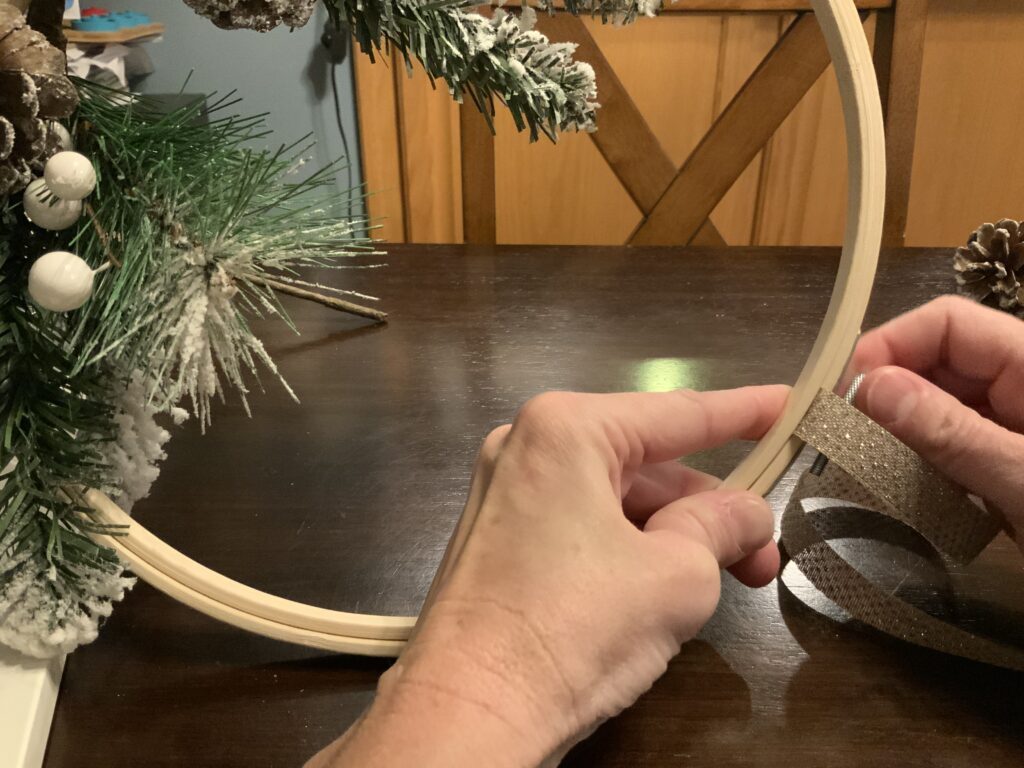
After determining the length of the ribbon, attach a strip of ribbon to each of the hoops. This is done at the thumb screw by sliding the ribbon between the layers of the hoop, inserting the ribbon, and tightening the thumb screw as tight as possible without breaking it of course.
Finally, clip the LED candle back onto the hoop, and it’s ready to hang.
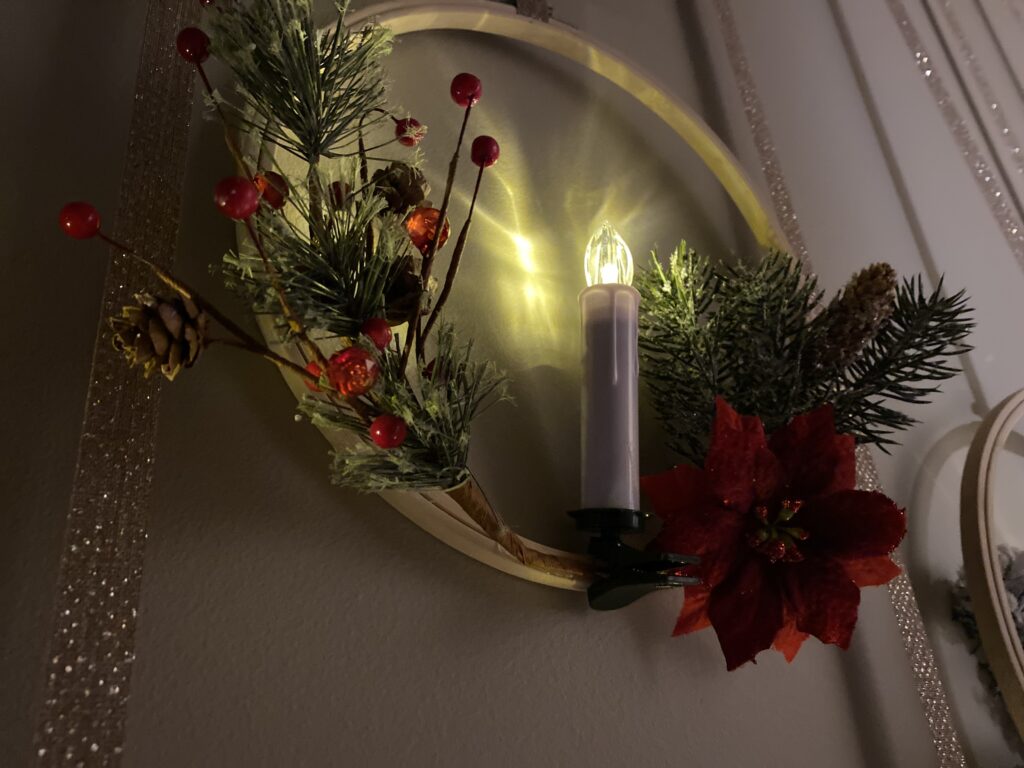
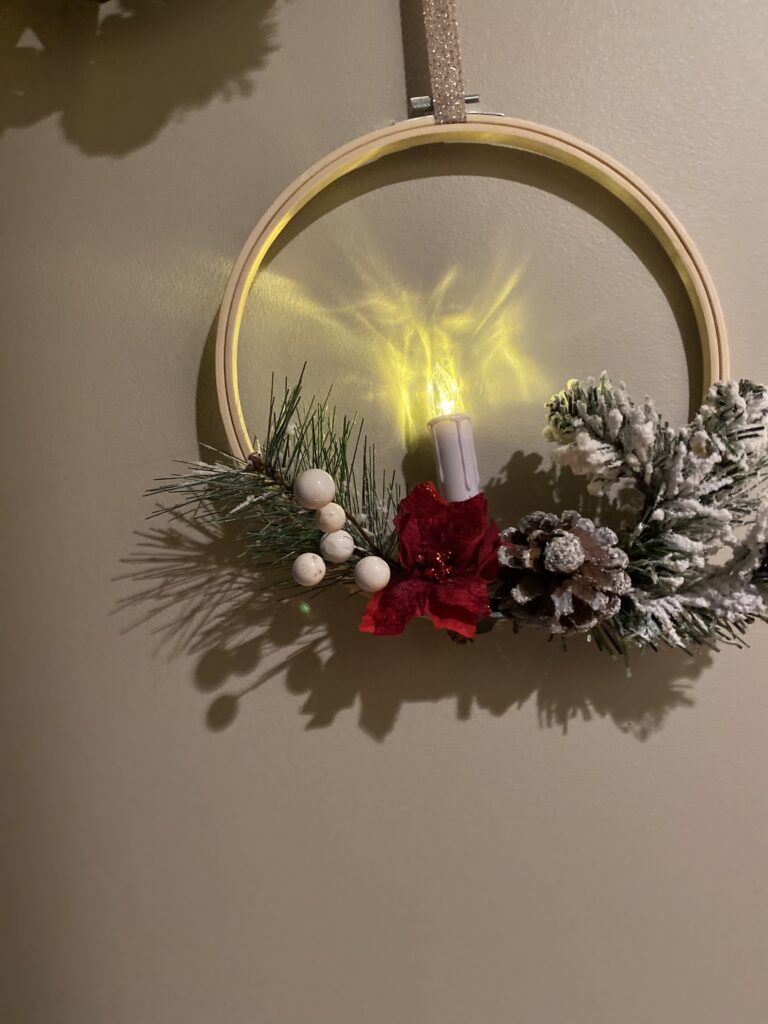
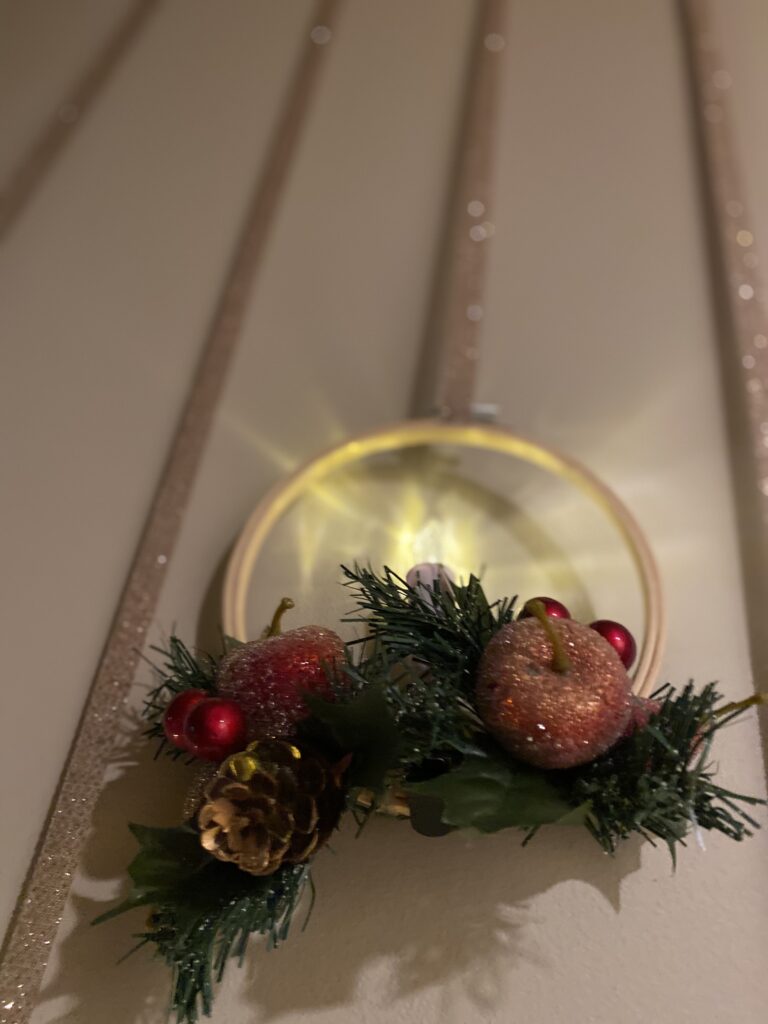
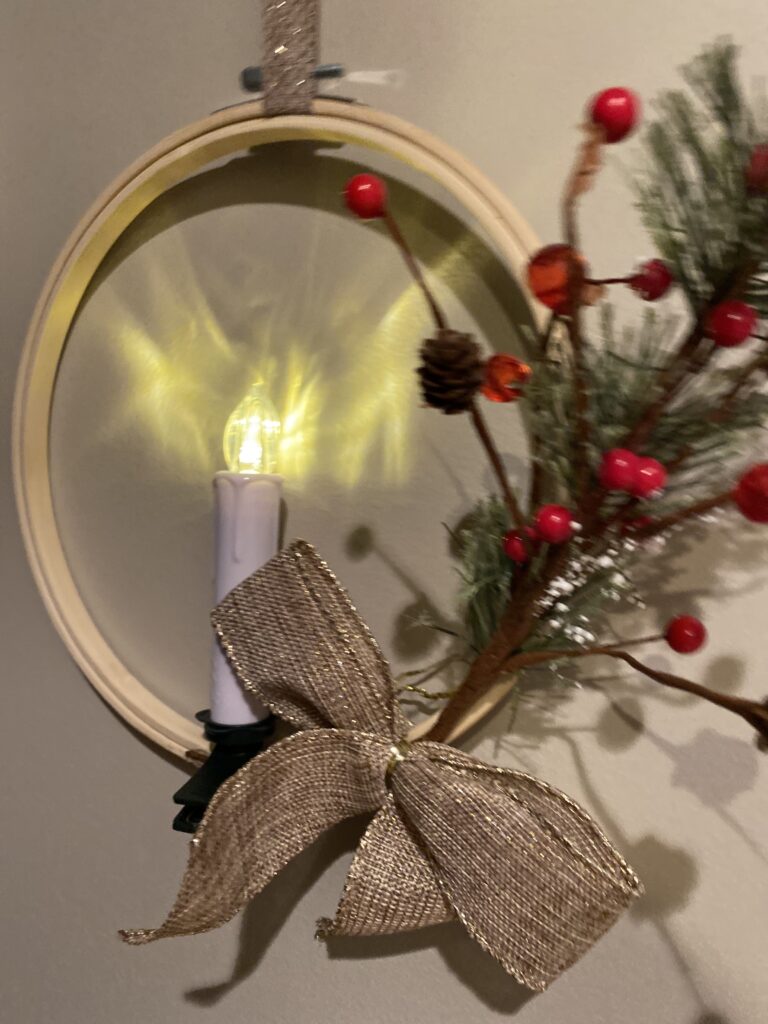
A closer look:
Thanks for stopping by! I hope you have enjoyed this Christmas DIY. Please let me know what you think in the comments below, and if you have any questions I will be happy to answer them.
Be sure to check out our Thank You sign for Delivery Drivers, here, and our DIY Advent Calendar, here.
Merry Christmas and see you soon,
Sondra
2 Comments
Nancy Brochu-Casey
I love your projects! Thanks!
Crystals and Cleats
Thank you so much. I am really glad you enjoyed them and I hope you will give some of them a try yourself. Merry Christmas!!