Christmas Farmhouse Beads and Wall Decor
Hi and welcome back!
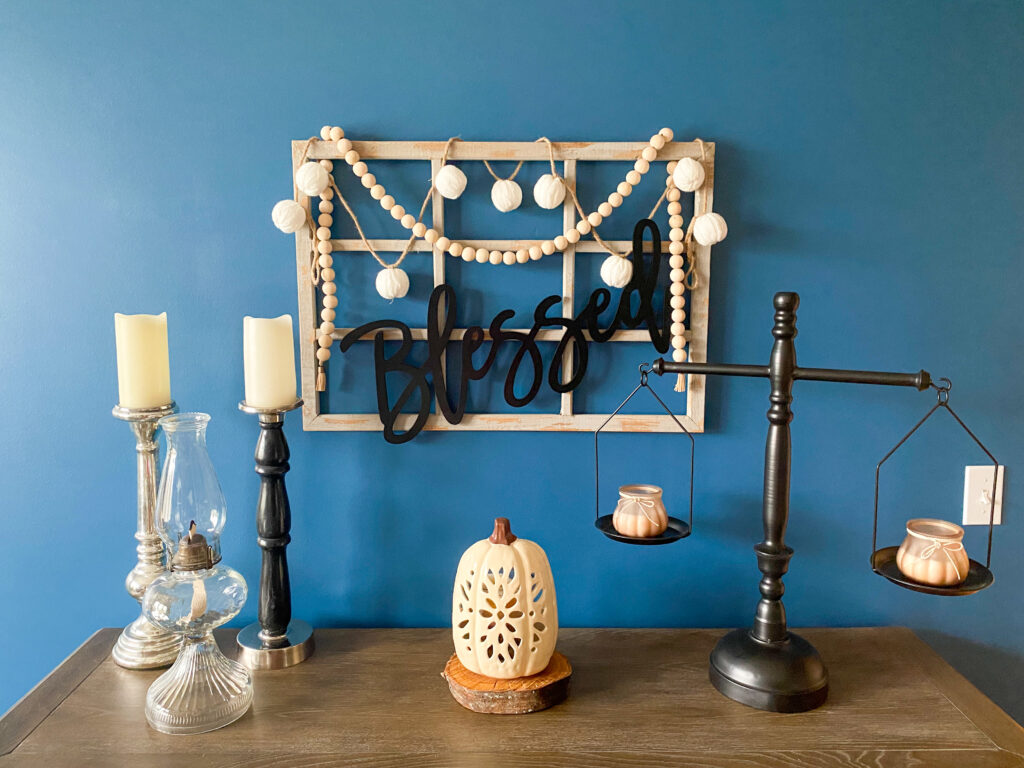
It’s beginning to look a lot like a farmhouse Christmas! We hope this season finds you happy and healthy. We are finishing up our Christmas decor here at our home. If you followed along with our entry in the One Room Challenge® this fall, you may remember the rustic wall decor we made using an old window frame and some farmhouse beads. That post can be found here if you want to check it out. Well, today I decided to give that wall decor a little Christmas spirit.
Here’s the original version:
Step1:
I removed the decor from the wall, and removed all of the components.
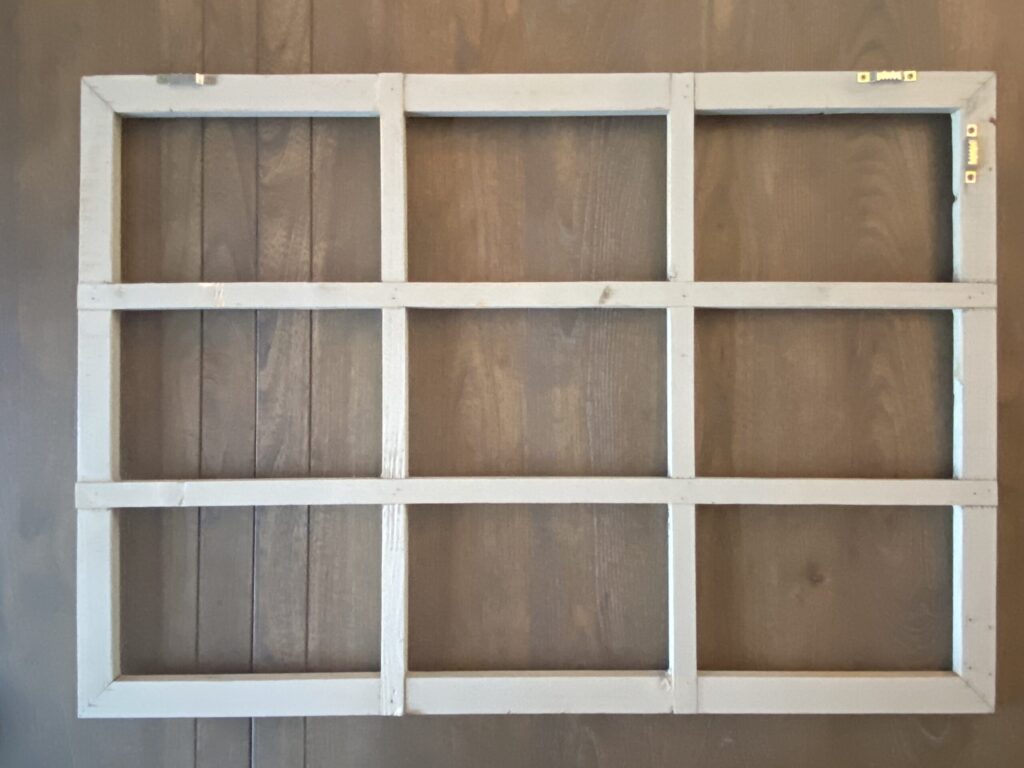
So we are back to a simple window frame. I still think I need a larger one, but that will have to wait for another day. For now, I’m going to continue using the one I have. However, I do have my eye on this one.

 Step 2:

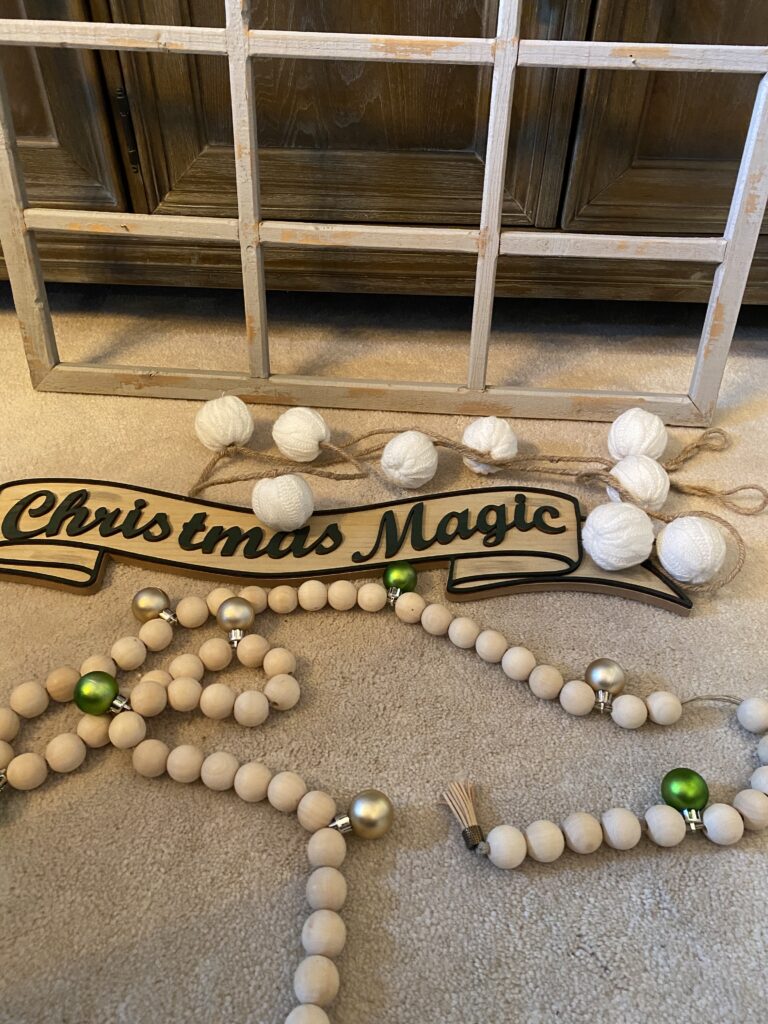
Gather your supplies.
In addition my farmhouse bead strand I chose some simple matte ornaments in green and gold. I used these and these. If you would like to see the tutorial for making farmhouse beads, you can find it here.
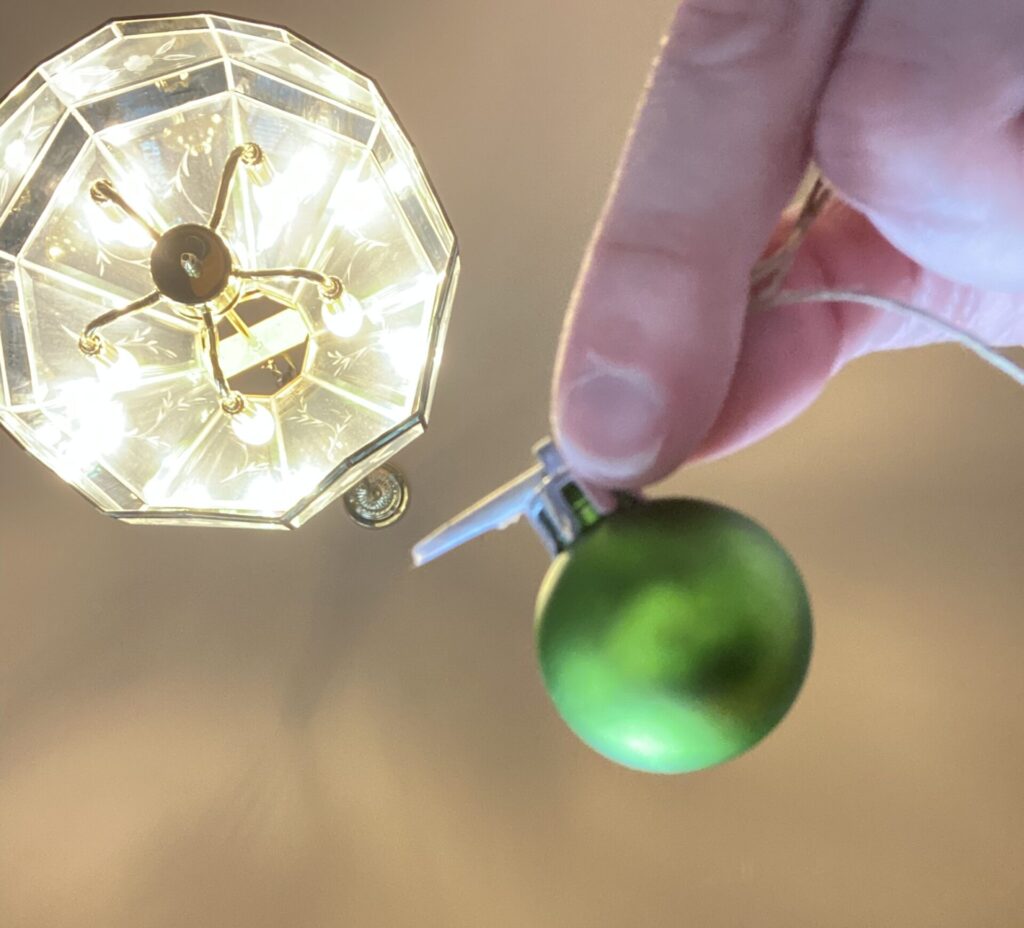
There are lots of other things you could add to farmhouse beads to give them a Christmas feel. I think glass beads would be beautiful. You could add wooden beads in Christmas colors. You could also add the sparkling balls from the packages I linked above if you wanted to add a little more sparkle. That’s actually what I had planned to do. I even made holes in some of the balls so that I could add them to the strand, but I decided the matte ornaments would be perfect for this more rustic display. However, stay tuned for after Christmas when my front porch and dining room turn into a snowy wonderland. I plan to add lots of snowy, sparkly goodness then! Sign up on the sidebar to be the first to know when we publish new articles!
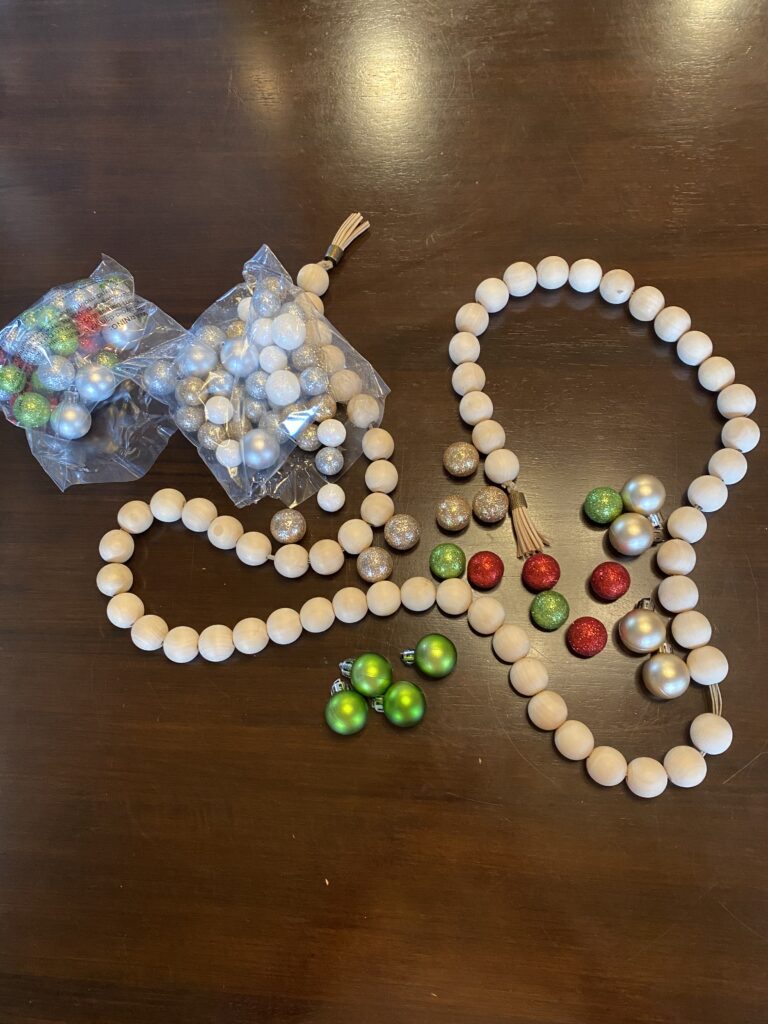
From the options above, I chose to use the green and golden matte ornaments.

Step 3:
Next I took apart my farmhouse beads and determined where to add the ornaments.
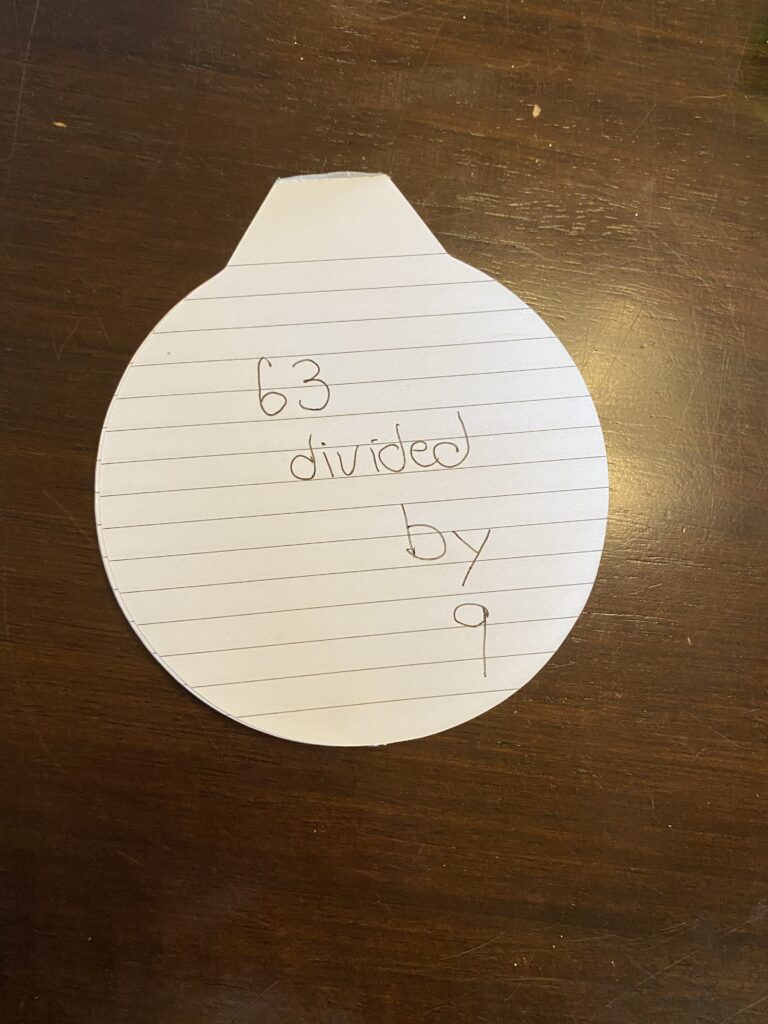
Between the two packages of ornament fill, I had 4 green ornaments and 4 golden ones. I counted the number of beads on my strand. It was 63. Then I determined my spacing for the new ornaments. It worked out that I should space the ornaments every 7 beads. (Since you do not want an ornament at either end, to determine the spacing you simply divide your total number of beads by the number of ornaments plus one.)
I untied the end of my bead strand, you can see how I made the original bead strand here, and removed all but 7 beads.
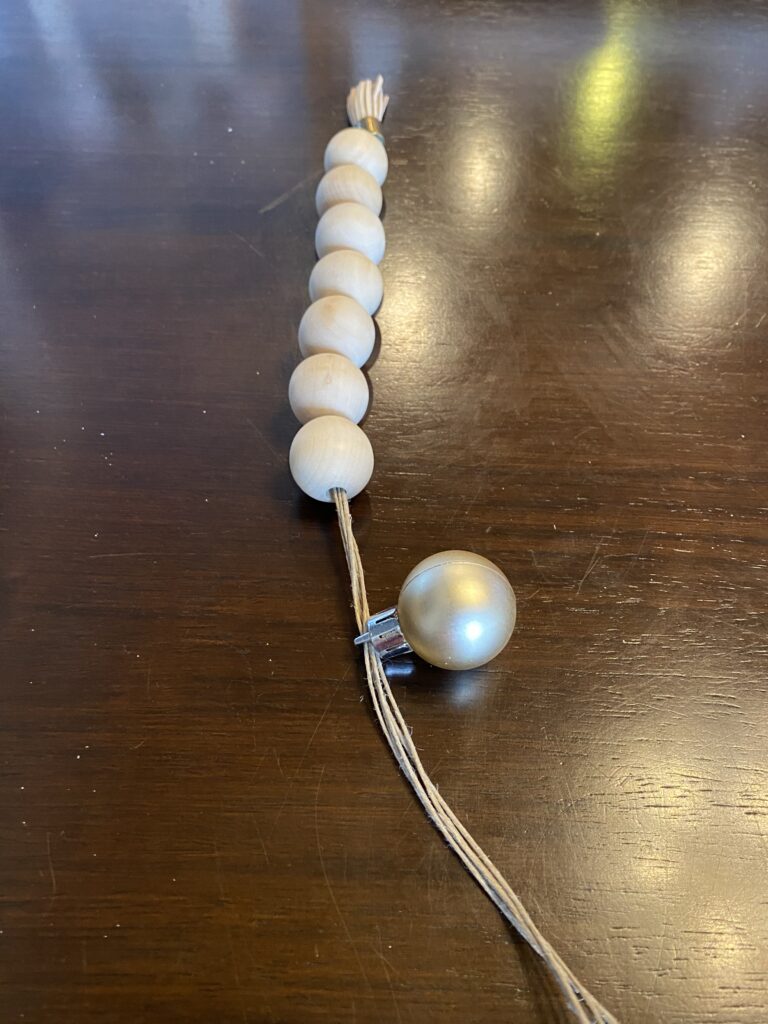
To make it easier to restring the beads, I put scotch tape on the end of the strands to make it easier to restring.
Next, I simply restrung the beads adding an ornament after every 7 beads. I alternated the color of the ornaments so I would have even spacing. I think a random spacing would look great if using more than 2 colors, but with 2 colors I was afraid a more random spacing might look like an accident.
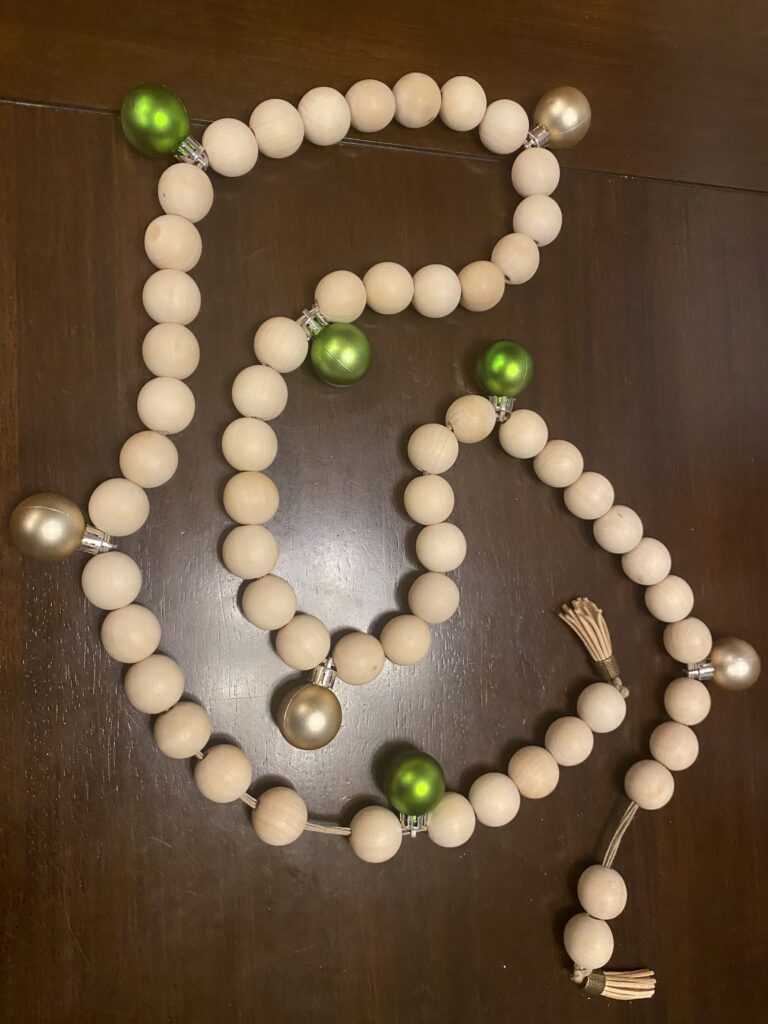
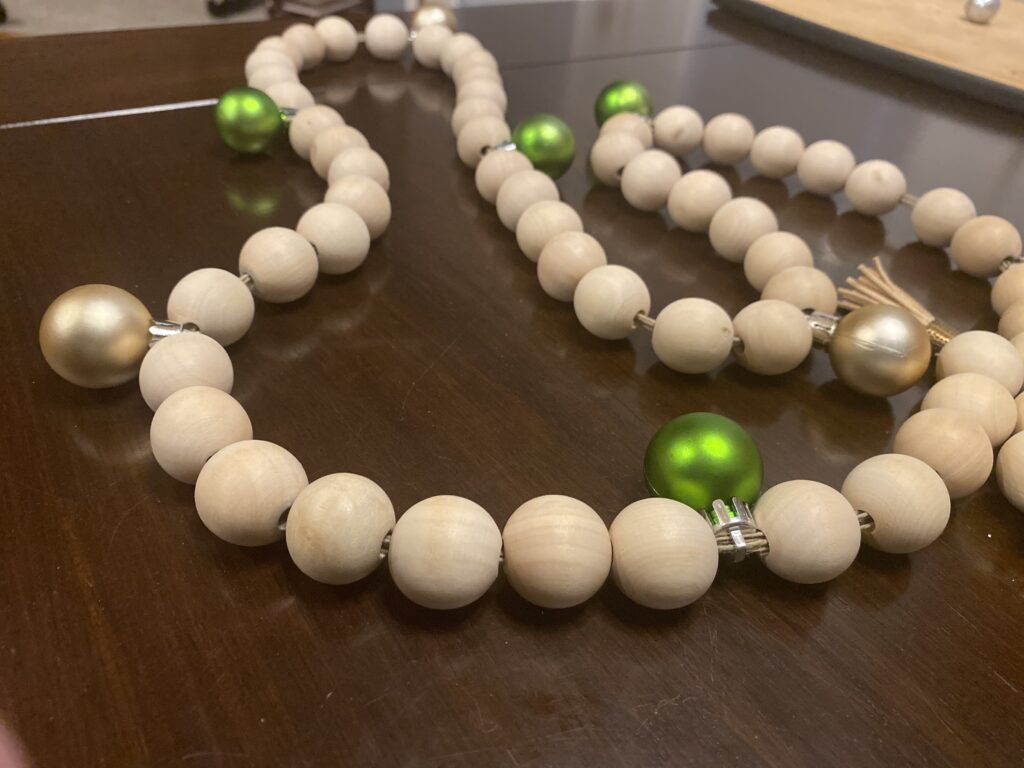
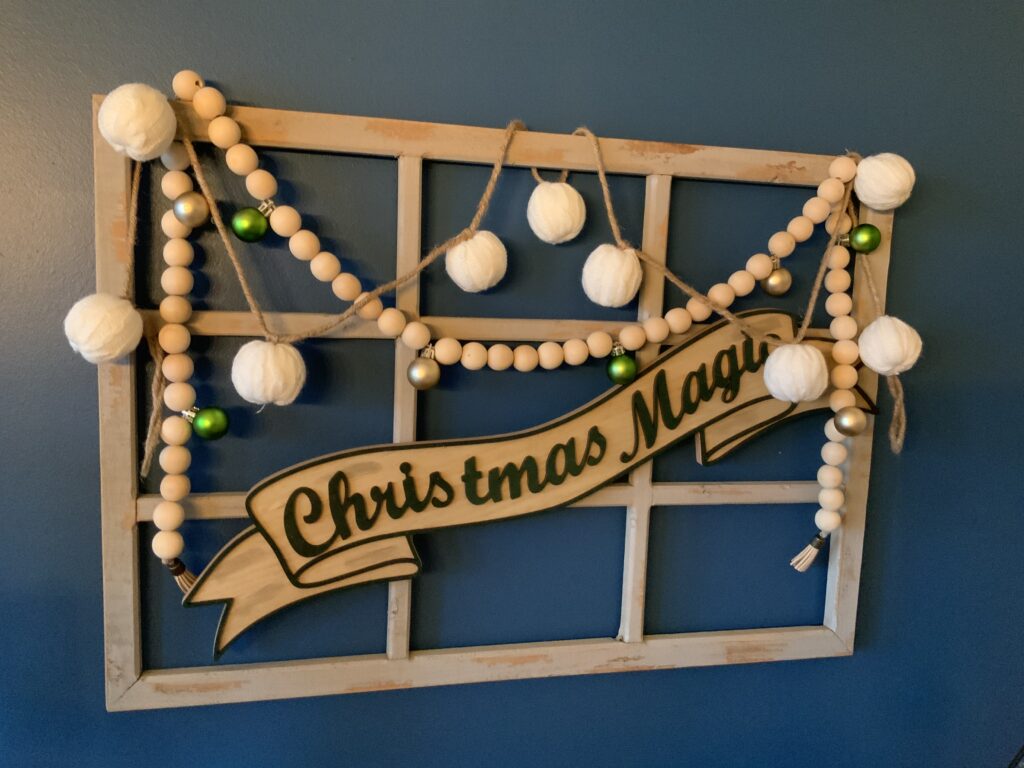
You farmhouse bead strand is now ready for Christmas.
Wall Decor
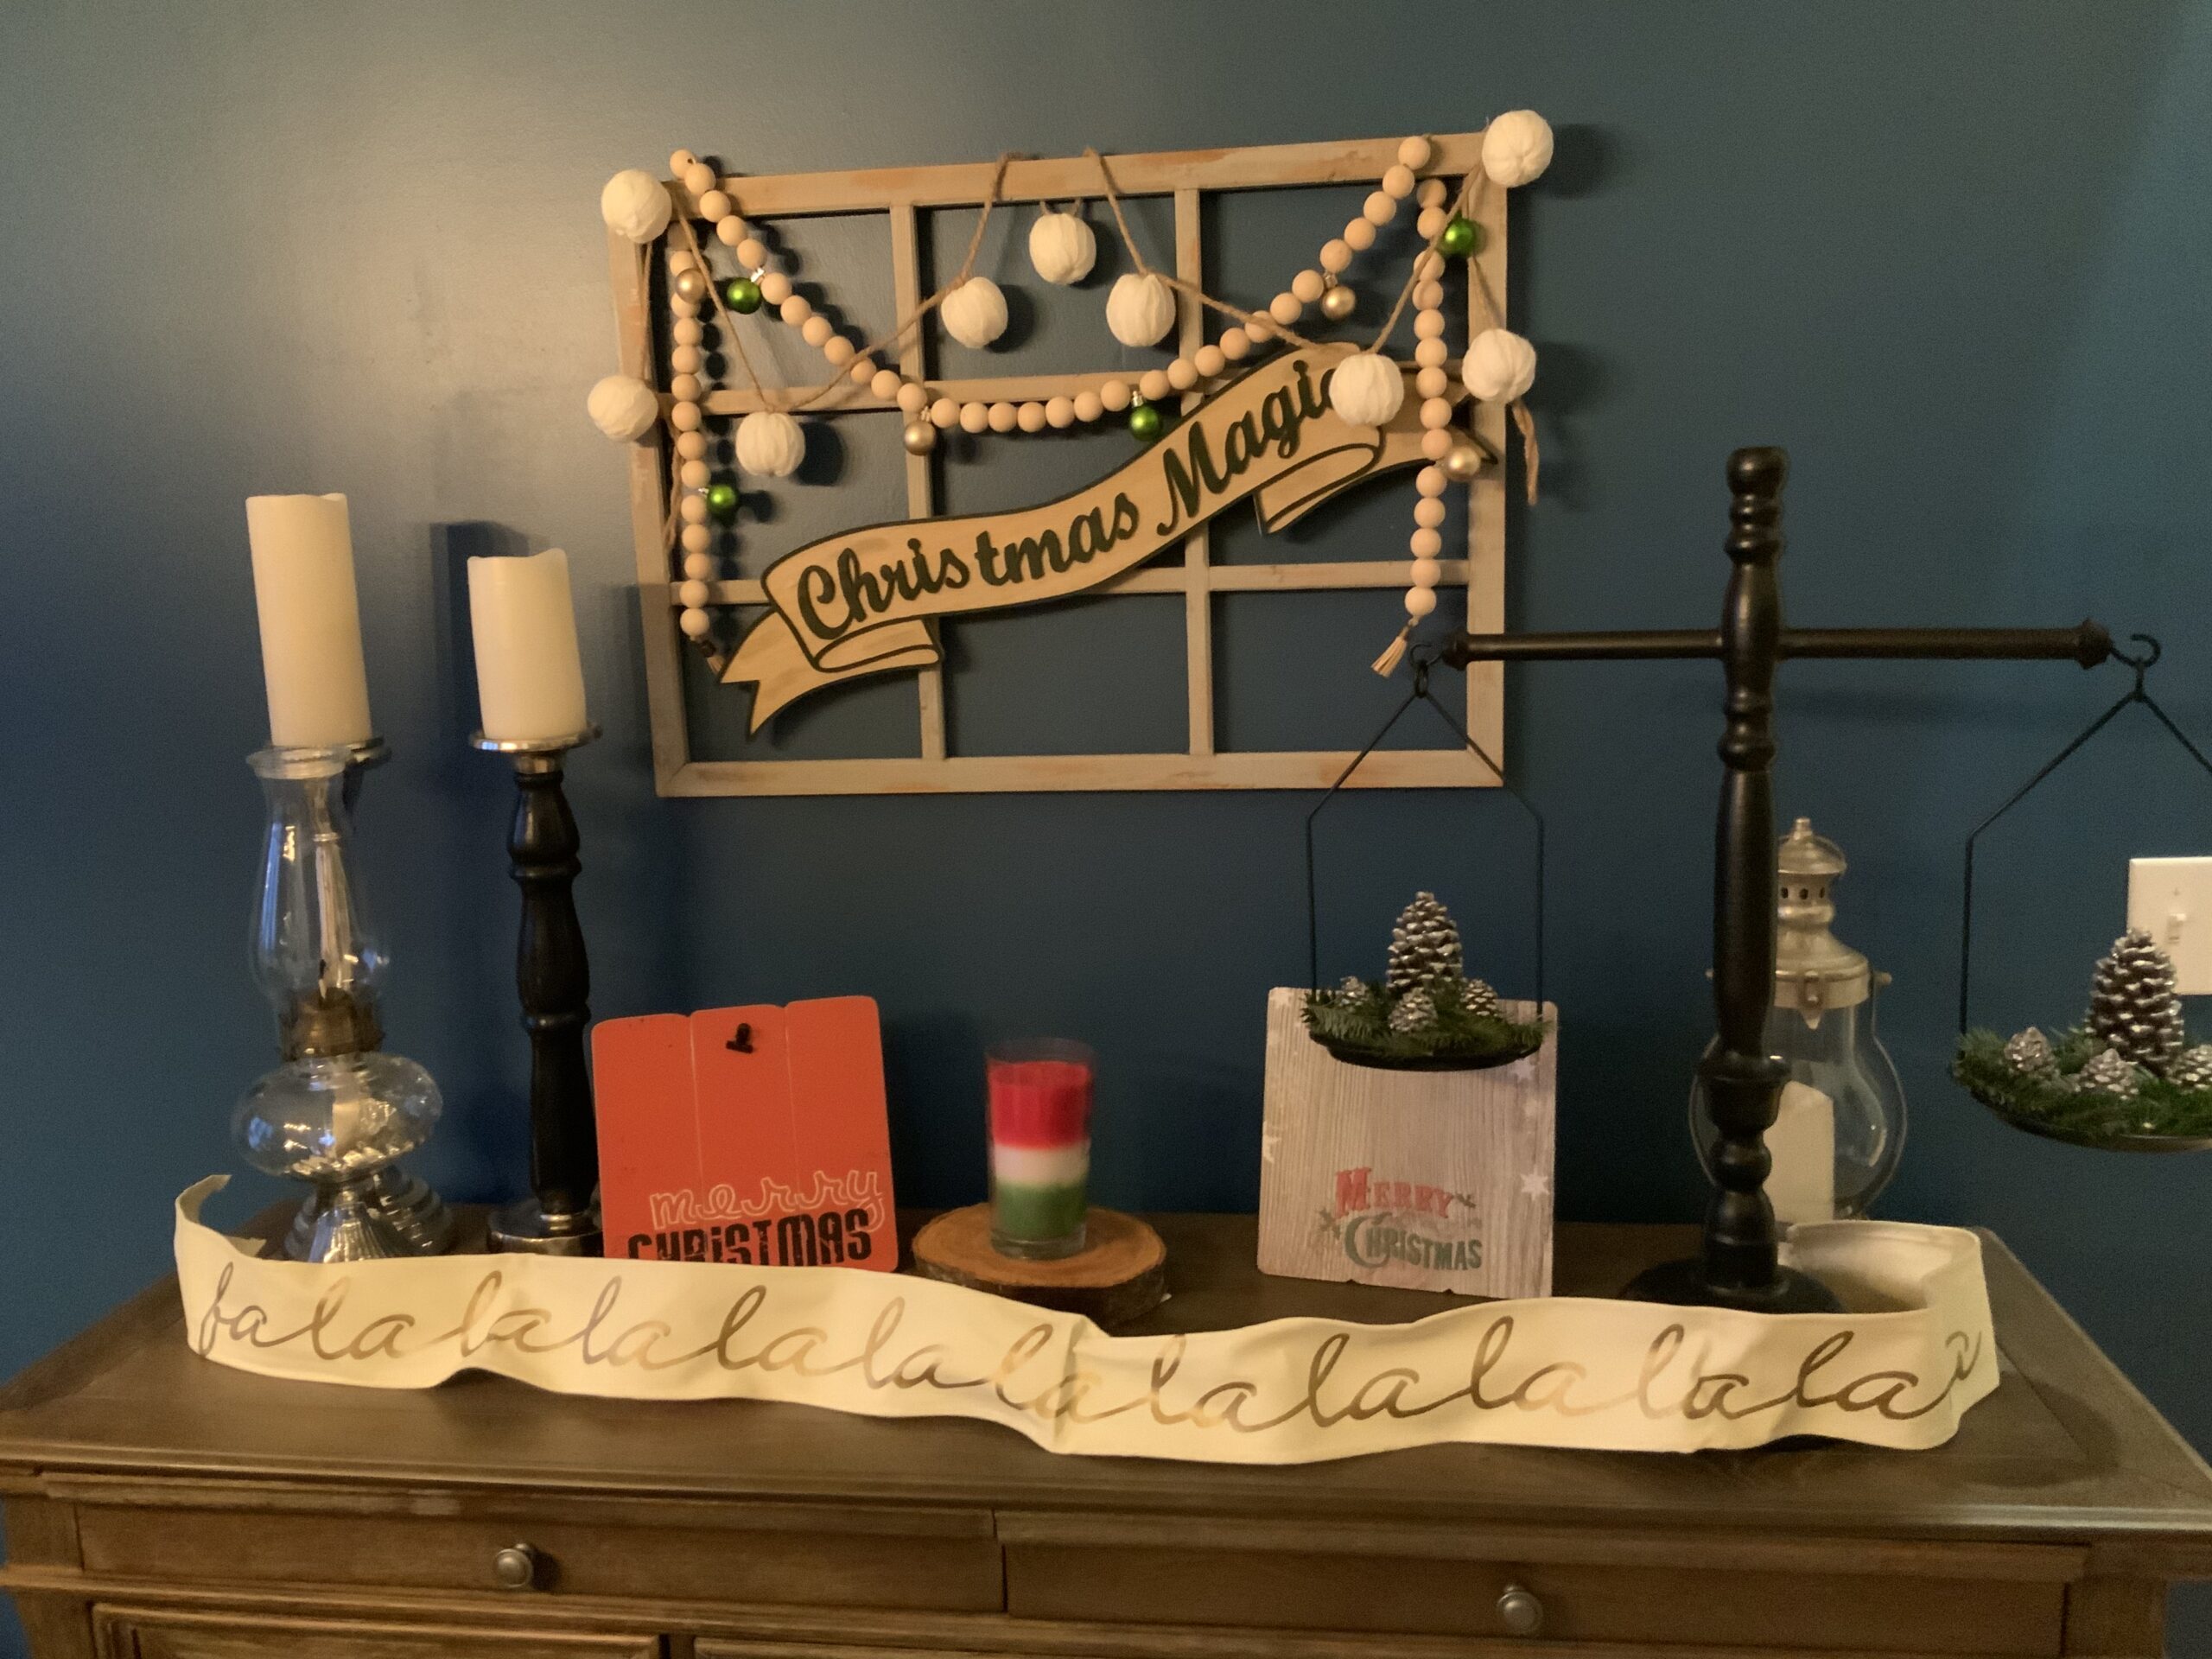
Now that we have the bead strand all decked out for Christmas, let’s also update the wall decor.
This was accomplished with only a couple of changes.
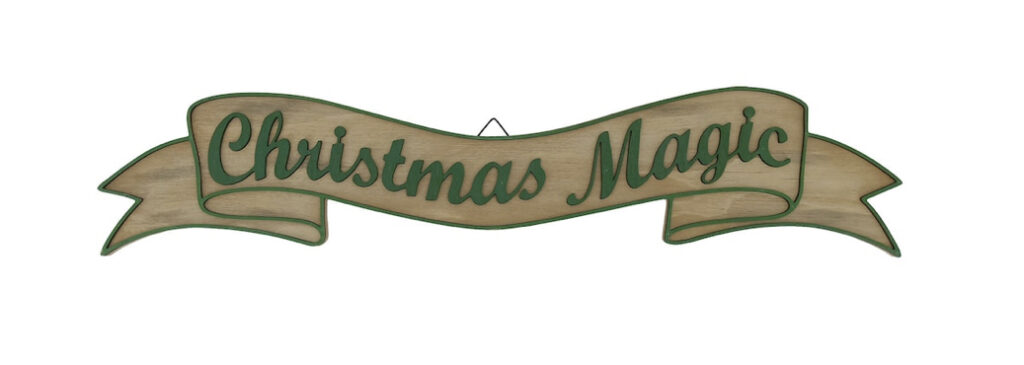
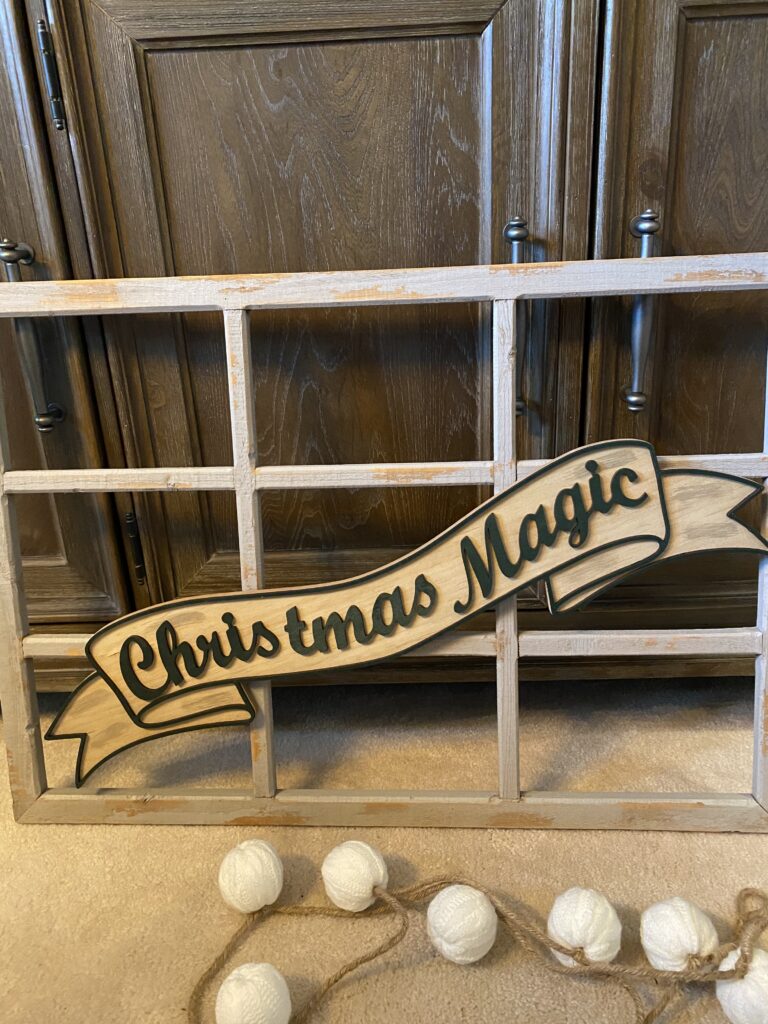
I found this cute Christmas sign while looking for lights and knew it belonged here.
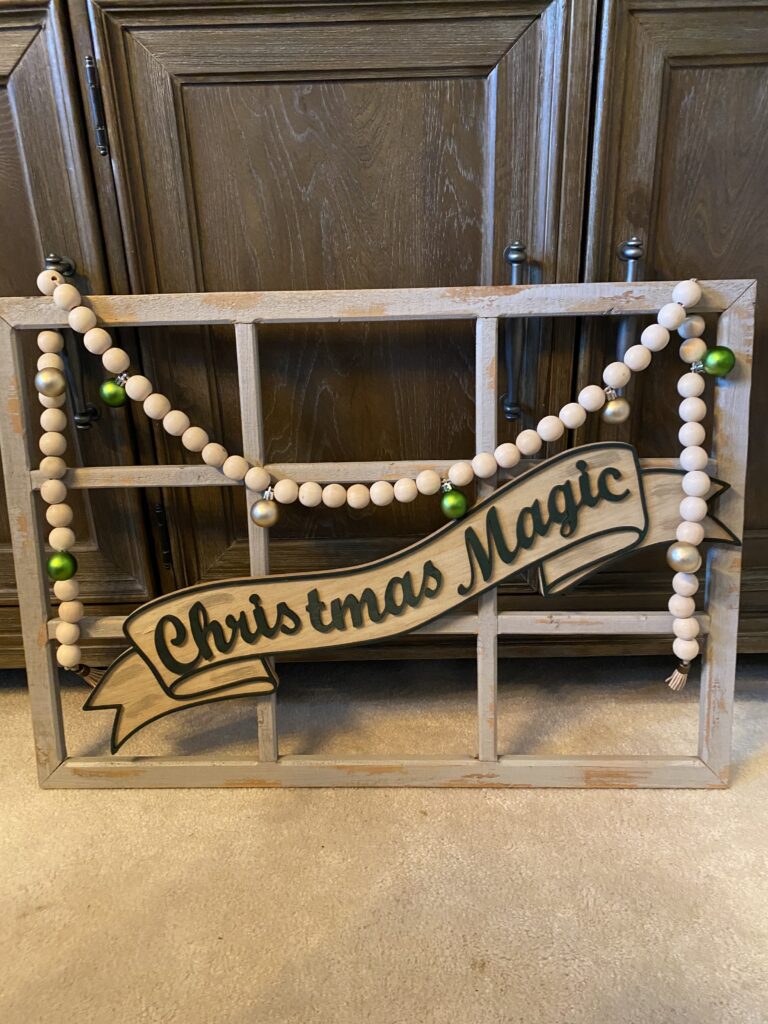
The sign is designed to have from the hook in the middle, but I wanted mine to hang at an angle, so I added saw tooth picture hangers to the back of the piece. I used the existing nails on my window frame to determine where I should attach the picture hangers.

Now all that remains is the assembly.
Attach the sign:
Attach the bead strand:
Add the Pom Pom garland.
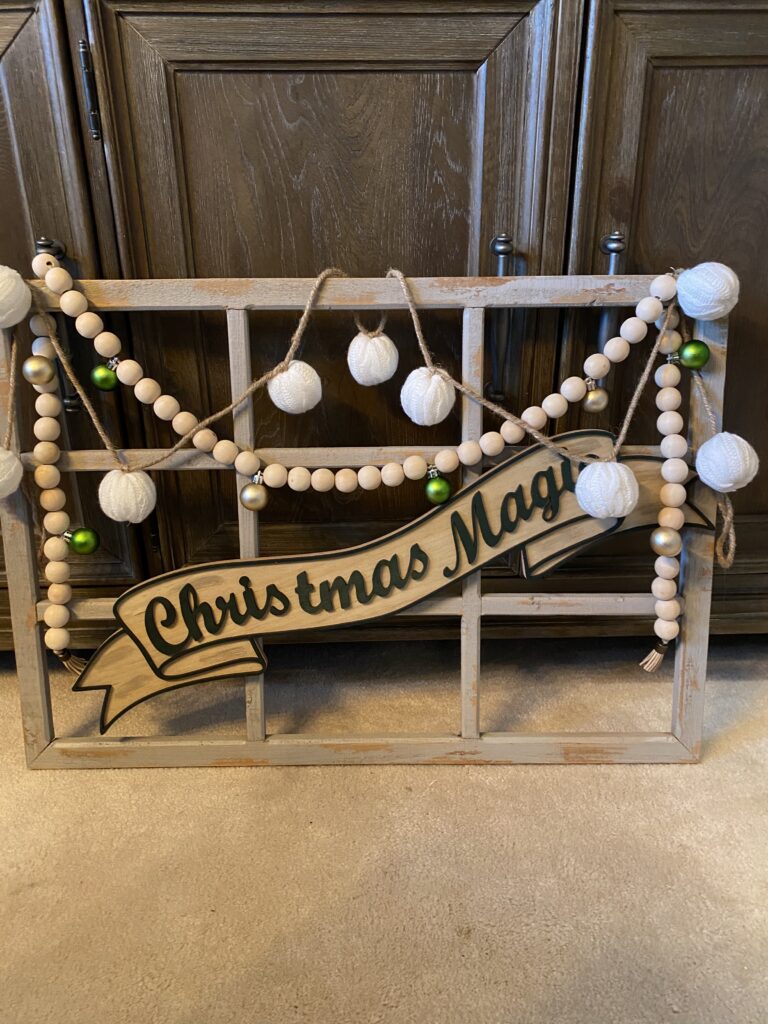
Hang on the wall and enjoy!

I hope you have enjoyed this Christmas update. Thanks for stopping by.
See you soon,
Sondra

You May Also Like

Terra-Cotta look vases DIY
DIY Christmas wall decor