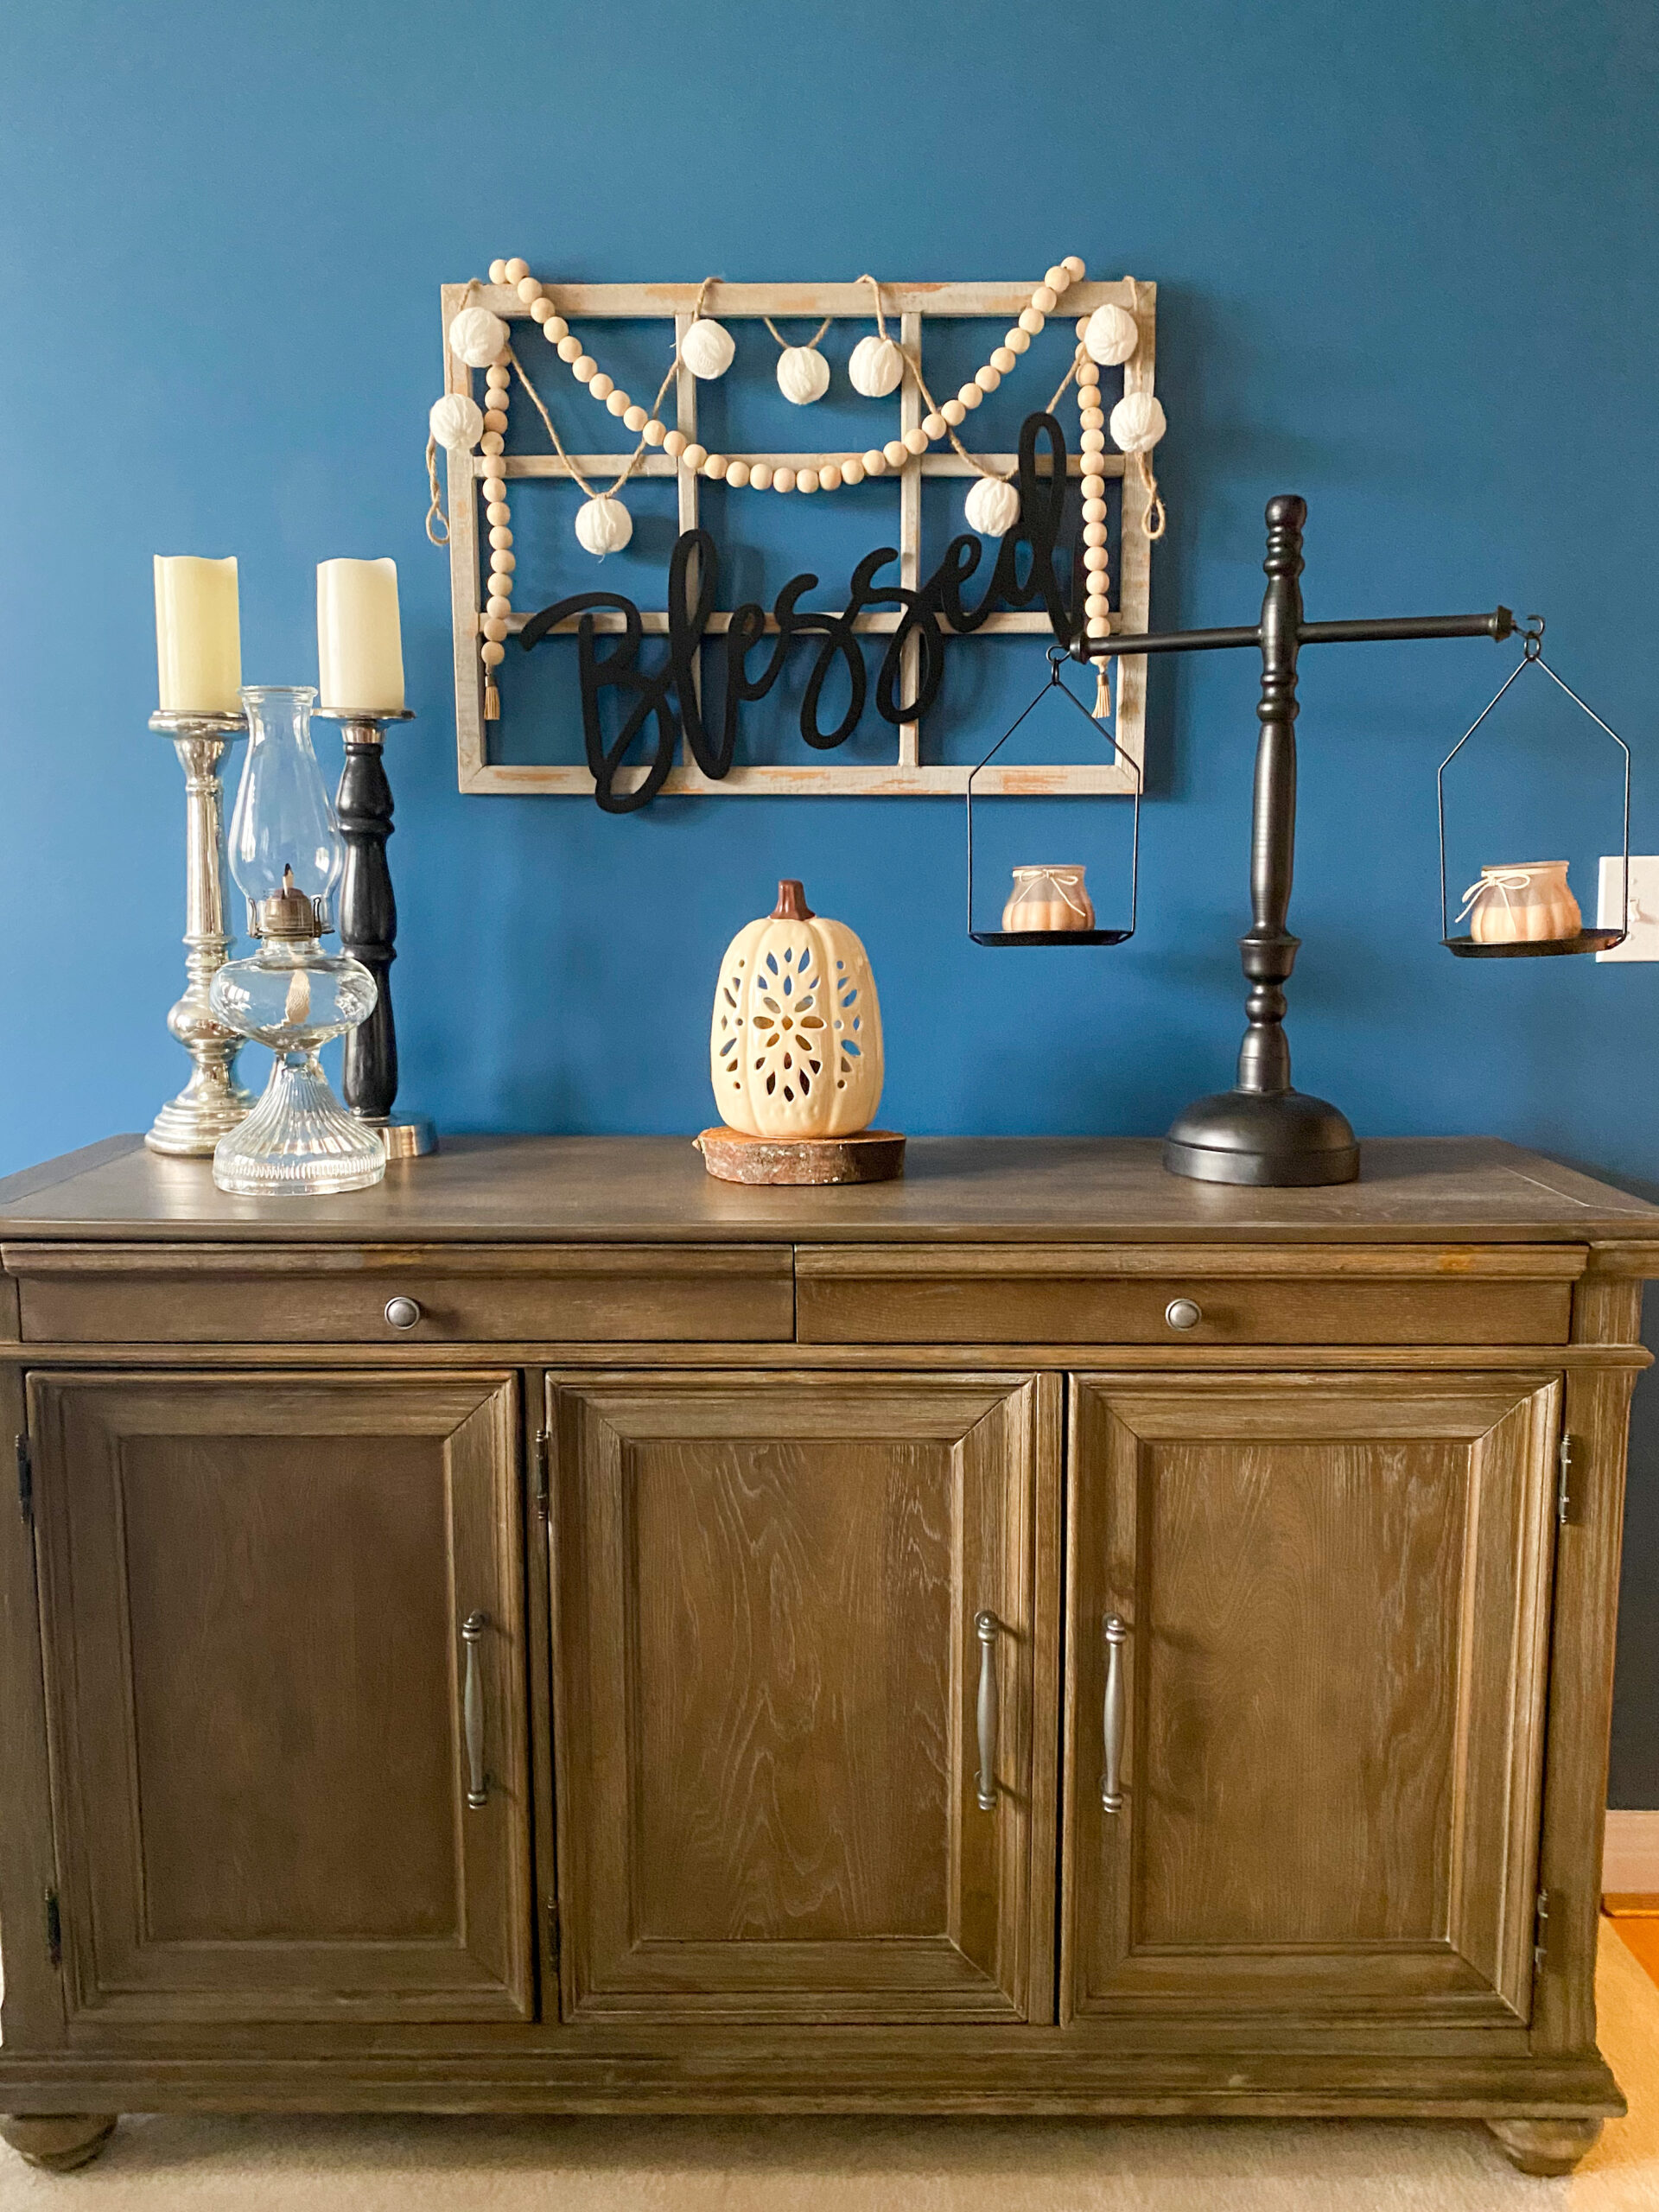
Rustic Wall Decor with Farmhouse Beads
Hi everyone and welcome back. As promised, today we are going to make a rustic wall hanging using farmhouse beads. For a complete farmhouse bead tutorial, click here.
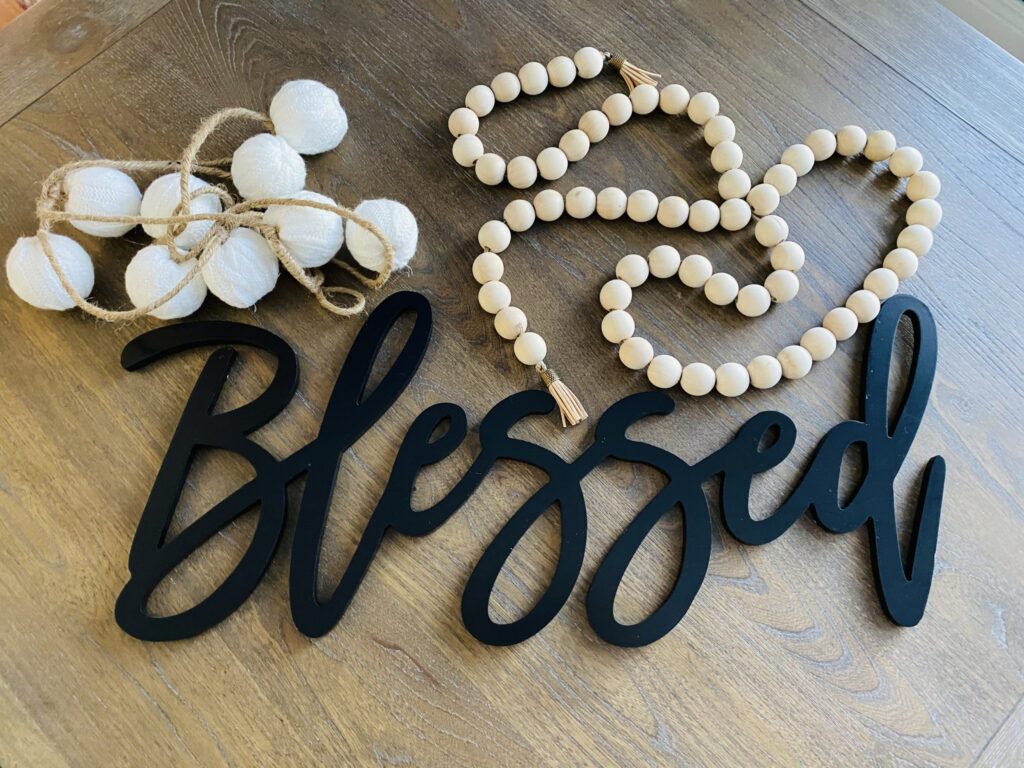
Supplies
To make your own rustic wall decor, you will need a wooden word, I chose “Blessed”. You will also need a bead strand and a pompon garland. I found this garland at Michaels.
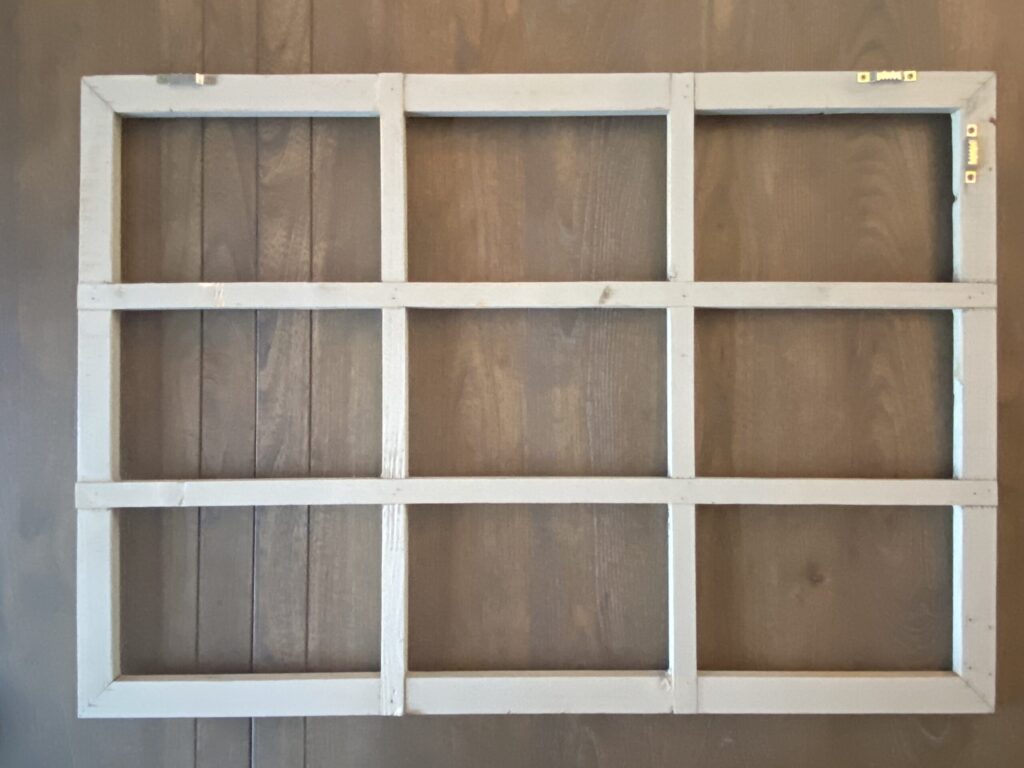
You will also need a rustic window frame like this one:
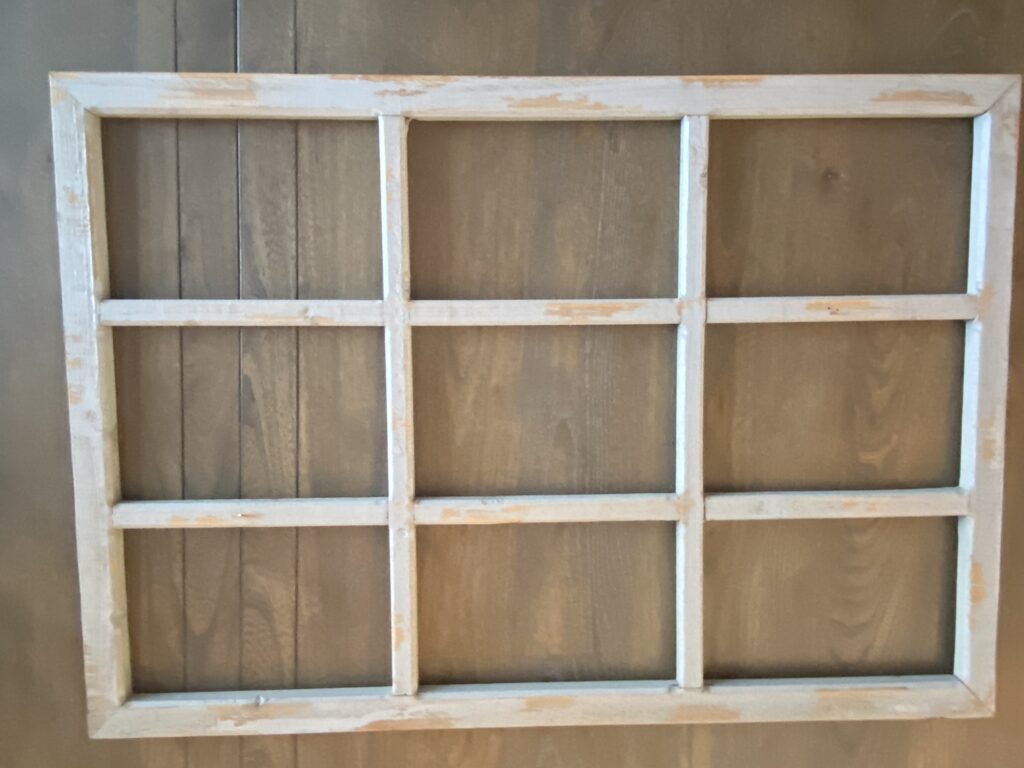
I used a window frame that I bought a few years ago and had been using as decor on our back porch,
but I found some similar ones here and here.
Preparation
You can hang your frame either vertically or horizontally depending on its size, but if it isn’t already designed to hang the direction you want it is very simple to add new picture hanger hardware to the back. They can be purchased here, and they are simple to attach using the included tiny nails.
Step 1
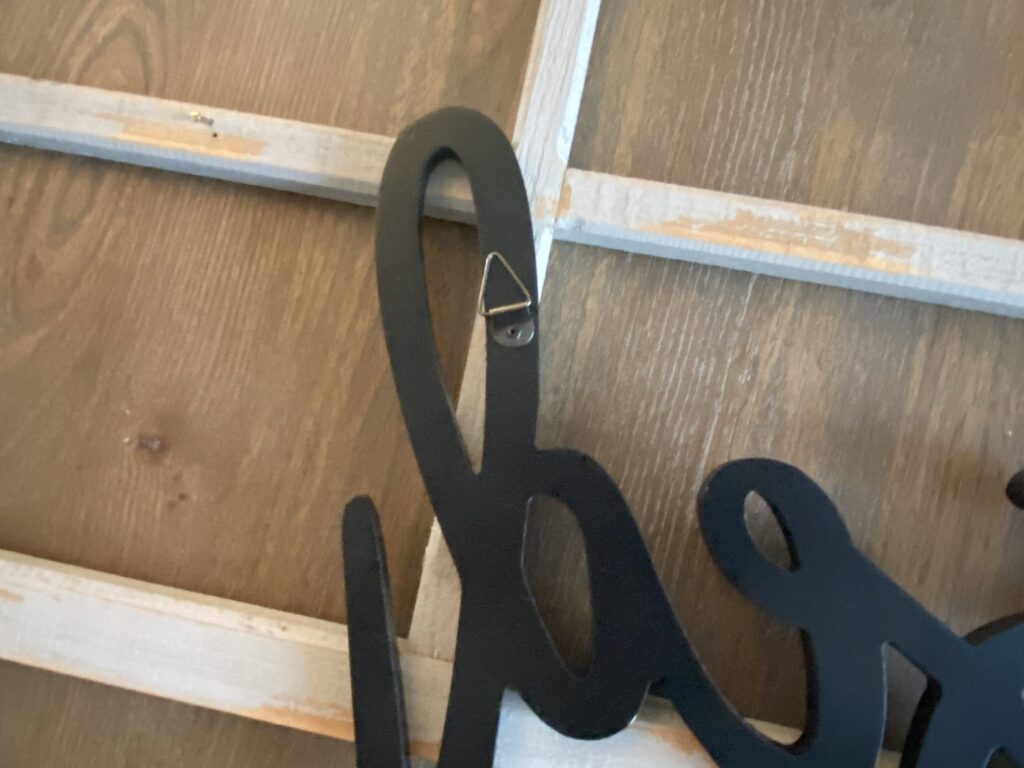
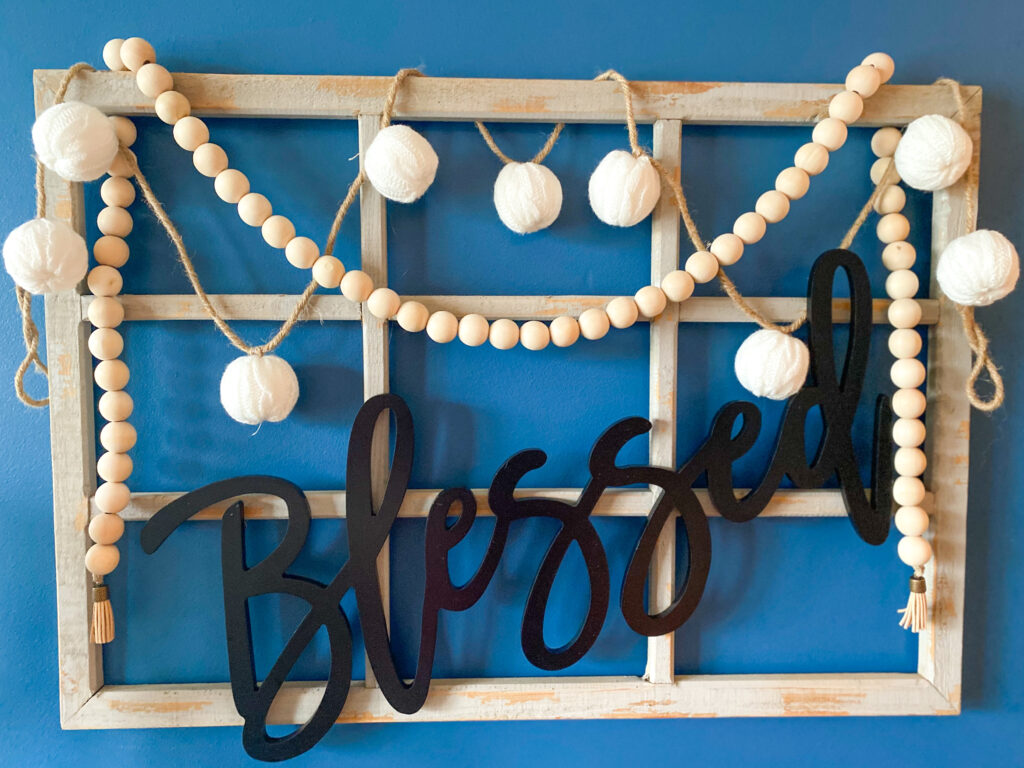
After gathering your supplies and making sure you can hang your window frame, the next step is to attach your word to the front of the window frame. My word came with this hardware on the back so all I had to do was determine how I wanted to position the word and add tiny nails to my picture frame from which I could hang my word. (If you look closely you can see a tiny hole below the gold nail. That’s where I first tried to attach the word, but I didn’t like something about how it looked, so I tried again.🤷♀️)
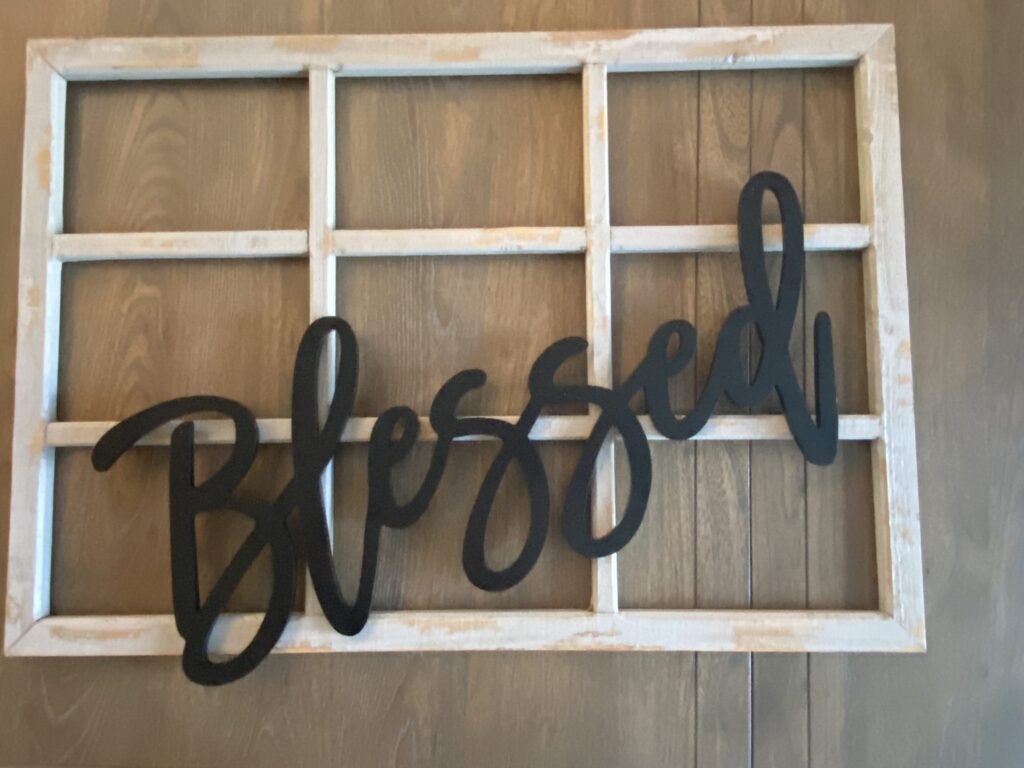
I positioned my word on the lower 1/3 of my window frame. This will leave more room near the top for the garland. It also lends itself to the photography rule of thirds. Along with being in the lower third, I also wanted my word to be offset, so I attached it at an angle. After determining approximately where I wanted my word, I added the tiny nails in the appropriate position on the frame and attached the word.
Step 2
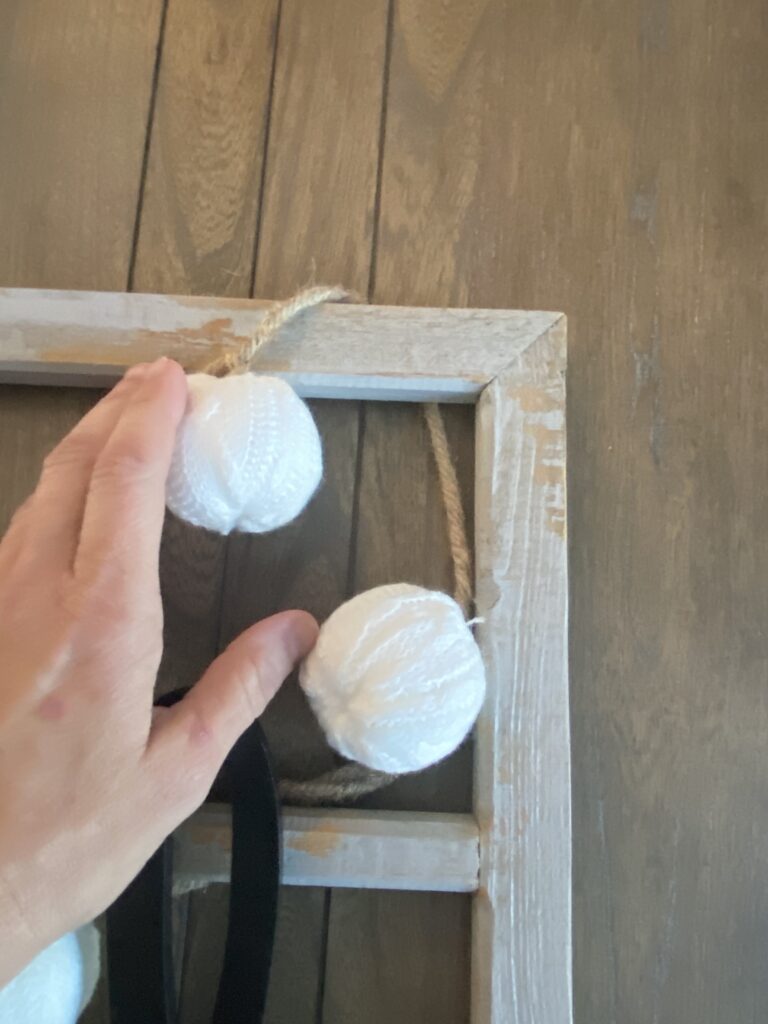
Next you want to drape your garland on the frame. You will need to position the garland so some of the pompons are in front of the window frame and some are behind.
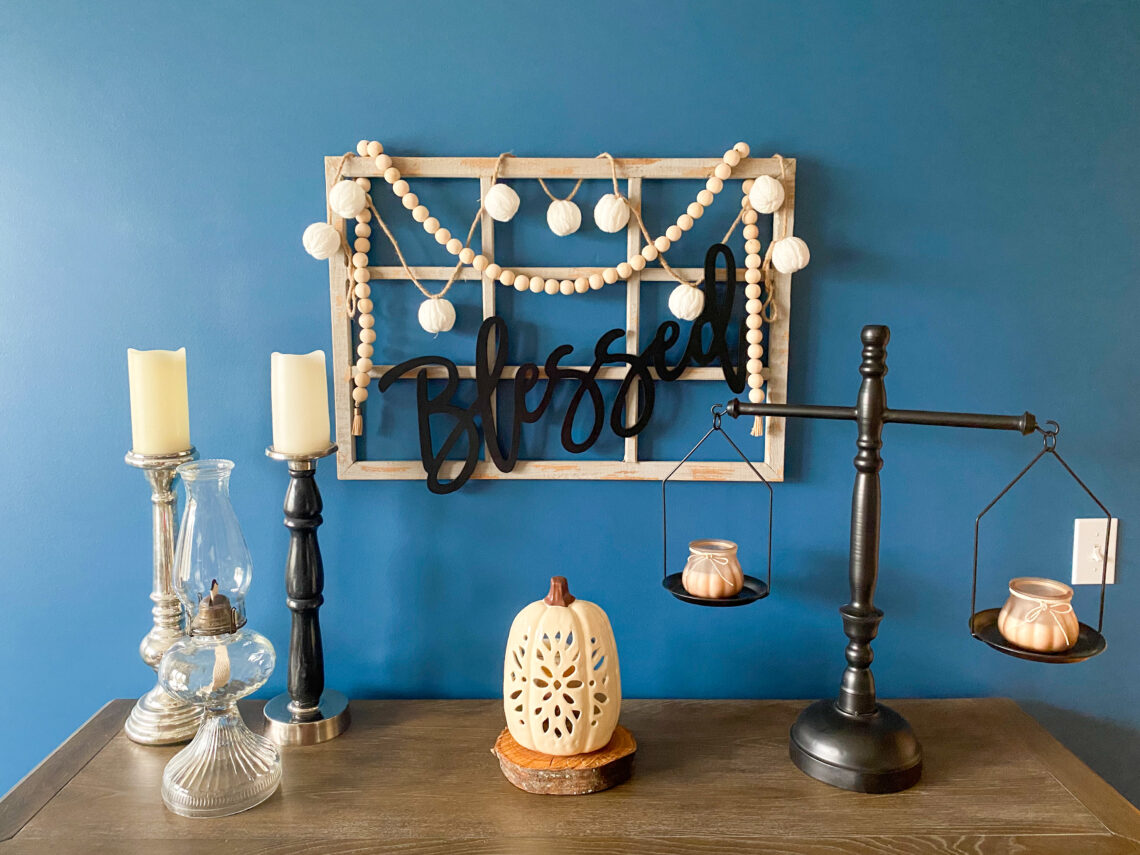
Final Step
Finally, it is time to add the farmhouse beads. When stringing these beads, I left some gaps knowing I would need the extra space. The gaps will be used to string the garland from the front of the window frame to the back. I left just enough of a gap that it will allow the wall hanging to sit close to the wall – which wouldn’t be possible if the beads were so closely strung that a bead ended up behind the wall hanging.
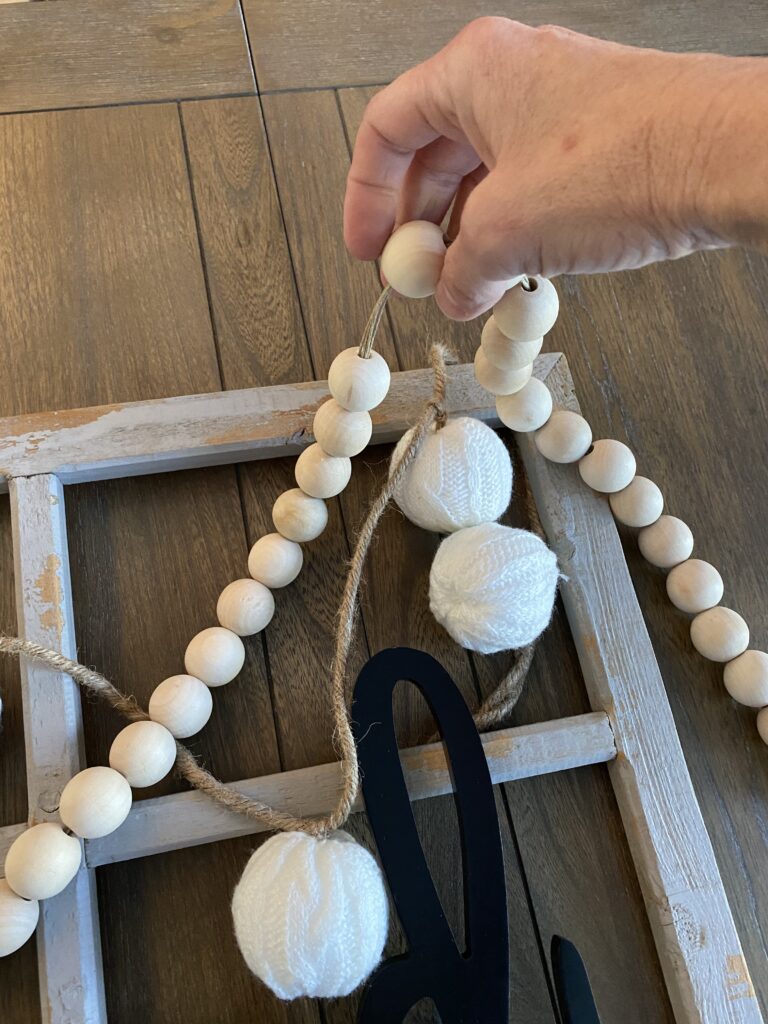
Adjust your beads and garland until you get the look you are happy with.
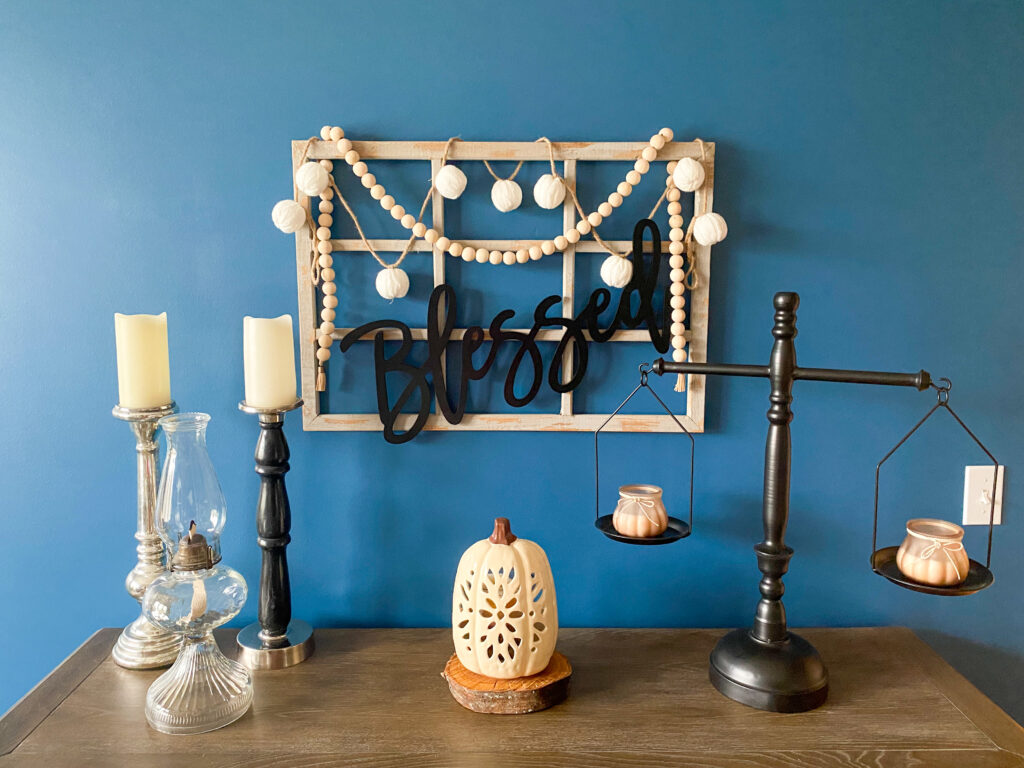
I hope you like this simple DIY farmhouse wall decor piece. I would love to hear about how you bring this idea to life in your homes! If you love this idea, but learning how to string beads isn’t your thing, I link to several at the bottom of my tutorial on how to string farmhouse beads which can be found here. If stringing the beads yourself isn’t your thing, you can find lots of options available for purchase at the end of the farmhouse bead tutorial.
I created this wall decor as part of my complete dining room update as a guest designer on the One Room Challenge™. You can follow the progress on my dining room by clicking here for week 1, week 2, week 3, week 4, week 5.
Thanks for visiting.
See you soon!
Sondra
You May Also Like
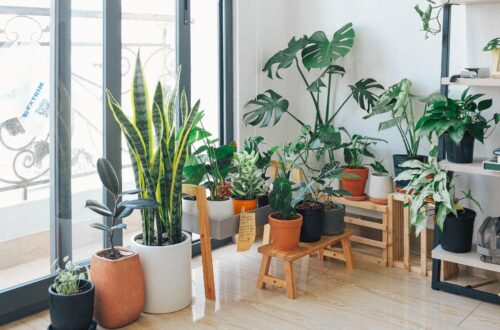
Easy Ways to Improve Air Quality in Your Home
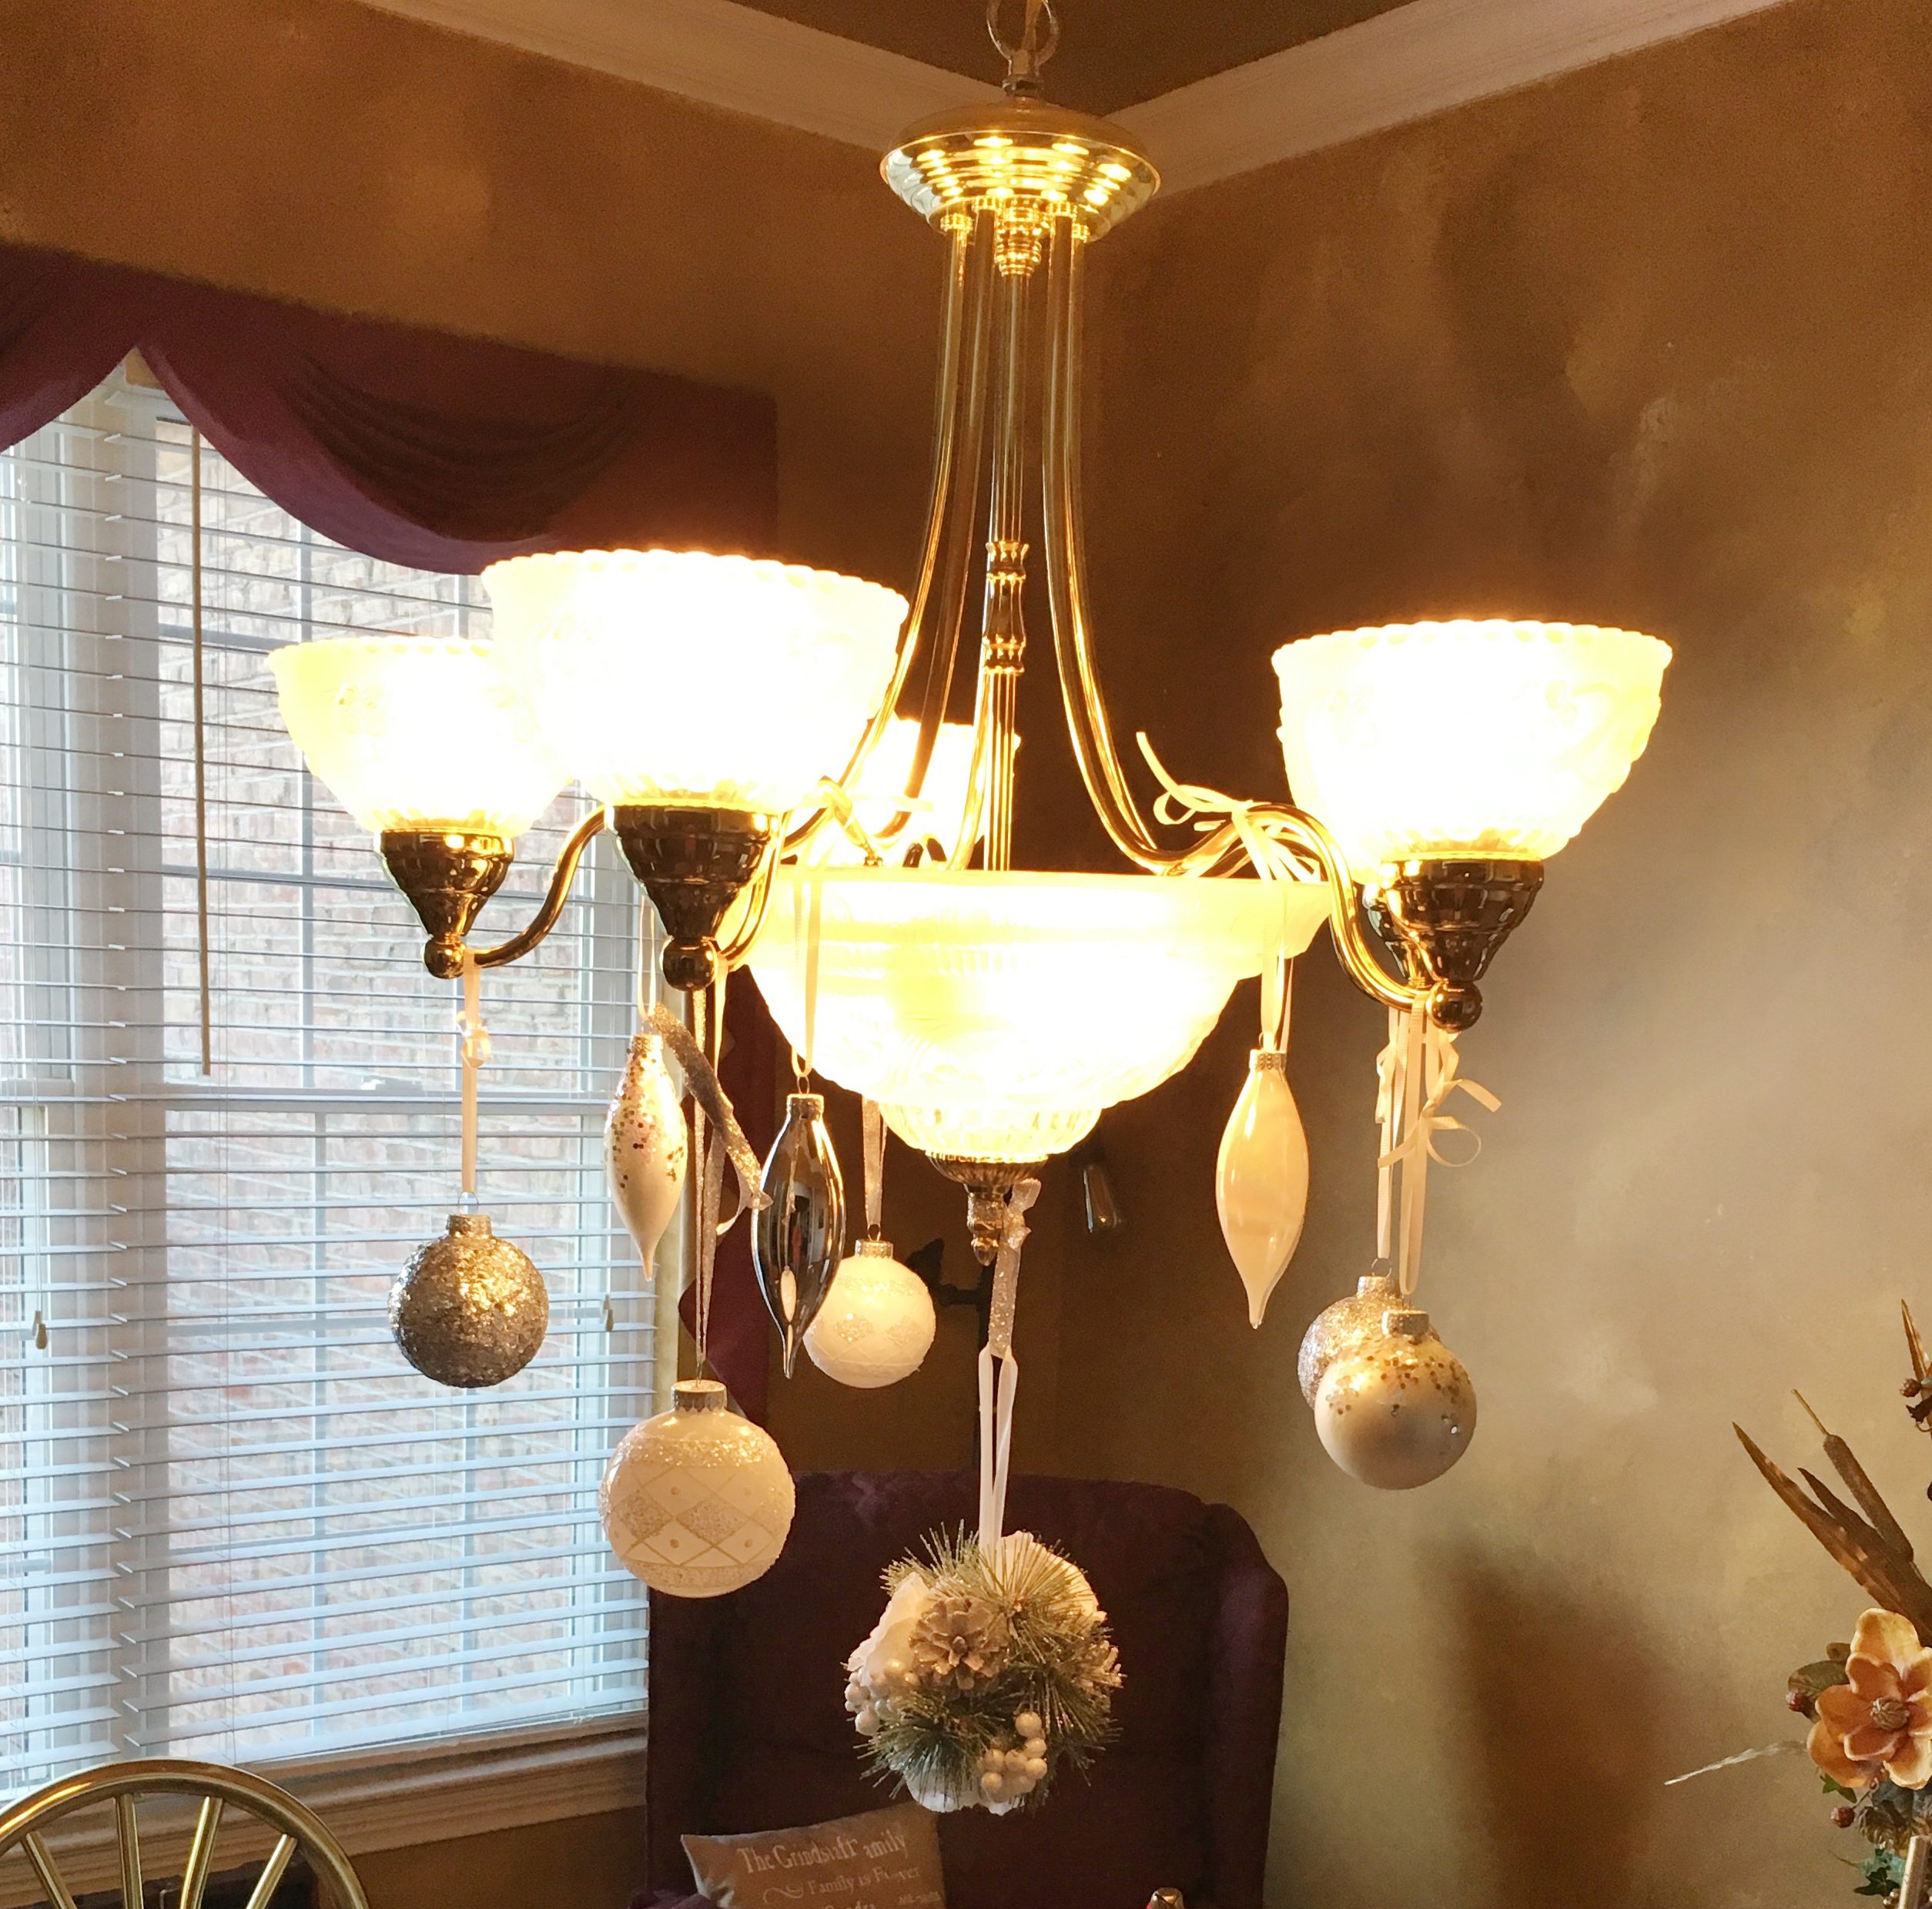
Add Some Festive Fun to your Chandler