My Trick for Perfect Placement on a Gallery Wall
I love gallery walls when everything is in its perfect place. I think I must be worse at deciding on the perfect place than most because I never get it right the first time. However, I have found something that works for me. At least, it works when the wall has to be painted anyway. If the wall needs to be painted a new color, and will require two coats of paint, I like to paint on one coat and then play around with the placement of my items making up the gallery wall. I have never had much luck with marking out the spaces on the wall with painters tape or taping up paper versions of the items. This doesn’t give you any feel for color or depth.
I generally have a good idea of what I want so I hang the larger items where I think I want them. I use the smallest nail possible when I do this. After I get the larger items where I think they belong, I add the smaller items, again using the smallest nail possible. If something doesn’t look exactly right, I move things around, nails and all, until I get an arrangement I love. Then I wait. Sometimes things look different by the light of the day. Sometimes things look different after dark. I like to wait at least a couple of days before deciding the arrangement is set. I also usually text a couple of options to my best friend to see what she thinks.
When I have everything where I want it, I remove all of the items, but leave all of the nails in place. This leaves nails in the positions where they are needed and empty holes in positions I ended up not liking. I patch the holes, let the patch dry, and smooth out the surfaces if needed. Sometimes the tiny nail holes patch cleanly and sanding isn’t necessary.
One final step before I remove the nails and paint is to use a Swiffer Duster to clean off the walls in case there is dust from the sanding process. I remove the nails and paint the final coat of paint on one section at a time. As I finish painting a section, I return the nails to their proper positions. This way the paint doesn’t fill the holes and hide them.
After the paint has dried, I remove the tiny nails and use the correct hangers for the items – for example a hook for a school backpack would need a much more substantial hanger than a photograph.
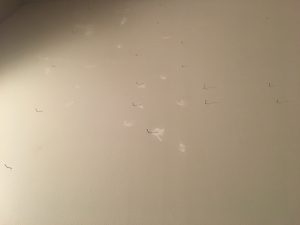
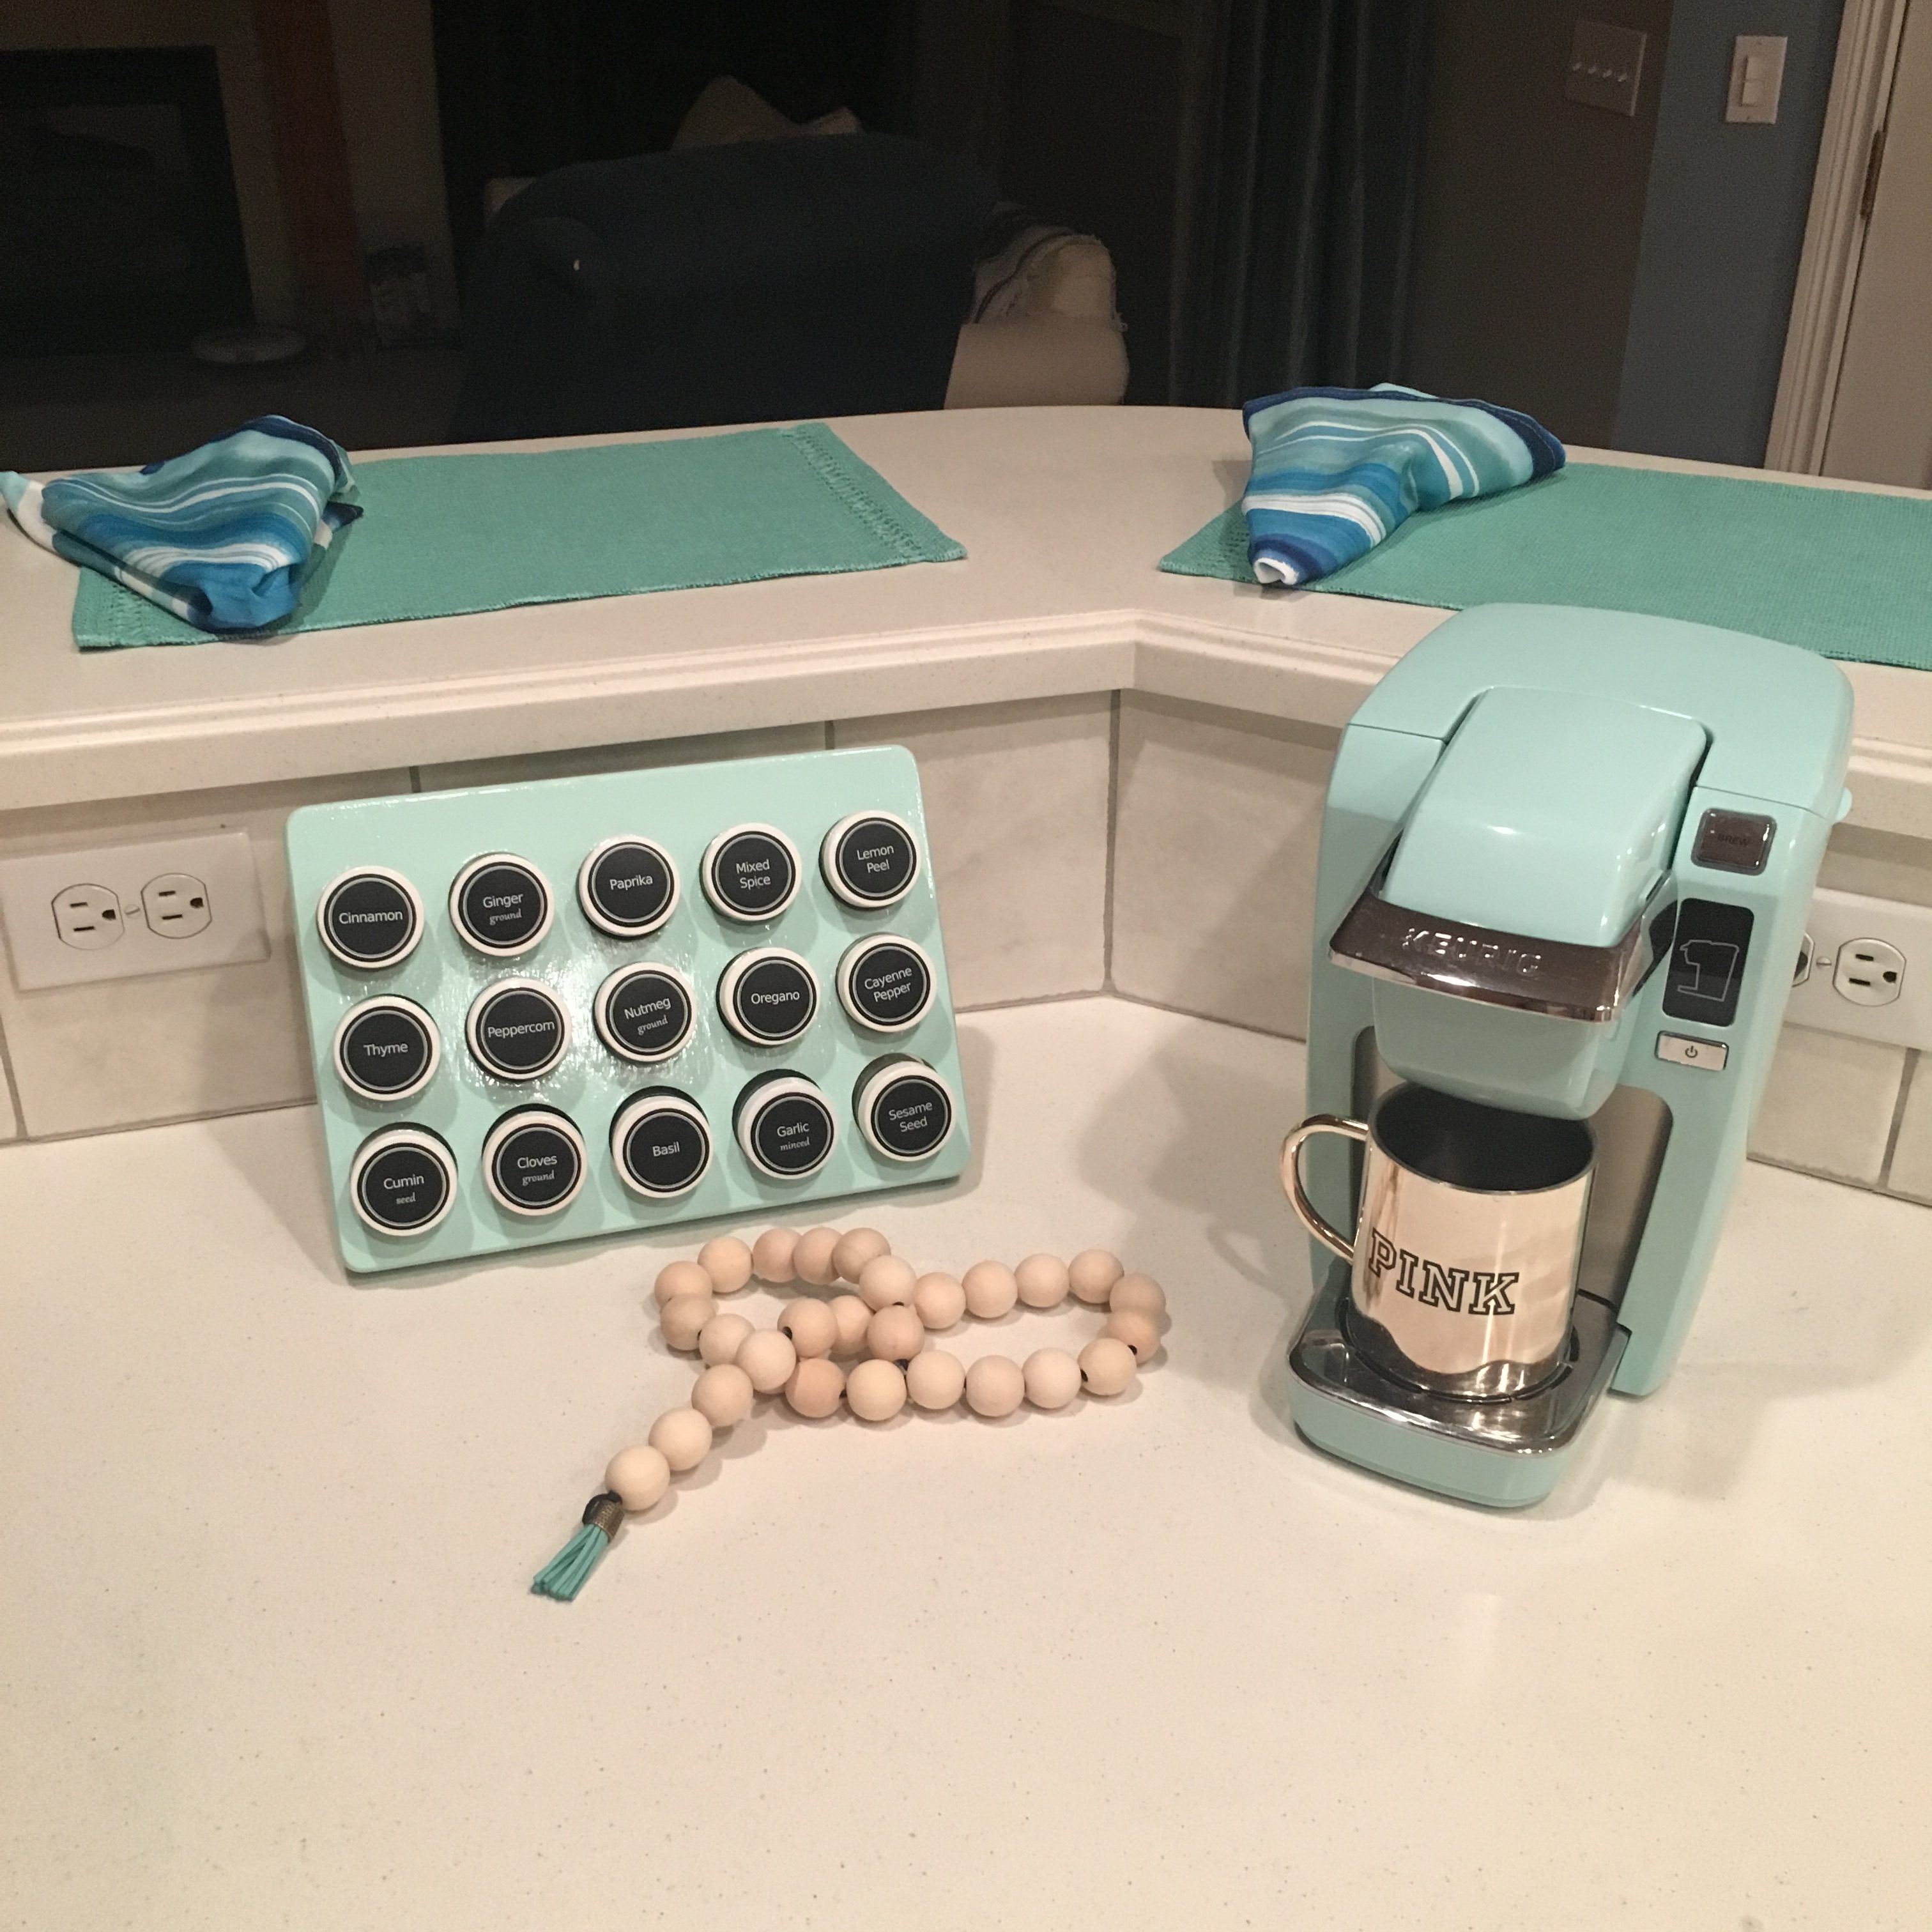
Just for fun, here is a photo of the drop zone wall I just completed. This is after I had patched the holes and before the final coat of paint.
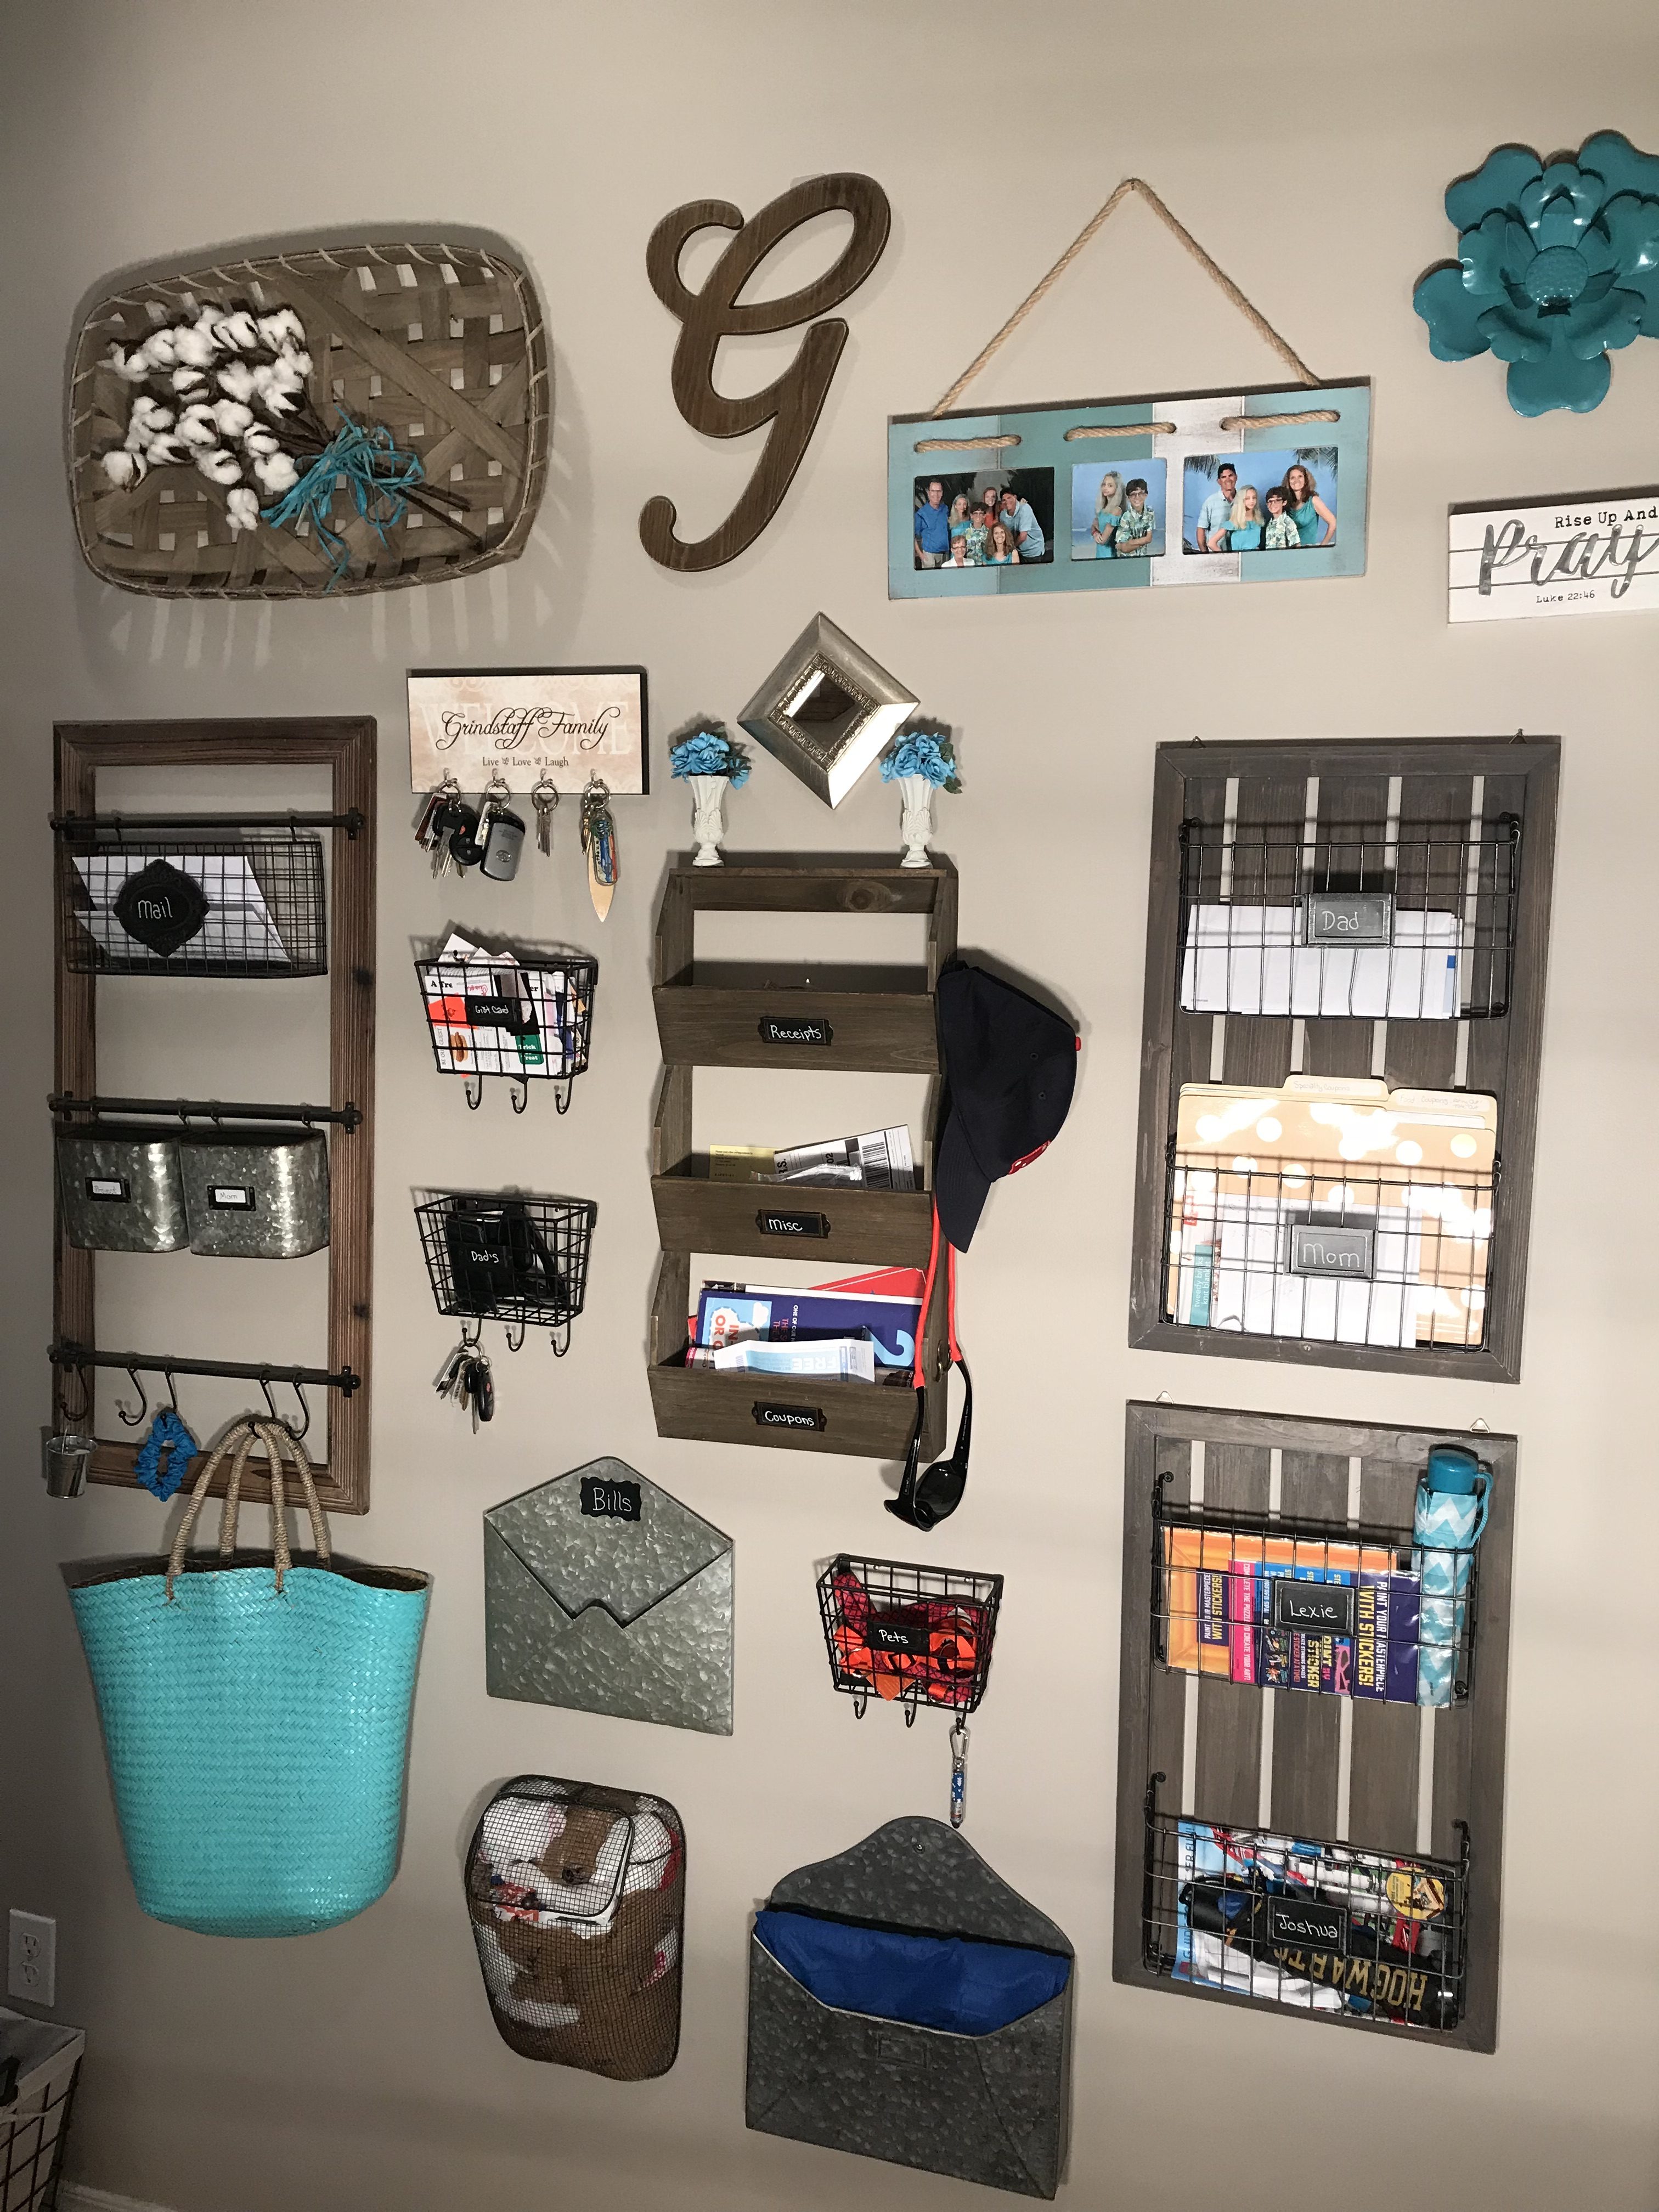
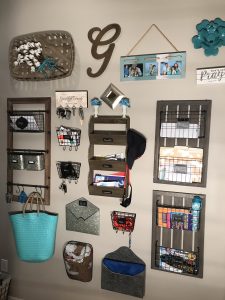
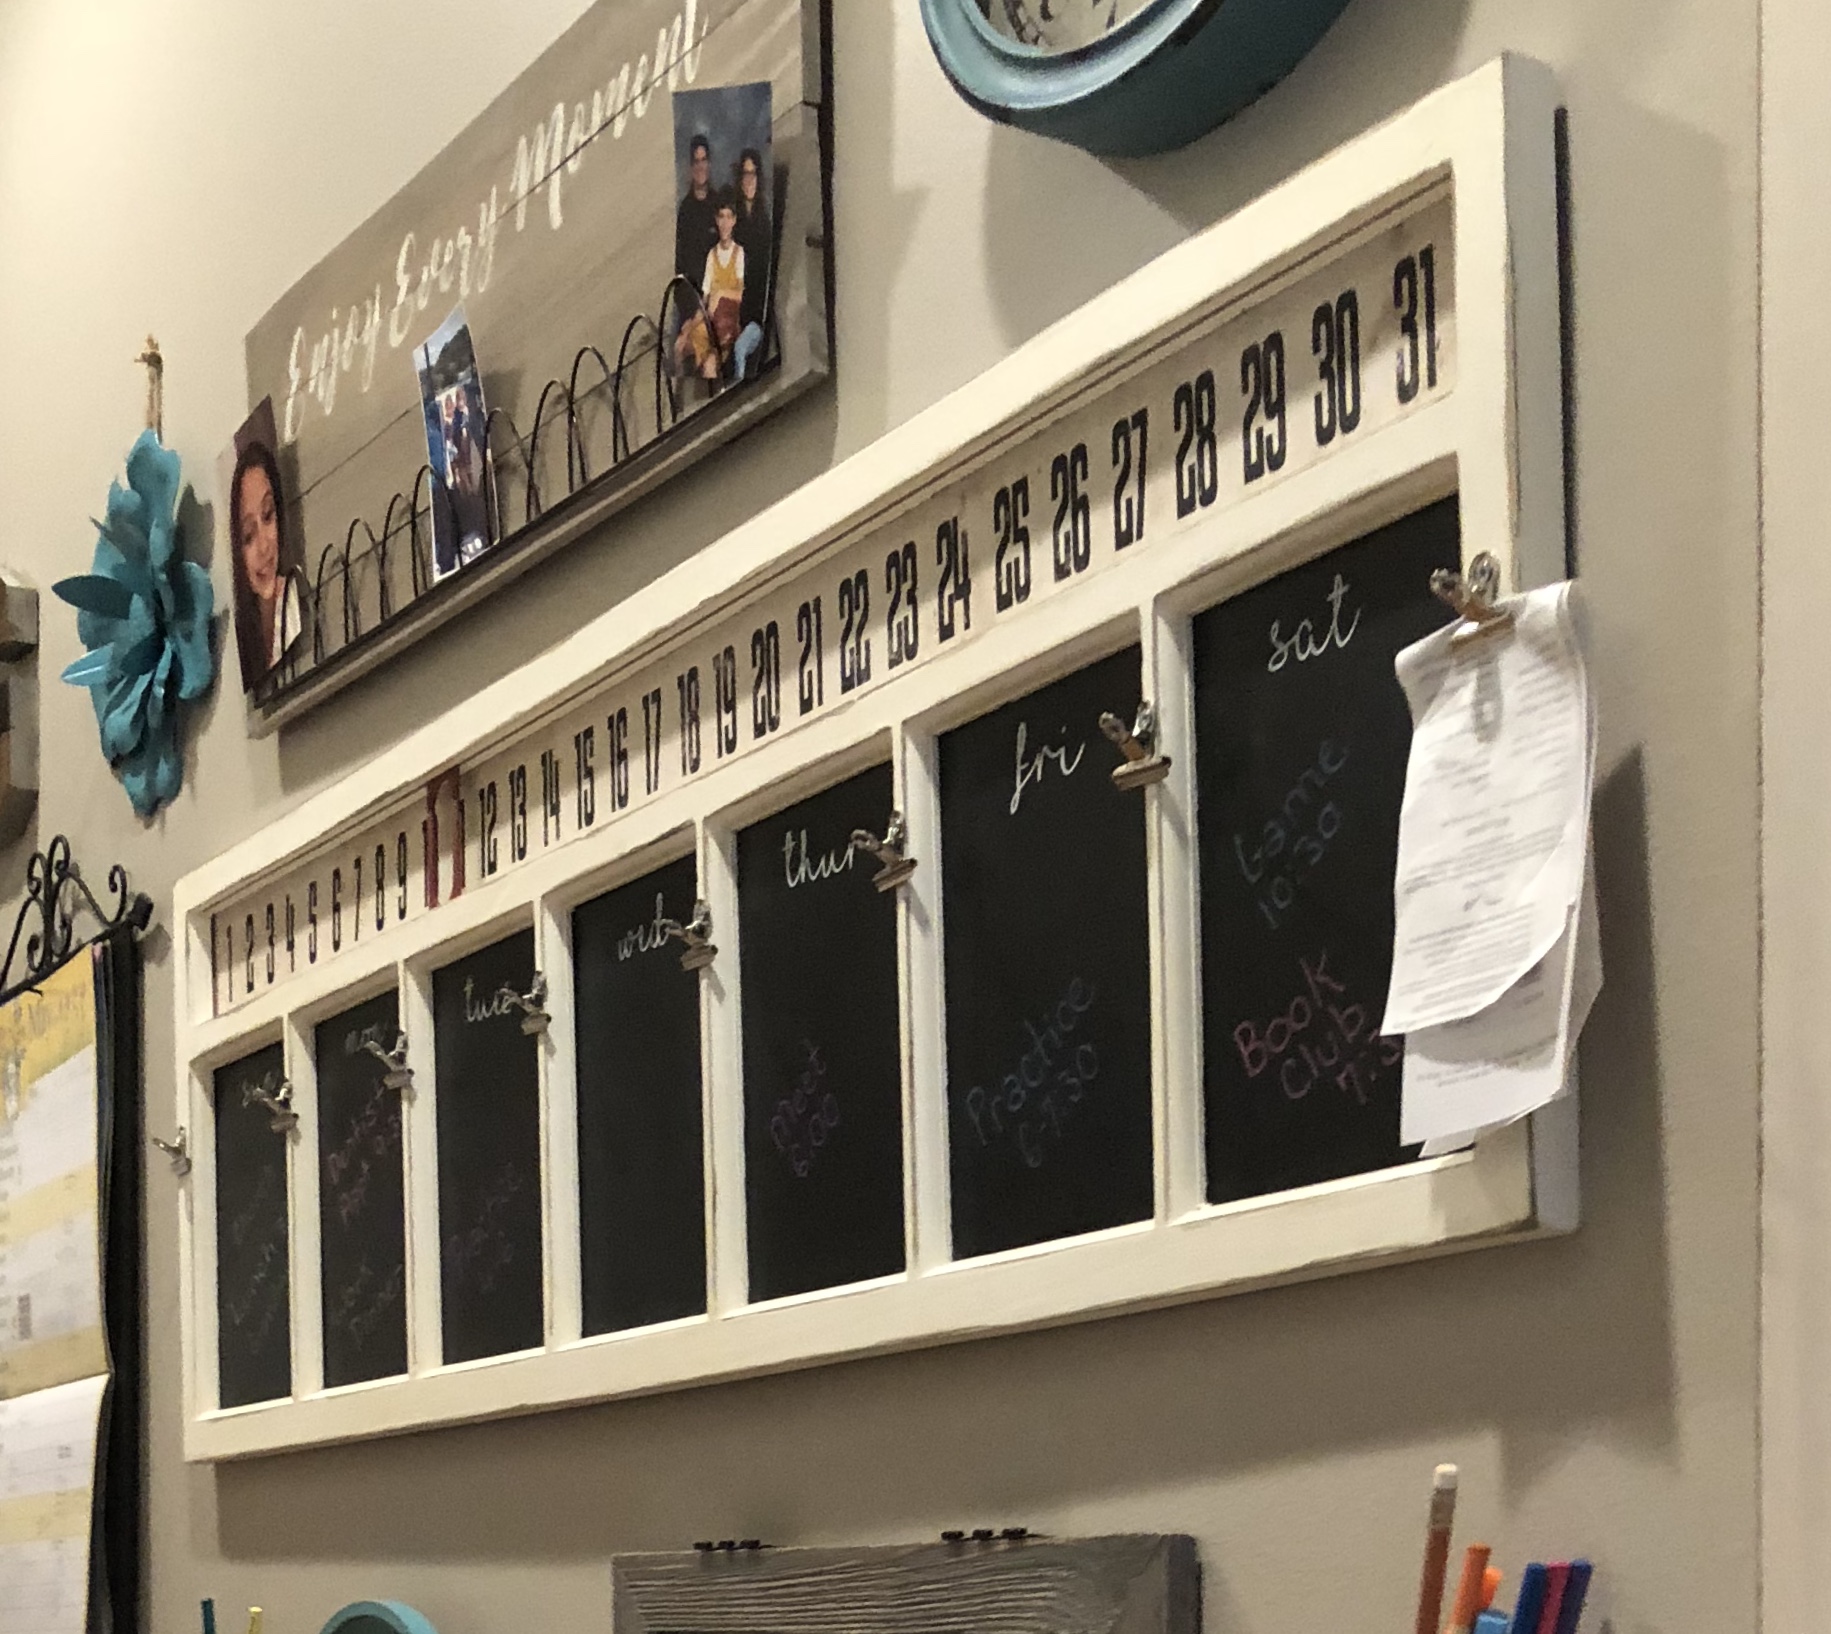
And here is a finished photo of the same section of wall.
You May Also Like
Weekly Family Planner for the Command Center
Creating a Family Menu Board for Your Command Center