Terra-Cotta look vases DIY
Today I want to show you how to DIY these gorgeous terra cotta look vases from inexpensive glass vases. But first, welcome back, or if it is your first time visiting, welcome!
I just love how these turned out and you won’t believe how easy and inexpensive it was to make these.
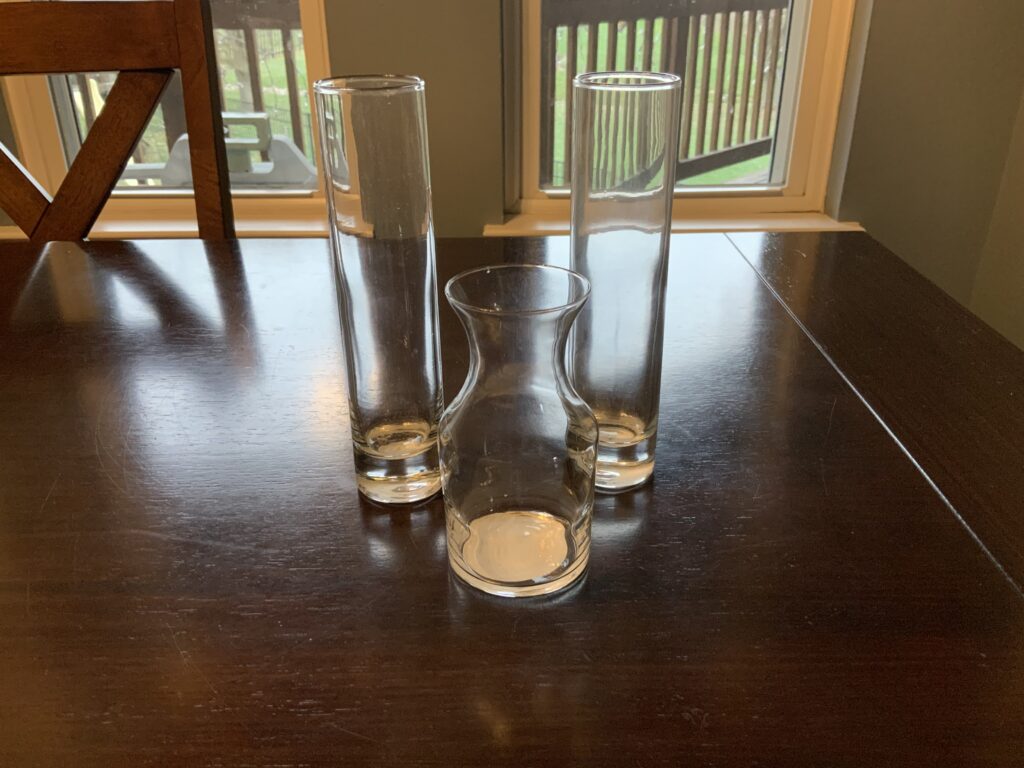
Choose your vases
I started with these clear glass vases.
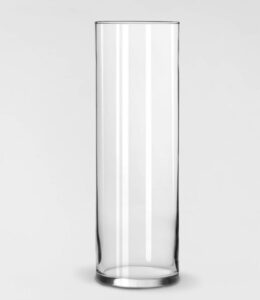
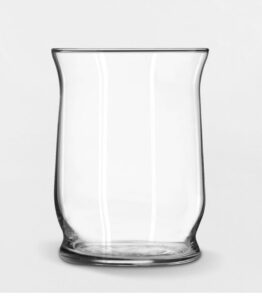
You can also find similar vases at the Dollar Tree or Goodwill.
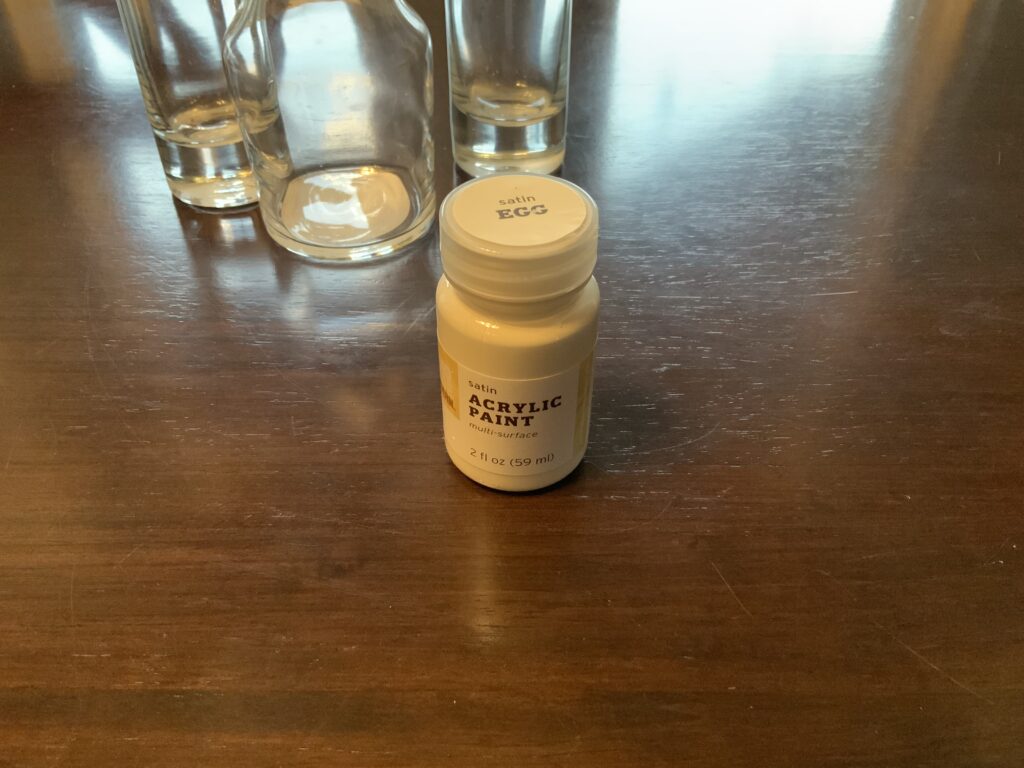
Gather your supplies
All you need to get this amazing terra cotta look is add baking powder to acrylic paint, then paint your glass vase with several coats, letting it fully dry between coats.
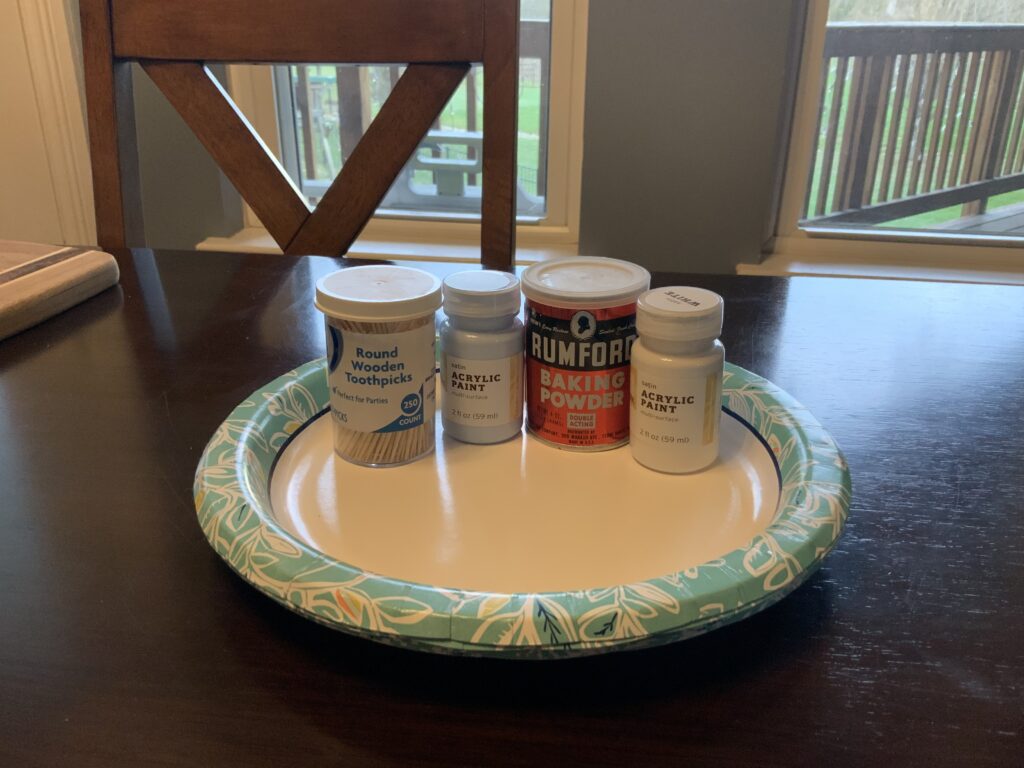
I chose my colors because I wanted winter colors that would work for Christmas and also work in January when I decorate my dining room like a winter wonderland. I chose the colors below. (I just learned that another thing difficult to find in stores right now is Acrylic paint. The colors I used are White and Sky Mist. These colors are apparently sold out right now. The set at this link includes a white and a pretty light blue. Though these are not the exact colors I used, I think they would be lovely. You can also find a pretty light blue and white here and here.)

Start with a clean surface
First you want to make sure your vases are clean and have no fingerprints. I cleaned them with rubbing alcohol and cotton balls.
Mix the paint
After the vases are clean and dry, paint on a mixture of a acrylic paint and baking powder. I didn’t try to measure it exactly because you lose too much paint trying to measure. I simply poured some paint onto a paper plate and sprinkled baking powder on top. You want it mix it thoroughly, but it should have a lumpy consistency similar to this:
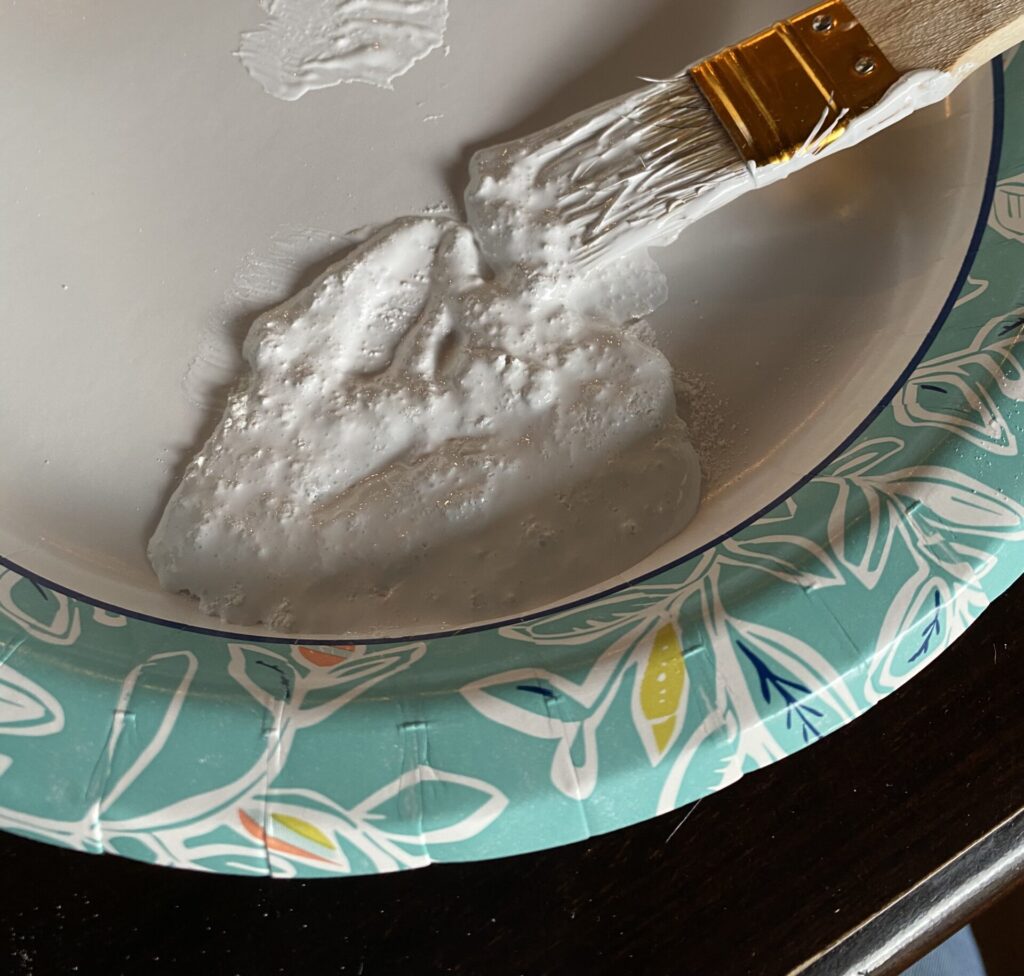
Now you simply paint the mixture onto your vase
Cover Your Working Surface!
I will add a warning that the consistency of this paint causes it to splatter a bit more than I expected. After picking paint splatters off my dark wood breakfast table, I decided to cover a larger area of the table for the next coat. Oops!
It will take at least 3 coats of paint to completely cover your vases. You want the paint thick enough that you cannot see through it at any point on the piece.
Your brush strokes will show, more so when it is wet, but that is part of the charm of these pieces.
To give even more texture, I applied the paint vertically for the first coat.
Horizontally for the second coat.
And vertically again for the final coat.

Also, don’t forget to paint inside the vase. You don’t need to paint the entire inside, just around the top so the glass will not show.
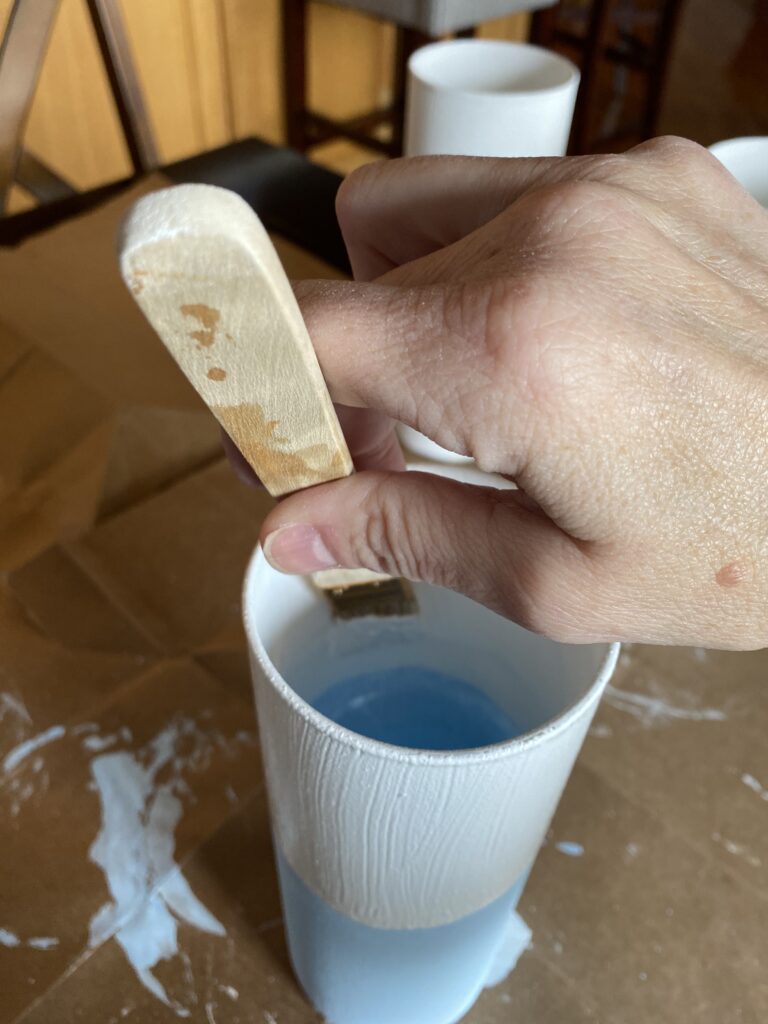
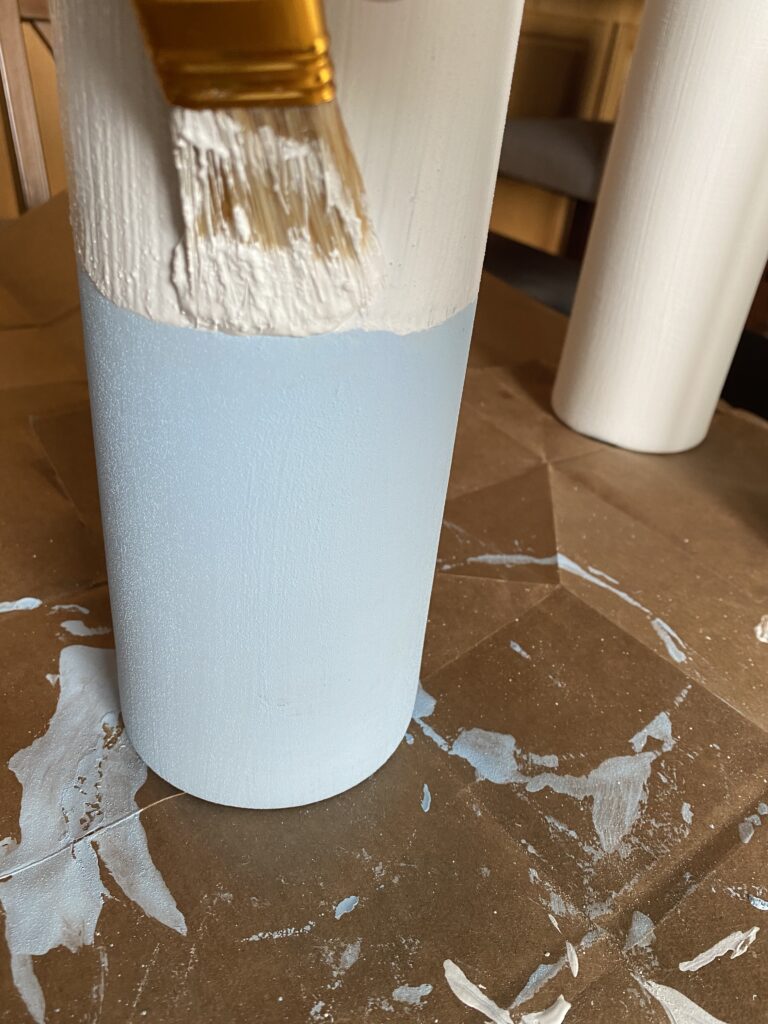
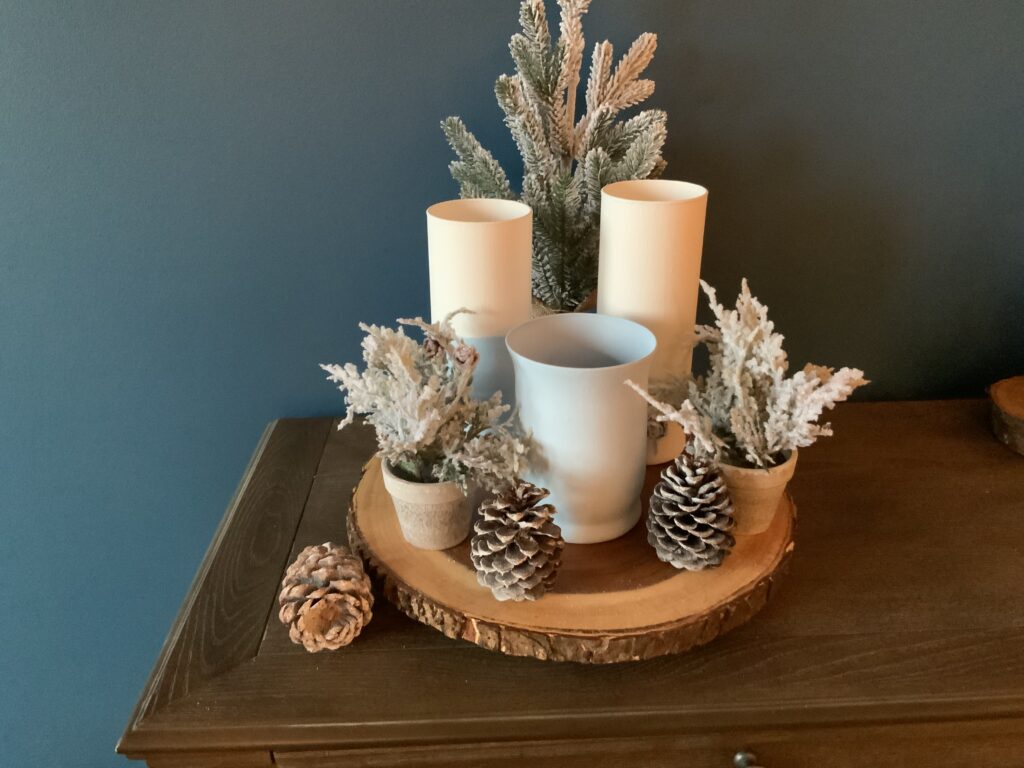
You can also make a two-toned piece. On this vase, I added blue to the bottom and white to the top. While you could tape it off to make the line perfectly straight, I think it looks more like terracotta with a less than perfect line.
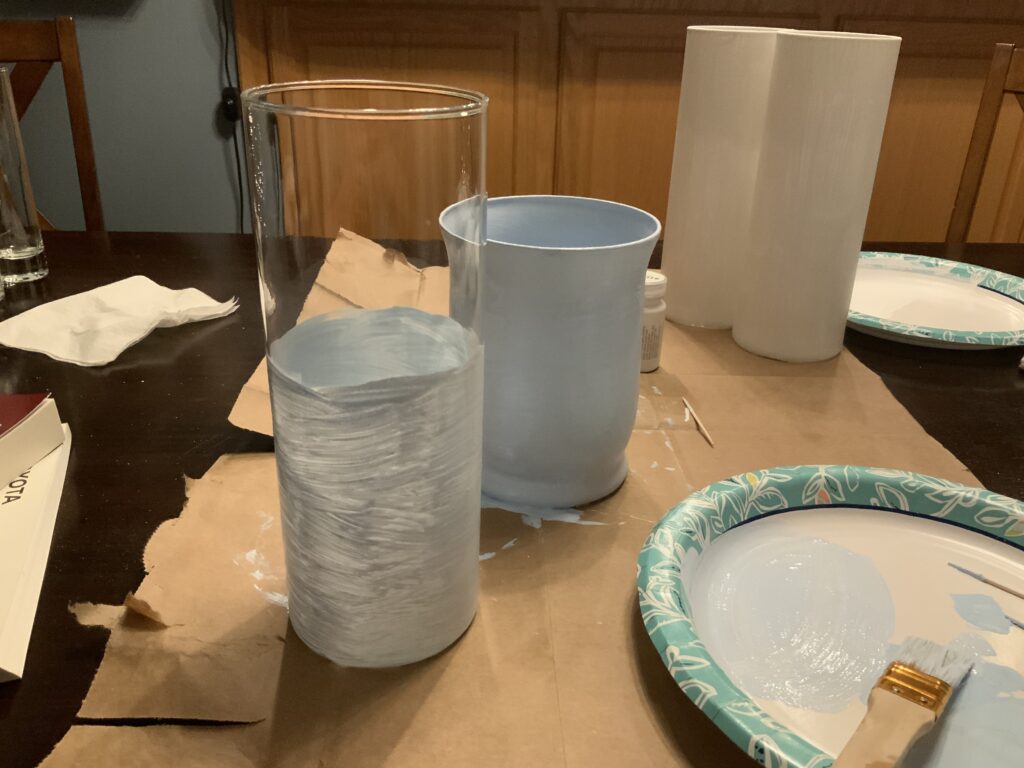
I painted a couple of coats of blue, before I flipped the vase over and painted white.
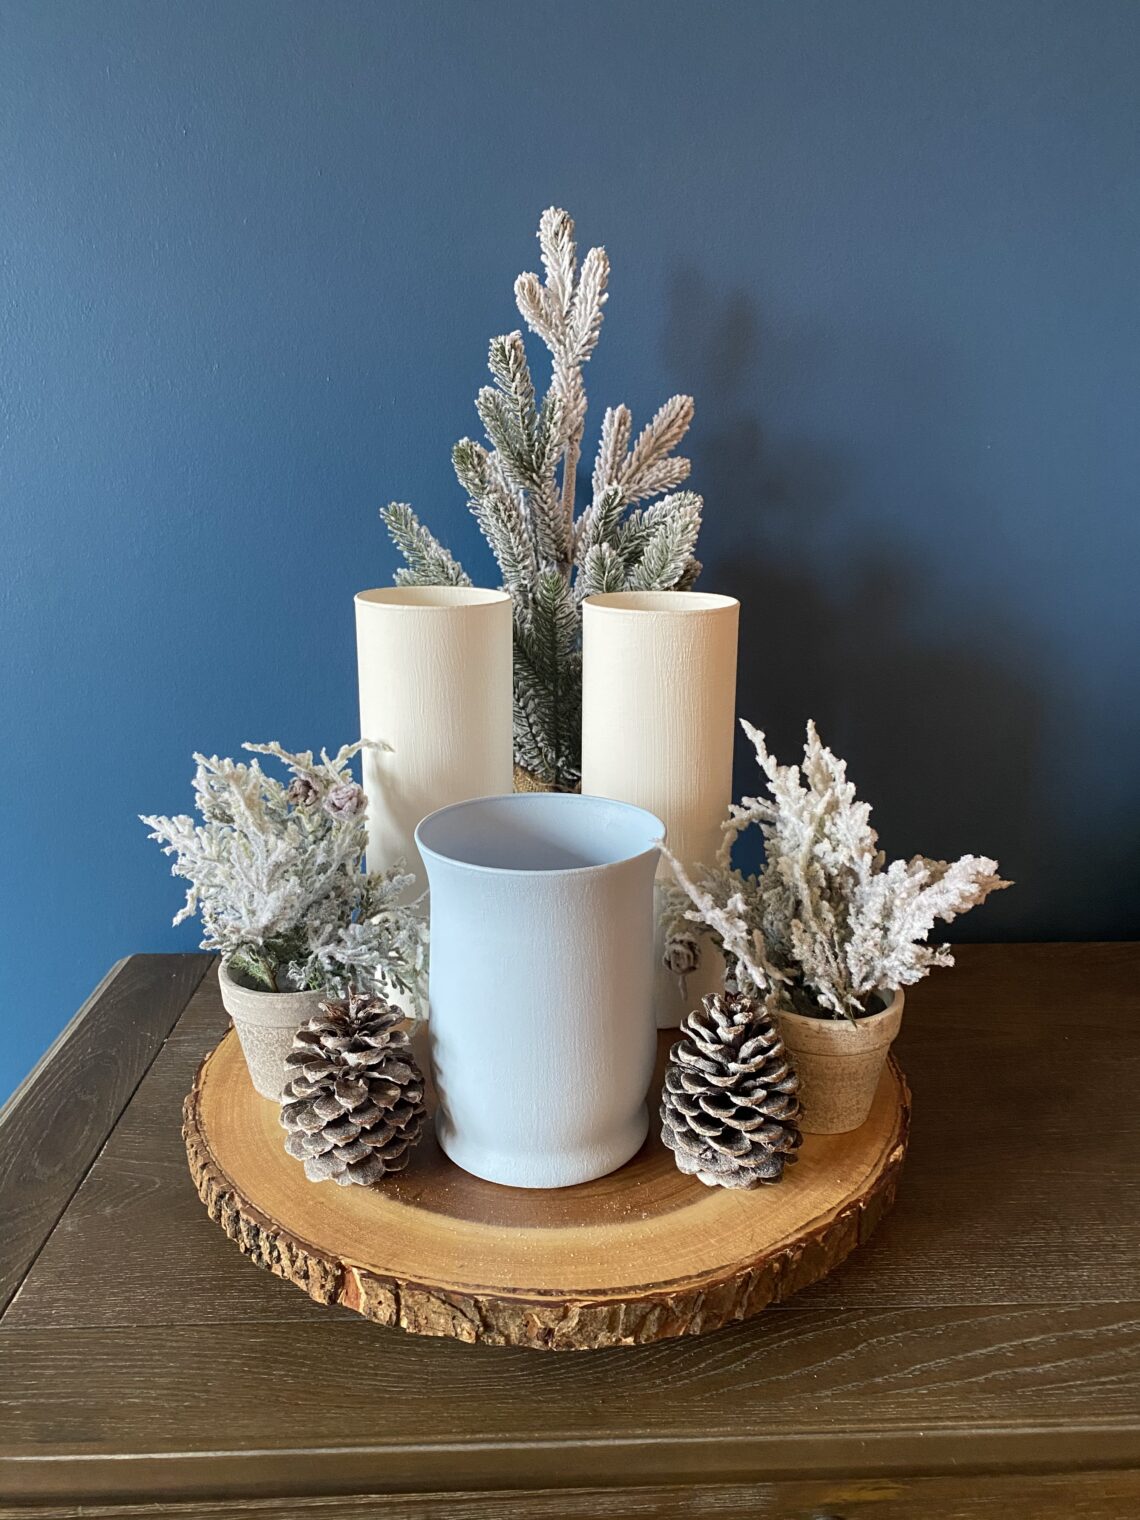
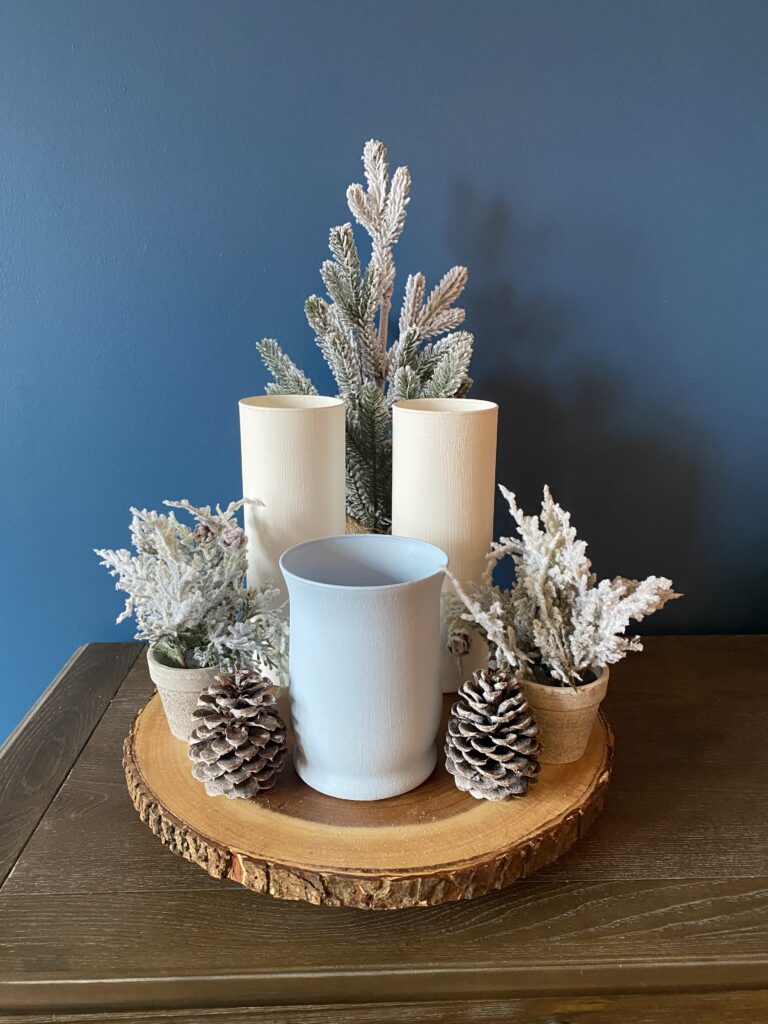
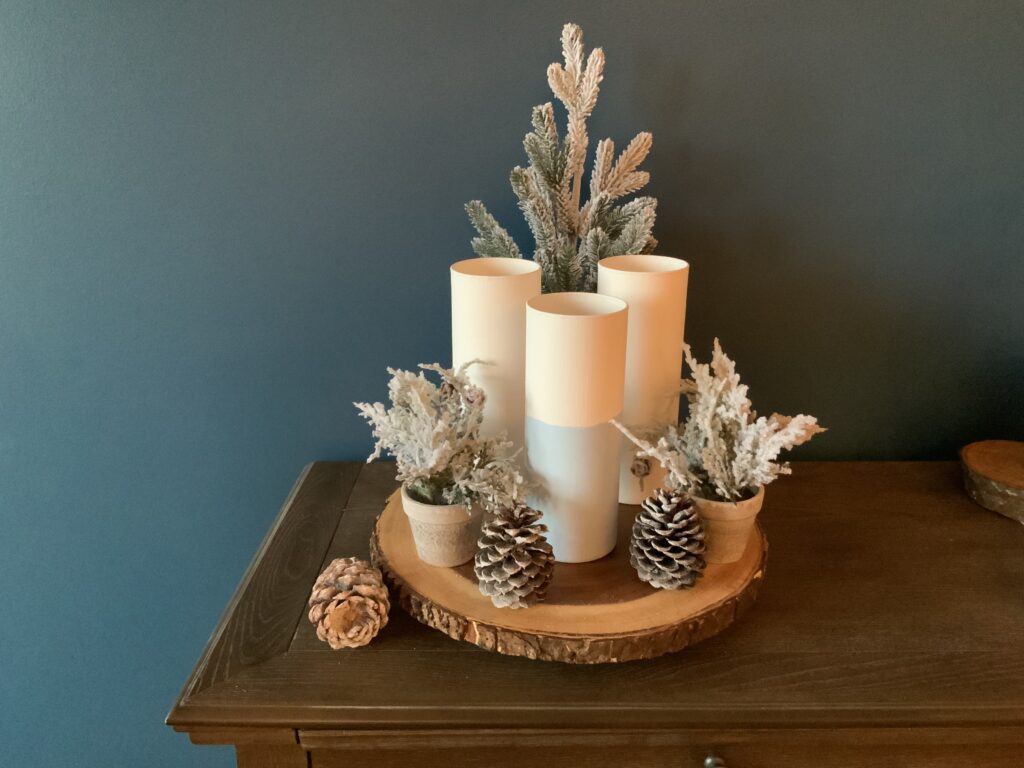
I love that these pieces can be displayed in multiple ways. Using the same color group on pieces of different sizes and shapes allows them to be mixed and matched easily.
I am so happy with how they all turned out. In fact, I think I am going to go get one more and do another two-toned, with the blue taking up more of the vase, and the white a little less. I will add that picture in here when I finish that one.
I also bought these cute vases, and I plan to use more neutral colors on them for a year round look.
I already have this paint color, and am waiting for a coordinating one to come back in stock.
The hardest part about this project is waiting for the paint to dry between coats, but you need to make sure it is dry to get a more even finish. Working with the textured paint it has a tendency to get lumpy if you paint over it with another coat before the first is dry.
I will close now with a few more arrangements of the vases. They are so versatile and can be used in so many ways. Here are a couple I tried out while writing this post.
Let me know what you think in the comments below! Thanks for stopping by.
See you soon,
Sondra
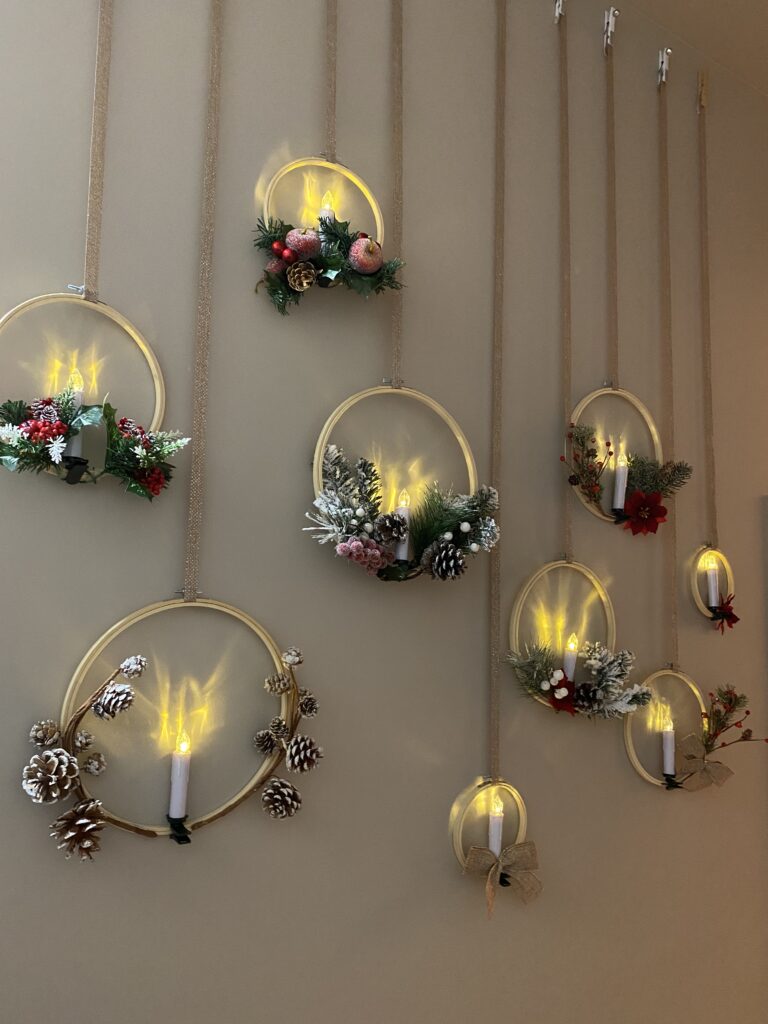
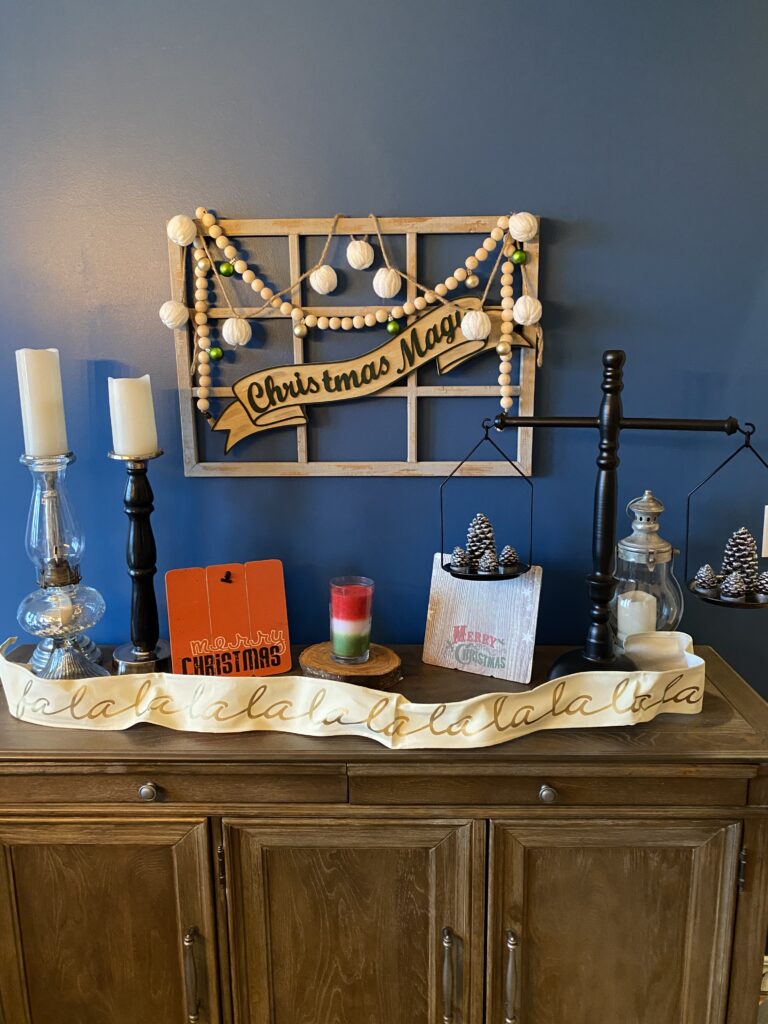
PS. Click the photos below for a few more of my Christmas DIYs.
Christmas Wall Decor:
Christmas Decor With Farmhouse Beads:
Two More Christmas DIYs:


3 Comments
Sharleen Engel
Absolutely gorgeous and brilliant idea . Definitely trying it
Also how do I sign up for your newsletter . Tried several times with different browsers but it doesn’t work . Please help
Crystals and Cleats
Thank you so much. I am glad you like the idea. Please let me know how it goes for you. I think I will try some in spring colors soon. I will look into the issue with my newsletter. I’m not sure why it isn’t working.