How to Apply Gold Leaf
Gold Leaf How To:
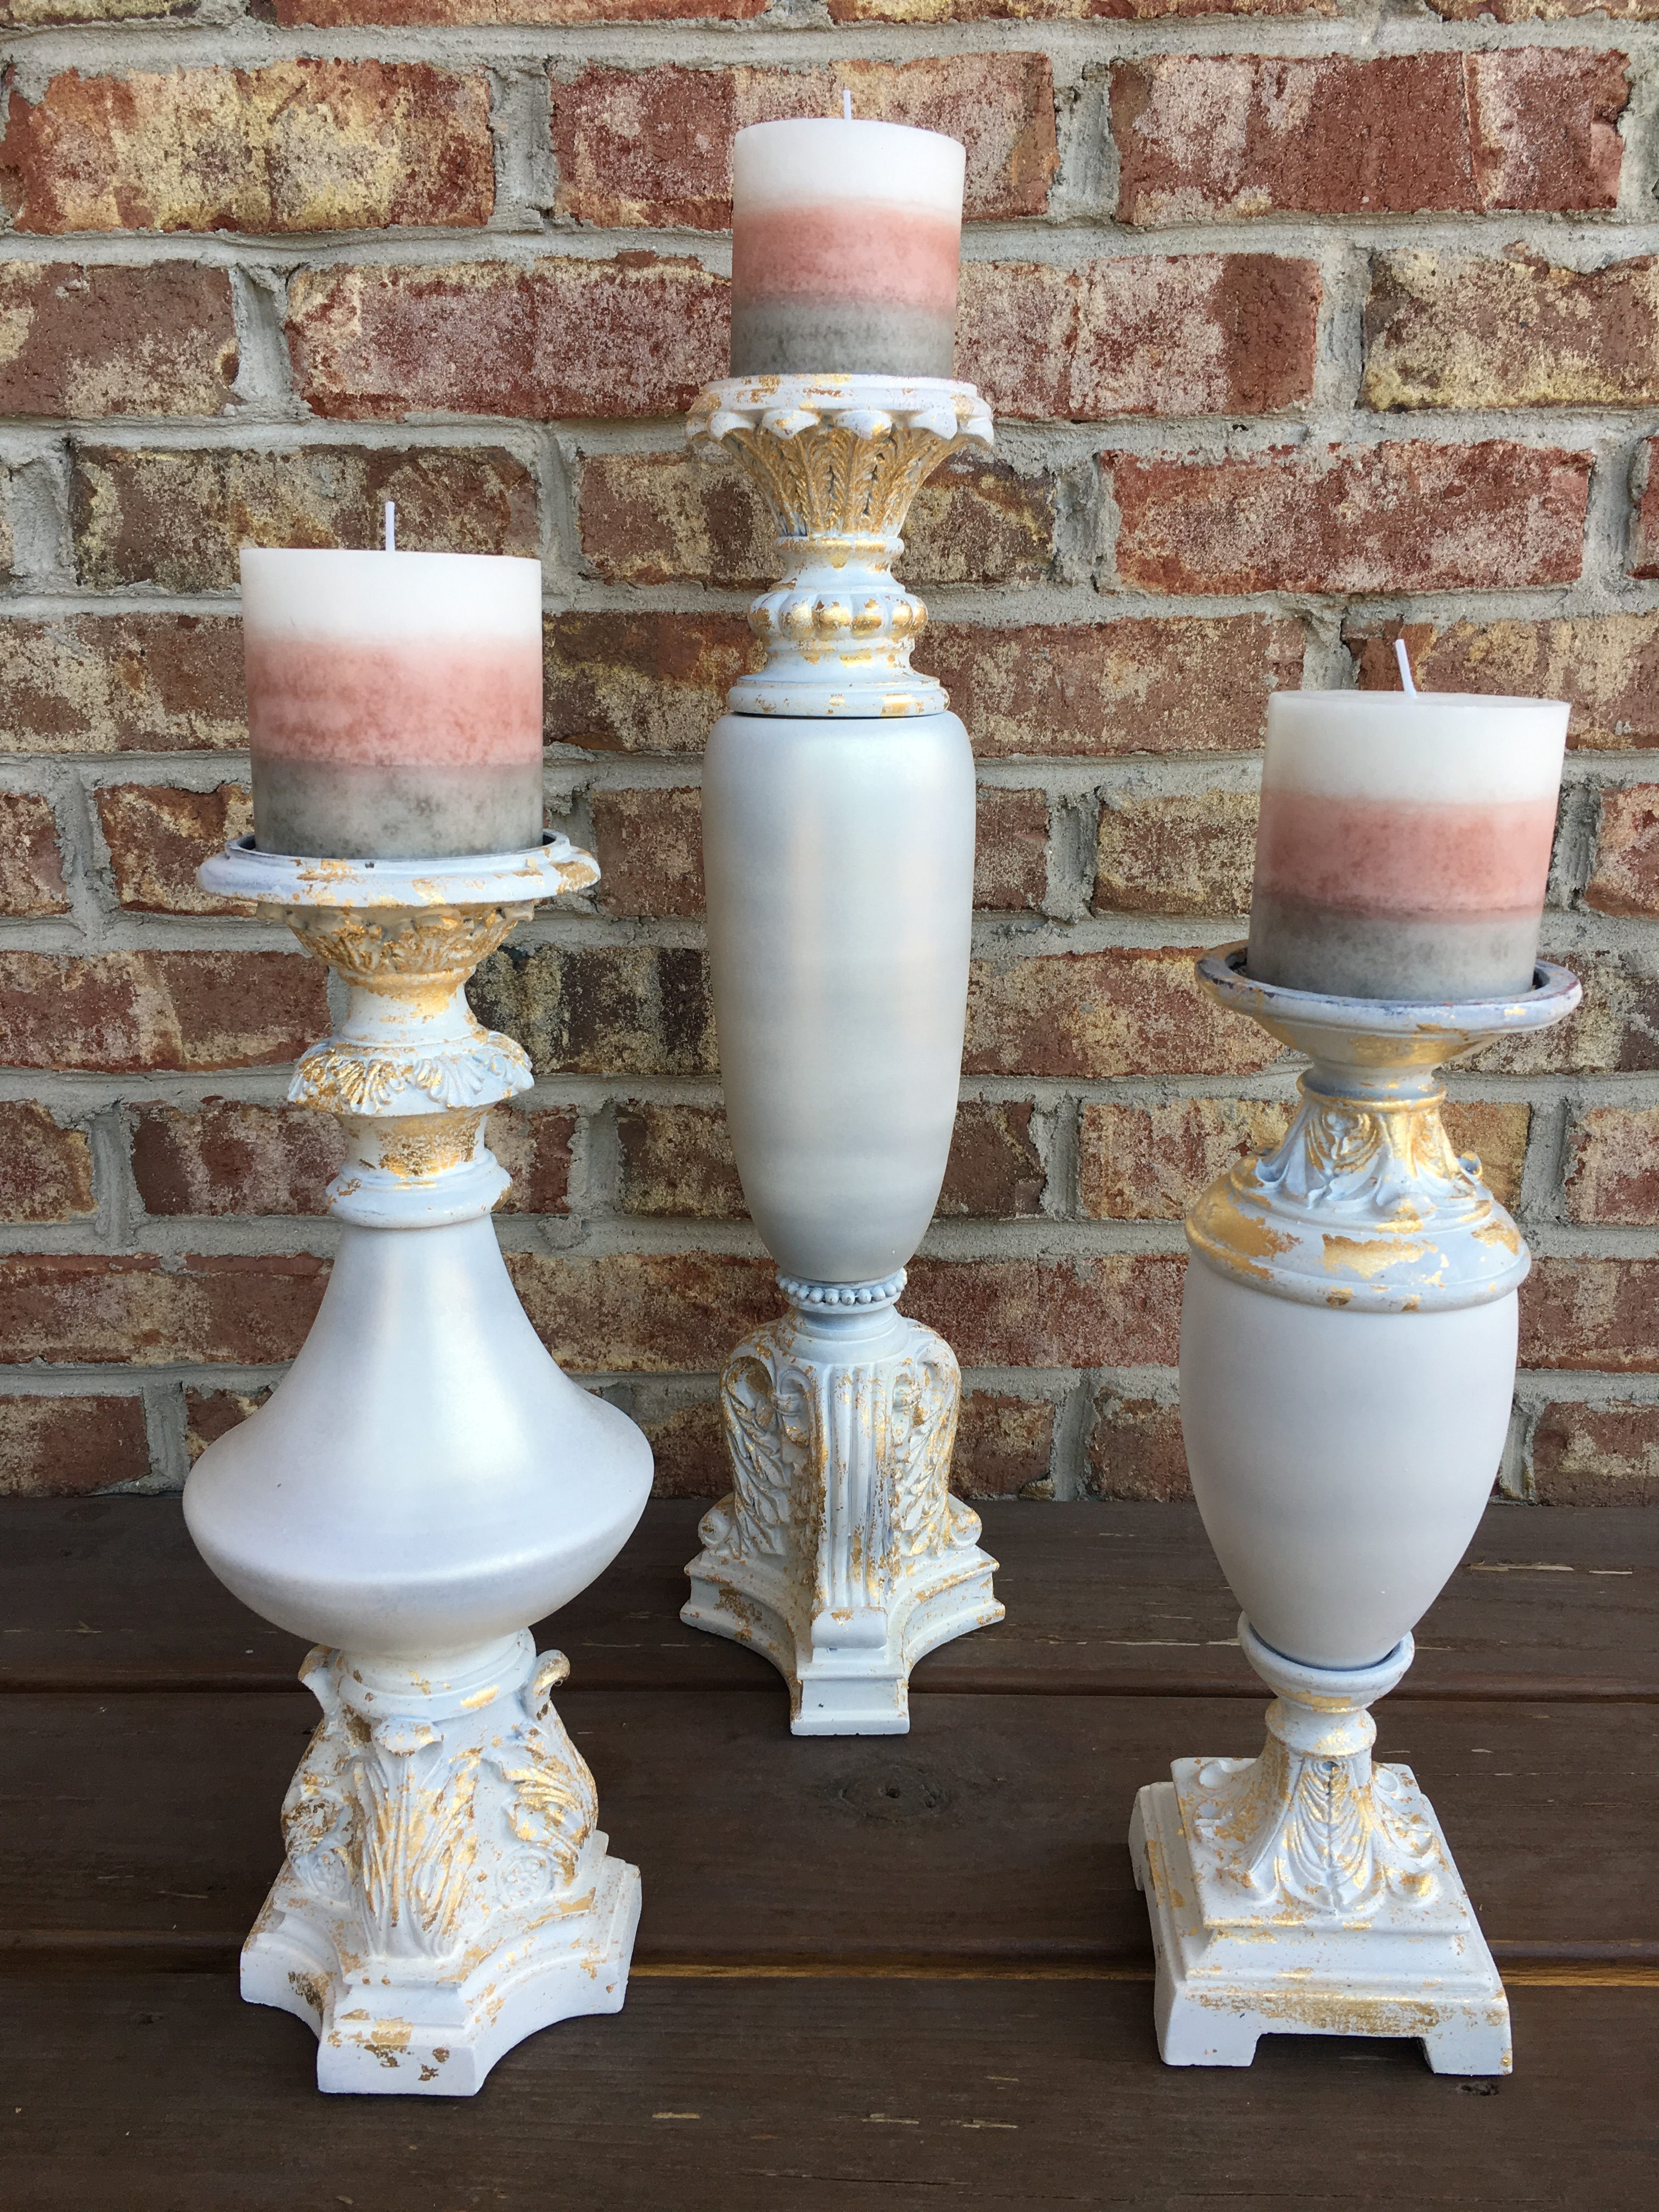
Gold leafing, or gilding, can add an elegant look to many projects and it’s much easier to do than it seems. I want to walk you through the steps I used to add a gold leafing to these otherwise plain white candlesticks.
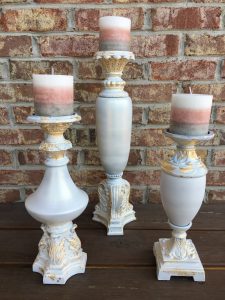
When I first decided to update these candlesticks I thought I wanted to go with an all-white rustic look. However, when they were finished they reminded me more of something that belongs in Disney’s Haunted Mansion than something I would love to have displayed in my dining room. Don’t get me wrong, I do love Disney’s Haunted Mansion, I just don’t want my home décor to remind me of it!
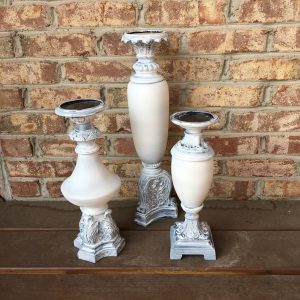
To help remove the Haunted Mansion look, I added a gold sheer spray paint to the glass centers of the candlesticks, but I knew the bases needed something more than a slight golden sheen.
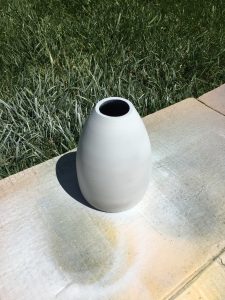
The items needed for gold leafing are:
a gilding brush
an adhesive
gold leaf itself
I used a spray adhesive because I wanted a rustic look and not a specific pattern. If you are going for a specific pattern, you will need to use a brush-on adhesive so that you can control exactly where the gold leaf sticks.
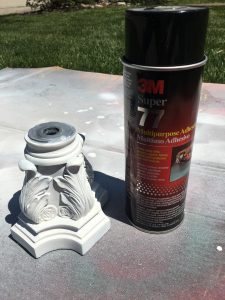
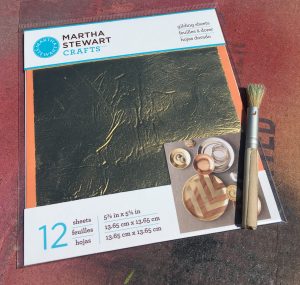
I used supplies I had on hand, but all needed supplies can be found at Amazon by clicking on the following photos:
Disclaimer: We are a participant in the Amazon Services, LLC Associates Program, an affiliate advertising program designed to provide a means for us to earn fees by linking to Amazon.com and affiliated sites.
You will want to work with small sections at a time.
First, make sure the surface to be gilded is clean.
Then apply a light coat of spray adhesive.
Before the adhesive dries, place one sheet of the gold leaf to the surface.
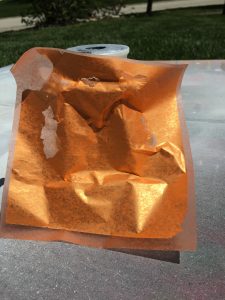
Tap the surface of the gold leaf so that some portions of it will adhere to the surface and some will not. The more the gold leaf adheres, the more coverage you will have. I was going for a light to medium coverage, so I tried to make sure the leafing did not adhere to all surfaces so I lightly tapped only some areas of the surface.
The next step is to remove the sheet of leafing. That should leave you with what looks like golden flakes in various places on the surface.
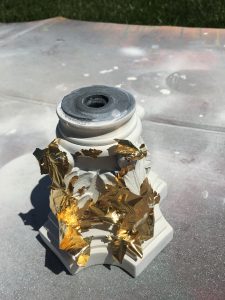
Next, you want to use your gilding brush to remove the loose pieces of gilding.
The following short video will show how to use your gilding brush.
how to apply gold leaf
After this step, if you desire more coverage, you can apply more gold leaf and if you are working with a rustic finish as I was and you would like less coverage you can lightly sand the gold leaf with a fine grit sandpaper.
When you have finished your piece, you will need to let it dry at least overnight before your new item is ready to use.
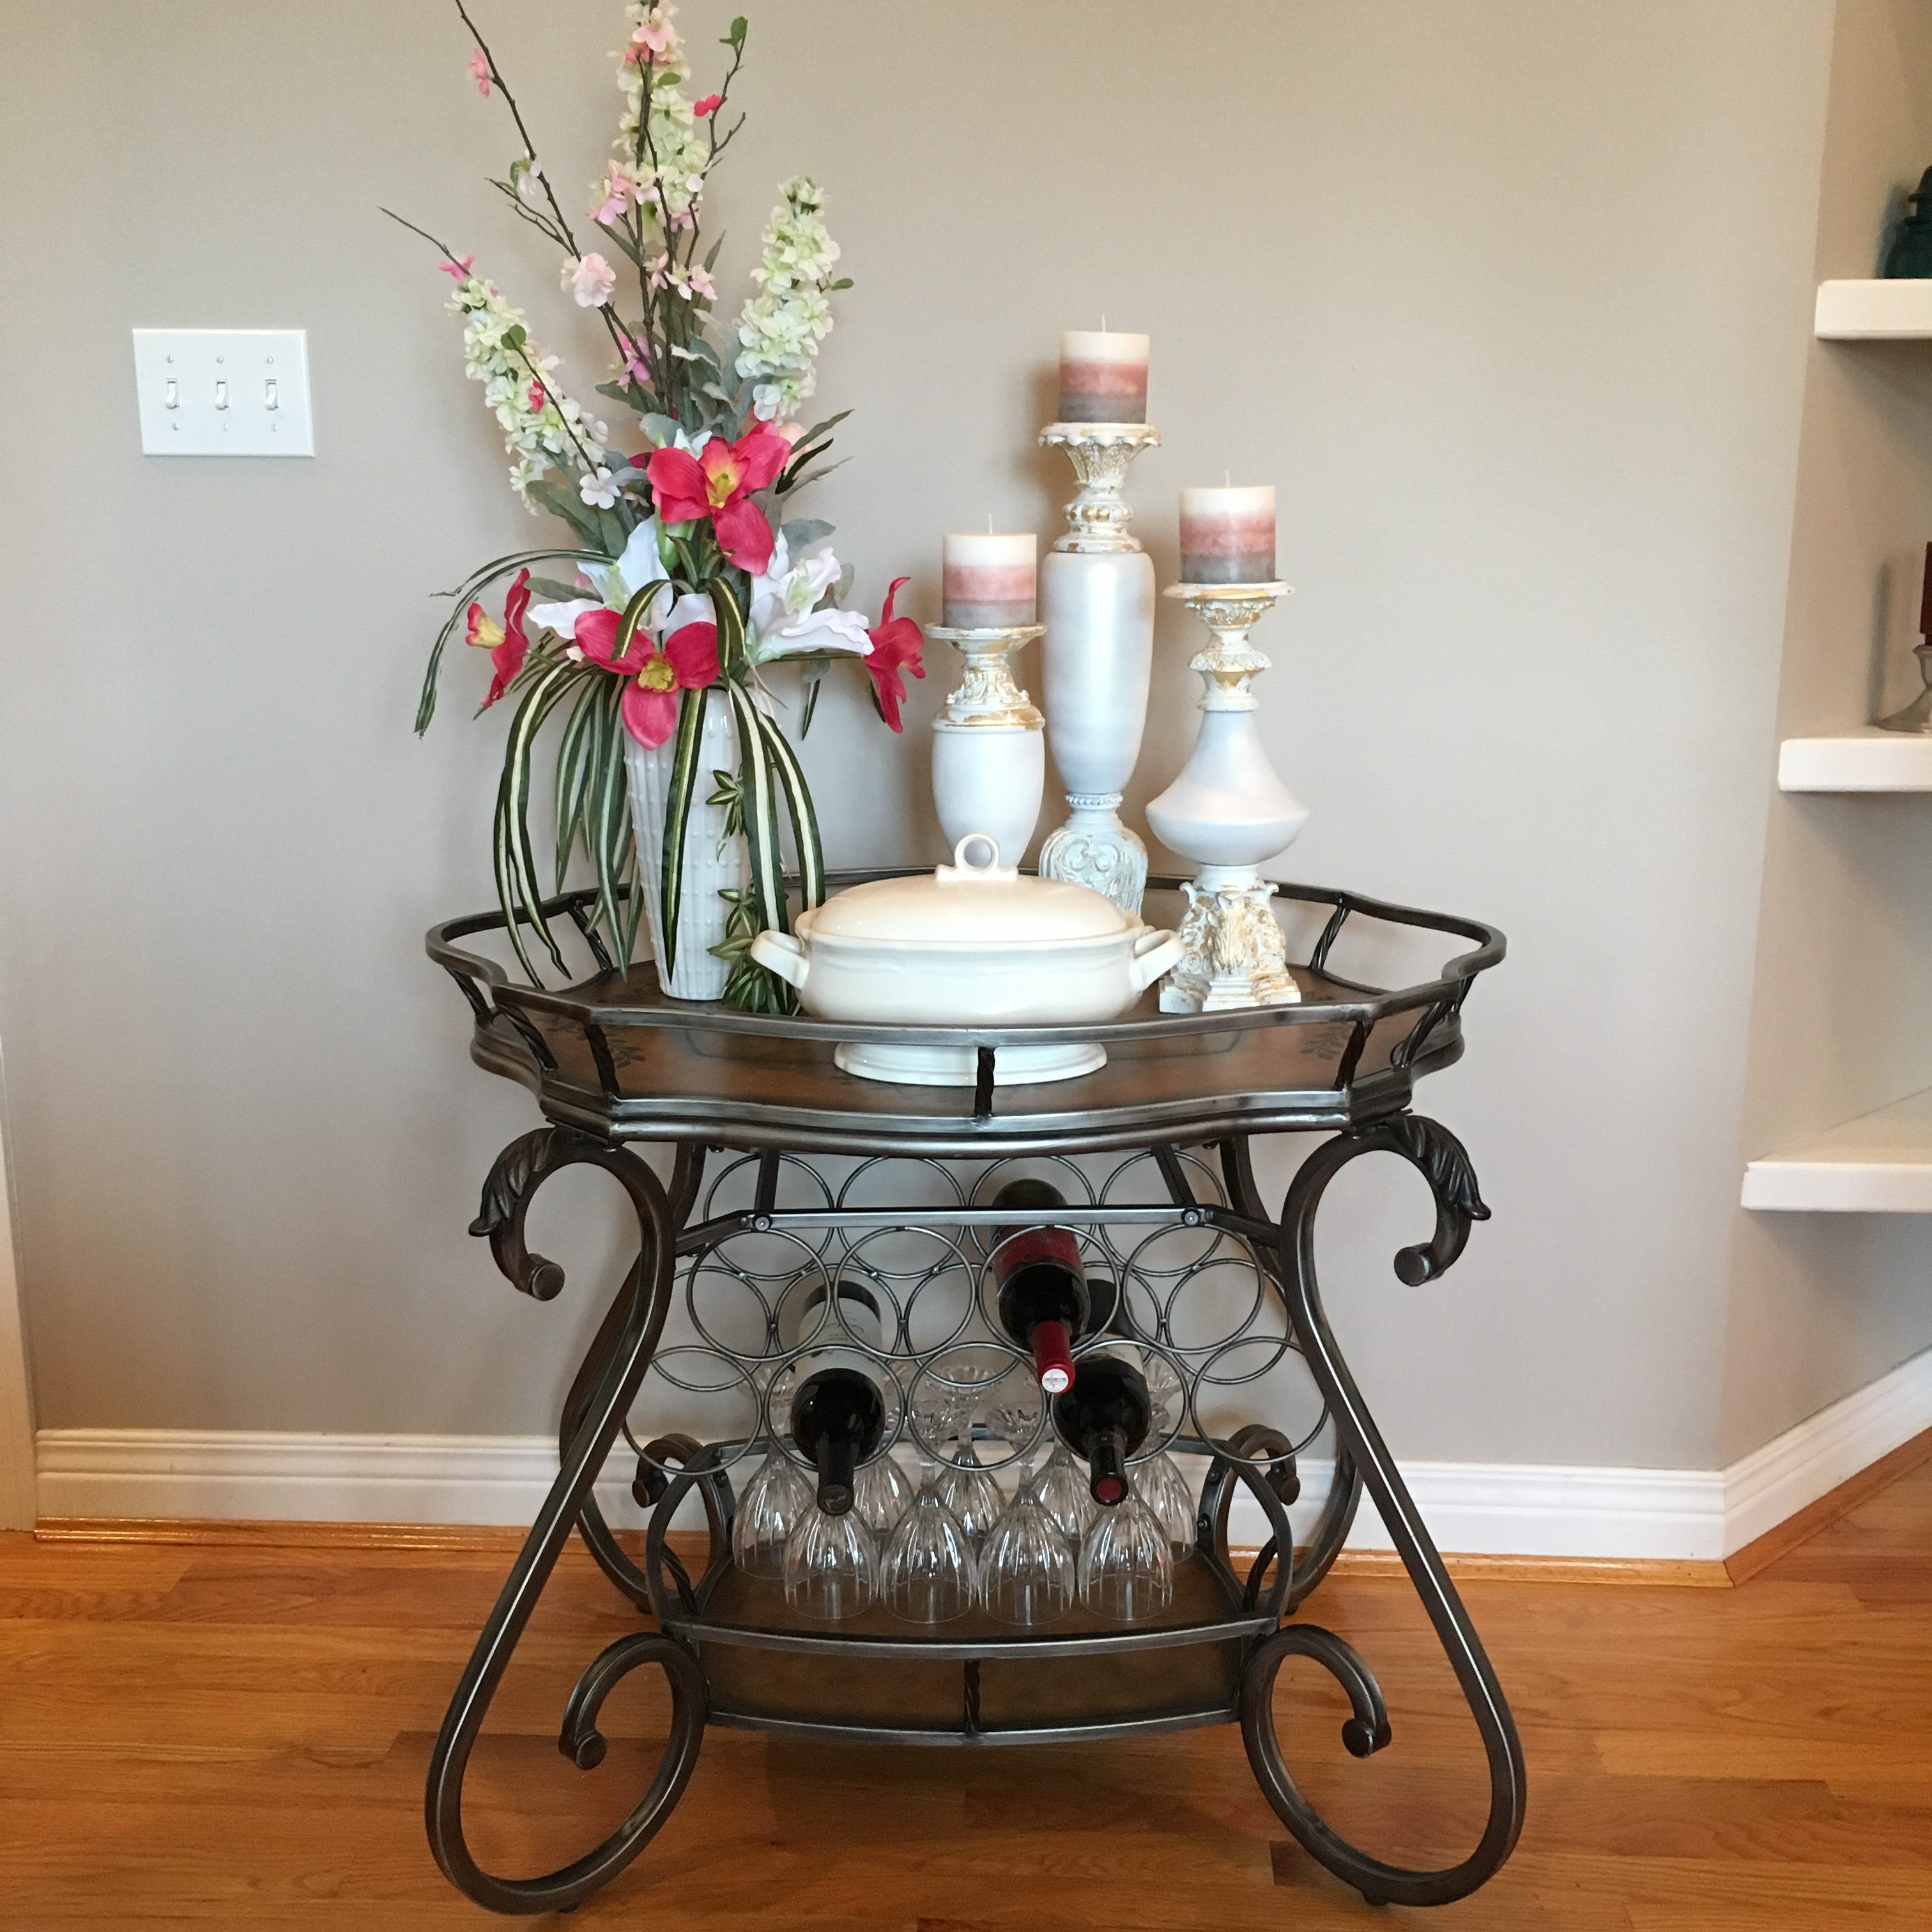
Thanks for visiting and please click here to see the candlesticks on a bar cart for a fresh spring look in my dining room.
