Teen bathroom mason jar organizer with lighted arrow
The above link helps our page as we may earn a small commission at no extra cost to you.
![]()
Keeping with her love of rustic and my love of practical, I attached mason jars to this cute little pre-lit rustic arrow I purchased at Hobby Lobby.
![]() This adorable and useful organize was quite simple to make. To make your own you will need a wooden base, I used the pre-lit rustic arrow. You will also need mason jars (I used 4 because that is how many I could fit onto my arrow). You will also need plumbing clamps and screws and drywall anchors to secure the organizer to the wall.
This adorable and useful organize was quite simple to make. To make your own you will need a wooden base, I used the pre-lit rustic arrow. You will also need mason jars (I used 4 because that is how many I could fit onto my arrow). You will also need plumbing clamps and screws and drywall anchors to secure the organizer to the wall.
First, I measured the width of a mason jar, and then measured the spaces between the lights on the arrow to make sure everything would fit – I actually did this step at Hobby Lobby before I purchased the arrow just to be sure it would fit.
![]() I was fortunate with the arrow as to look more rustic indentions had been carved into the wood. I used the top indention as my guide for aligning the clamps. Since I already had the straight line, I only had to determine where along that line to position the clamps. I decided to center them between the lights, so I marked the center point of each light pair.
I was fortunate with the arrow as to look more rustic indentions had been carved into the wood. I used the top indention as my guide for aligning the clamps. Since I already had the straight line, I only had to determine where along that line to position the clamps. I decided to center them between the lights, so I marked the center point of each light pair.
![]() Next I held the clamp over the mark, and determined how I wanted to position the clamp. You must position the clamp so that you can access the screw to tighten the clamp around the mason jar, but other than this the positioning of the clamp is totally dependent on the look you are going for. I decided I wanted the portion of the clamp with the enclosed screw to be prominent. While holding the clamp in the positon I wanted, I marked the spot where the clamp needed to be attached to the arrow with a piece of blue tape. I then marked identical positions on the remaining clamps. Marking the clamps now will save time on the next step when you are drilling your pilot holes into the clamps.
Next I held the clamp over the mark, and determined how I wanted to position the clamp. You must position the clamp so that you can access the screw to tighten the clamp around the mason jar, but other than this the positioning of the clamp is totally dependent on the look you are going for. I decided I wanted the portion of the clamp with the enclosed screw to be prominent. While holding the clamp in the positon I wanted, I marked the spot where the clamp needed to be attached to the arrow with a piece of blue tape. I then marked identical positions on the remaining clamps. Marking the clamps now will save time on the next step when you are drilling your pilot holes into the clamps.
The pilot holes were drilled with a regular drill bit for metal.
After drilling pilot holes on each of the clamps, remove the tape. Next we attached the clamps to the arrow with the largest screw we could use. Depending on what you add to your mason jars, they could get quite heavy so you do want to attach with a heavy duty screw.
![]() After all of the clamps are attached it is as simple as clamping down the mason jars. When clamping down the mason jars, make sure they are facing however you would like and make sure they are all even. I faced each mason jar in a different direction so that we would be able to see the 4 different designs printed on each jar. Now for the fun part, filling the mason jars. We have cotton balls in one, makeup sponges in one, and 2 sets of makeup brushes in the remaining two.
After all of the clamps are attached it is as simple as clamping down the mason jars. When clamping down the mason jars, make sure they are facing however you would like and make sure they are all even. I faced each mason jar in a different direction so that we would be able to see the 4 different designs printed on each jar. Now for the fun part, filling the mason jars. We have cotton balls in one, makeup sponges in one, and 2 sets of makeup brushes in the remaining two.
![]()
Now all that is remaining is a little touch-up paint and my teenage daughter’s bathroom will be complete.
I hope this has inspired you. If you have any questions please leave a comment.
You May Also Like
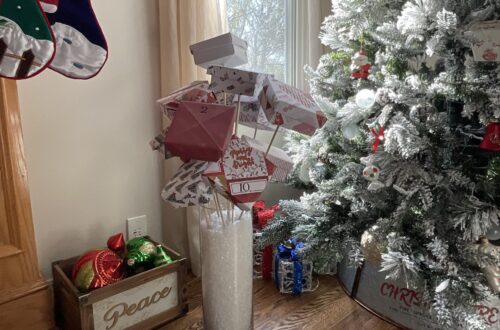
A Very Merry Christmas Advent Calendar DIY
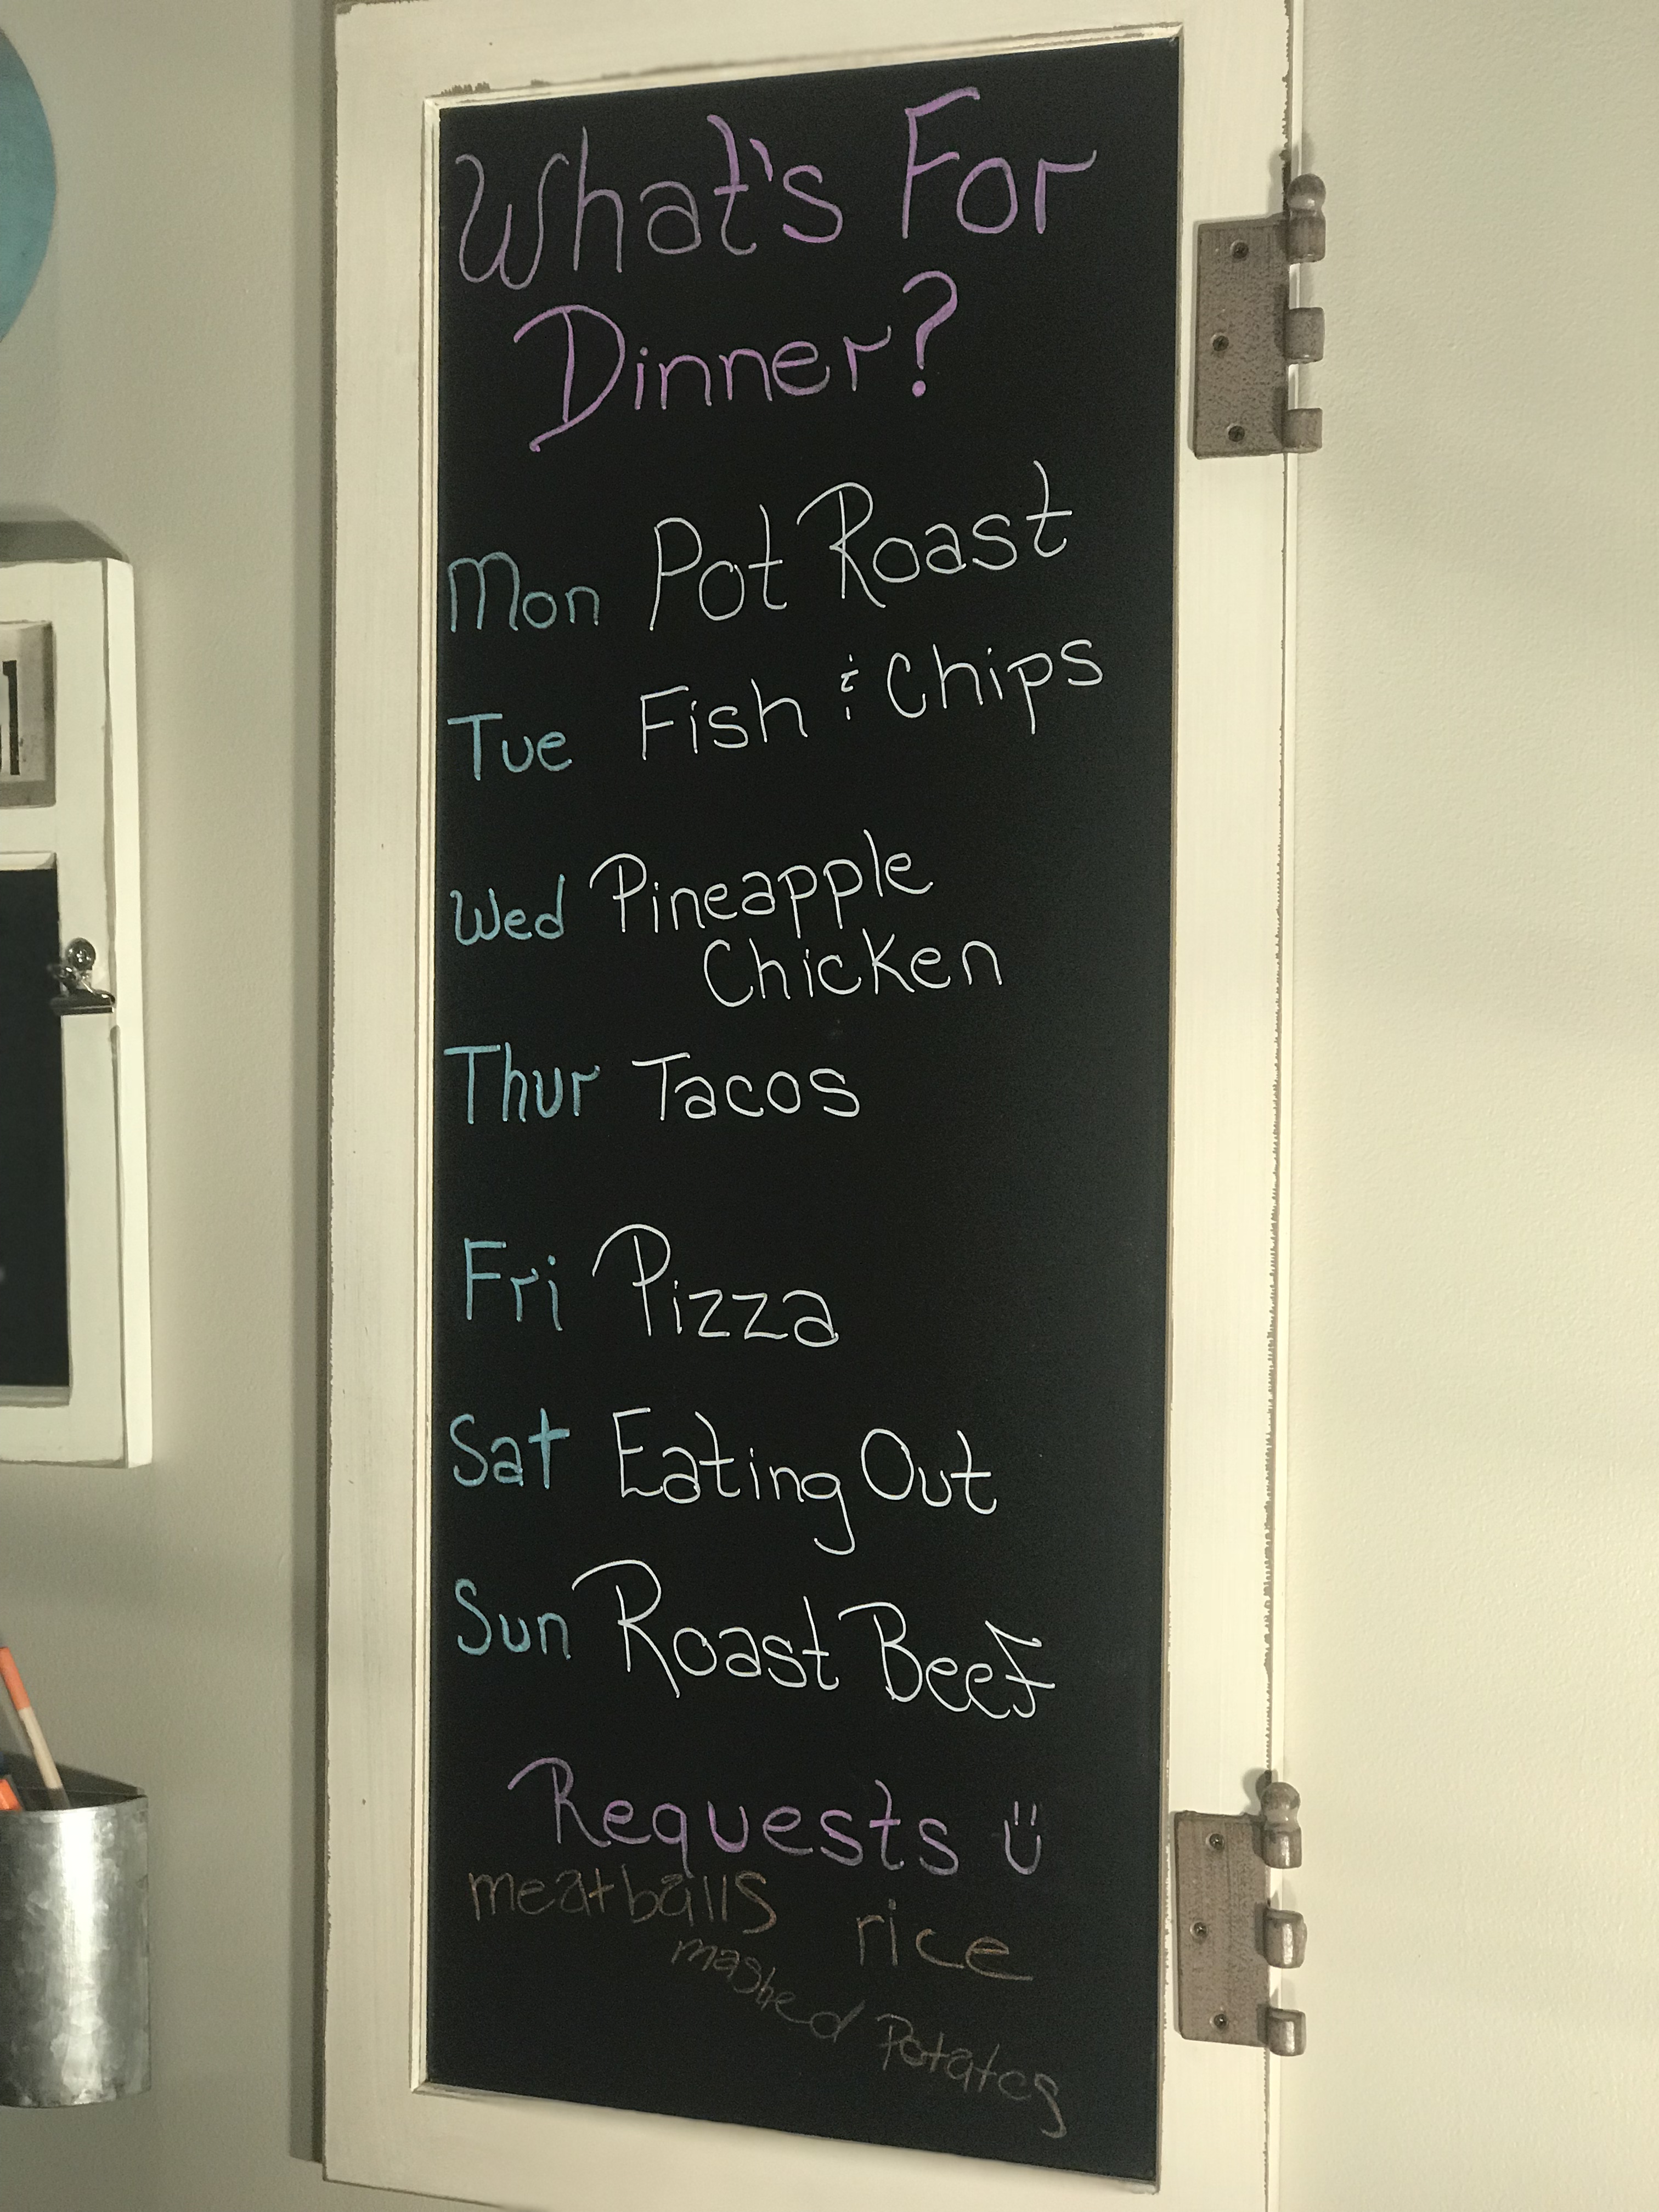
Barn Door Chalk Board