Rustic Wooden Shelves Made from Upcycled Wood

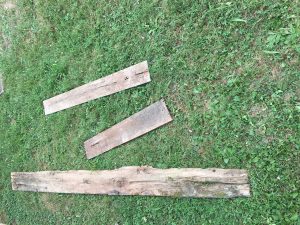
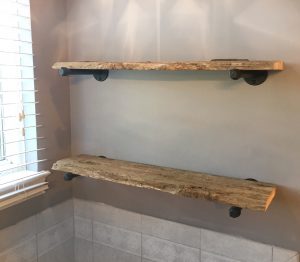
Aren’t these shelves just gorgeous? They were so easy to make and they are very special to me because of the wood used, but they would be equally stunning with any type of old reclaimed wood. In a moment, I will show you step-by-step how to make these shelves, but first a short story about the wood I used. These gorgeous shelves were made from boards originally used by my Dad to frame his vegetable garden, and to make it even more special, the boards were made from a tree cut from my uncle’s farm. After Dad passed away, I brought the wood home knowing that I would find some amazing use for it. The shelves were not what I had in mind when I first decided to salvage the wood, but I’m so happy with how these turned out and I’m eager to show you how to make shelves like these for yourself.
The following post contains affiliate links which provides a means for us to earn fees at no added cost to you.
The first thing I had to do was to cut the boards to fit into my car. As I said, I didn’t know what I would be using the boards for at the time I brought them home, so I wasn’t sure how long they would need to be for the undetermined project to come. With the longest board, I simply cut it in half so that it would fit.
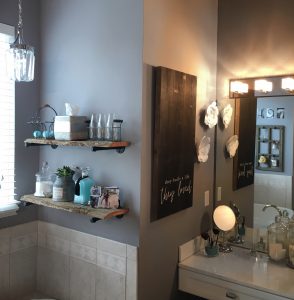
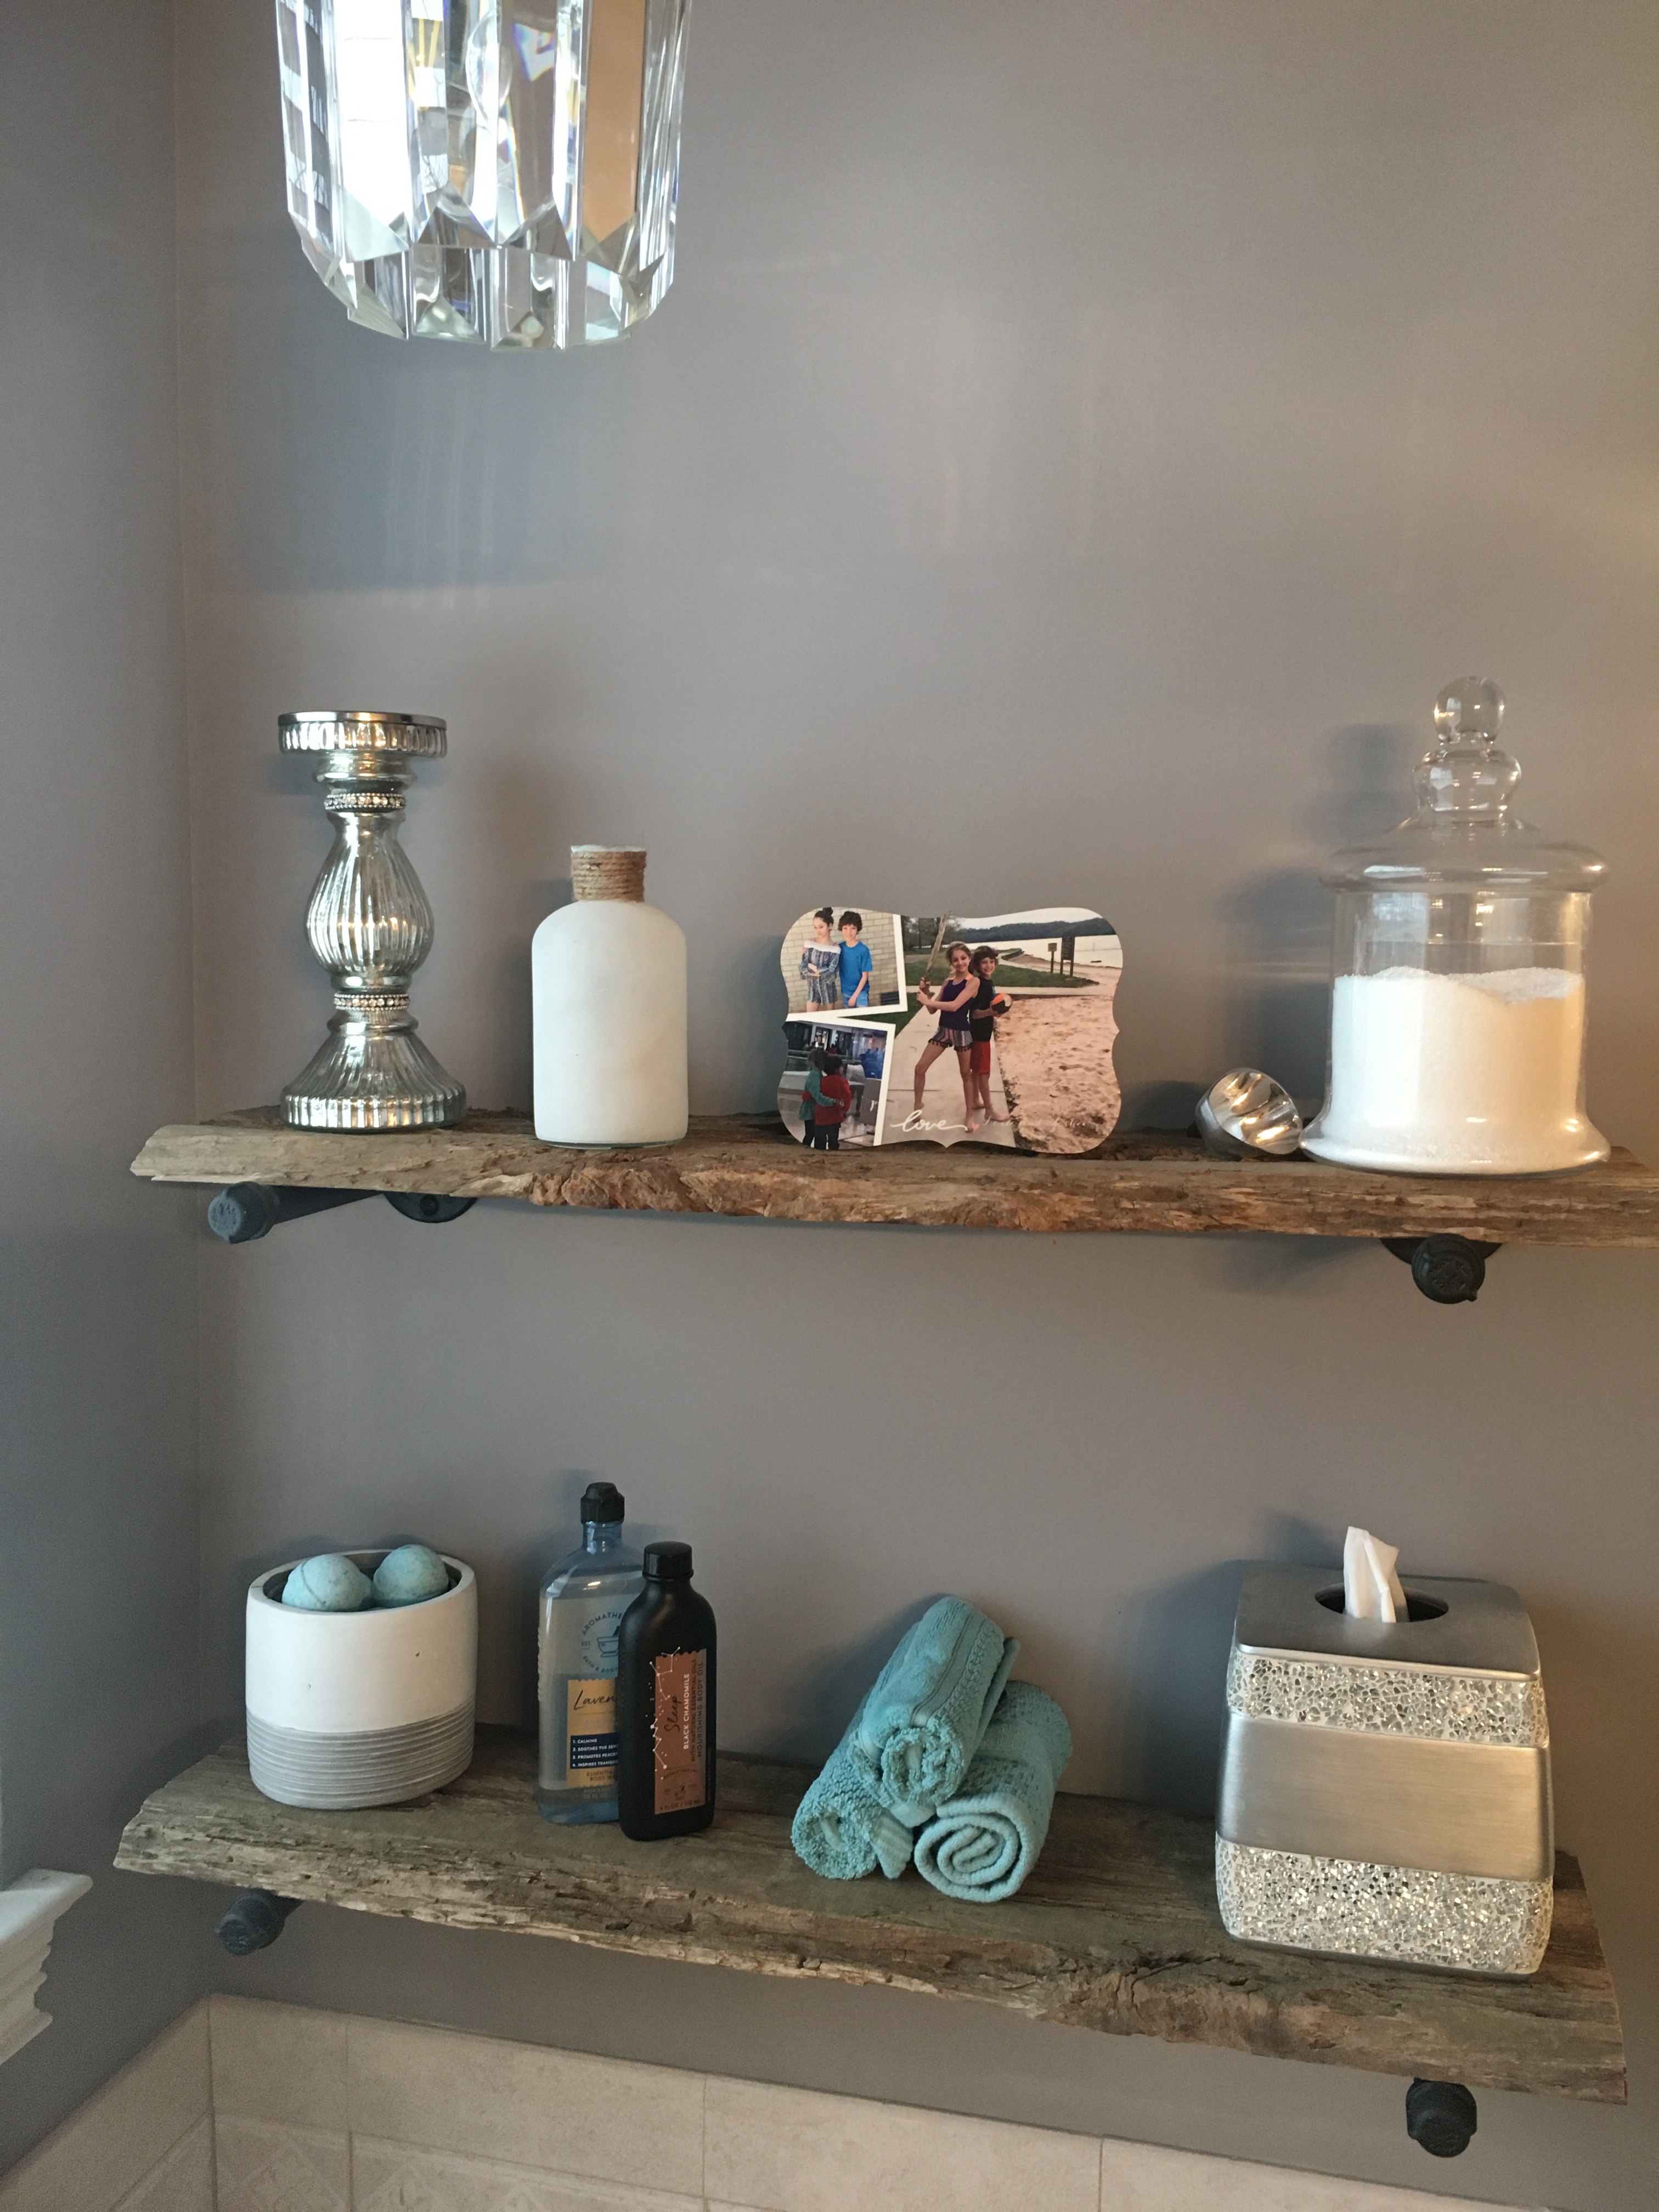
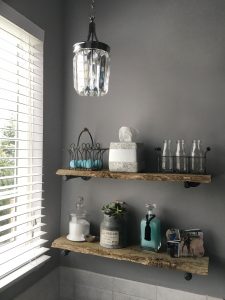
I finally decided I would use these gorgeous boards to make rustic shelves to hang over our Jacuzzi in the master bathroom. I had been working on a renovation for the bathroom and knew I wanted shelves above the Jacuzzi. I decided to go with a very industrial hardware and to add very glamorous accessories to the shelves to fit with the rustic glamorous look I was going for in the room.
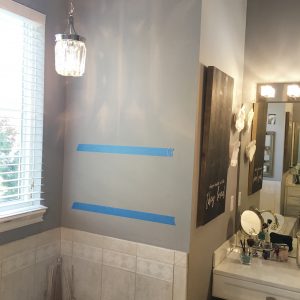
To make these shelves for yourself the first step is to determine where you want the shelves and to decide the lengths needed. You can use painter’s tape on the wall to play with shelf placement. The width of the painters tape is approximately the same width as the shelves and it helps to figure out the spacing between the shelves as well as the amount of space wanted on each end of the shelves. The shelves would not be as ascetically pleasing if they span the area edge to edge.
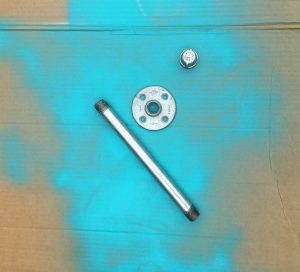
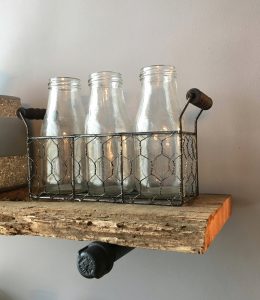
The hardware for the shelves is simply plumbing supplies which I painted black. The first tricky step was determining the length pipe needed. I used 1/2 inch pipe, but you could vary that to slightly larger diameter if you prefer a chunkier look. {I do not recommend using any smaller diameter pipe as it will look less industrial and rustic if the pipe is too small.} The wood I used for the shelves measured 8 inches wide and since I wanted the end cap of the pipe to show I originally purchased 10 inch sections of pipe. This was a mistake, however as the end caps do not screw all the way flush and the 10 inch pipe had too much extra length to look good. I ended up with 8 inch length pipes. I purchased silver pipe and painted it, but you can purchase black pipe here. Also, since my shelves are true reclaimed wood, the dimensions are not exact. I didn’t want to cut away any of the wood, so to help the shelves look more balanced I used this little trick. On the side where the shelf is more narrow I screwed the end cap as far down as I could. On the side where the shelf is wider I screwed the end cap only far enough to hold. Since the end caps are for decoration only, this should not cause an issue. Just be sure they are both firmly attached. The end caps can be purchased here. Floor flange fitting are used to attach the pipe to the wall and those can be found here.
When I was shopping for hardware I was not able to find any that was already black and was of the correct size. However, when editing this tutorial I was able to locate black hardware. Since I could not find black hardware to provide the contrast I was looking for I used a matte black spray paint when painting the hardware. The paint I selected is Rust-Oleum Textured Black fine textured finish. You can find it here.
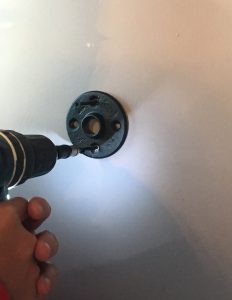
To support the weight of your shelves, and the items displayed on the shelves, be sure to attach the fittings to wall studs if possible, otherwise use toggle bolts rated for double the estimated weight of your shelves and contents. You never want to skimp on the weight estimate when using toggle bolts. A variety of toggle bolts can be found here.
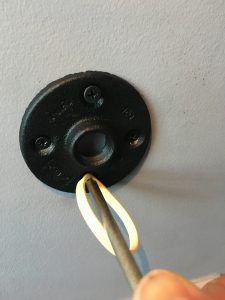
Here’s another quick trick. If you end up painting your screws it’s almost impossible to attach them without scratching the paint, but stretching a thick rubber band across the surface of the screw will help keep your painted screws looking great!
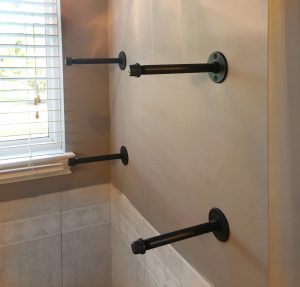
After the hardware is securely attached to the walls it’s time for the fun stuff. Simply place your shelves on the hardware, and by strategically placing some of the heavier items over the supports, let gravity do its thing. Try to balance not only the look of the shelves but also the weight. You should not have all heavy items on one end of the shelf as that would make the shelf unstable.
C-clamps like these can be used to secure the wood to the support. I opted not to use C-clamps because of several reasons including the fact that my wood is very weathered and I’m not sure the c-clamps would hold and my shelves are positioned above a very seldom used Jacuzzi.

I love the depth of character and the beauty of this old wood. It’s even more amazing in person.


2 Comments
Judie Manning
These are great! My daughter is doing this in her kitchen, your instructions are perfect. Yours look amazing.
Crystals and Cleats
Thank you so much! I’m so happy the instructions were helpful. I’m sure your daughter’s will turn out beautiful. They were much easier to do than I had expected.