Simple and Inexpensive DIY Farmhouse Bead Strands
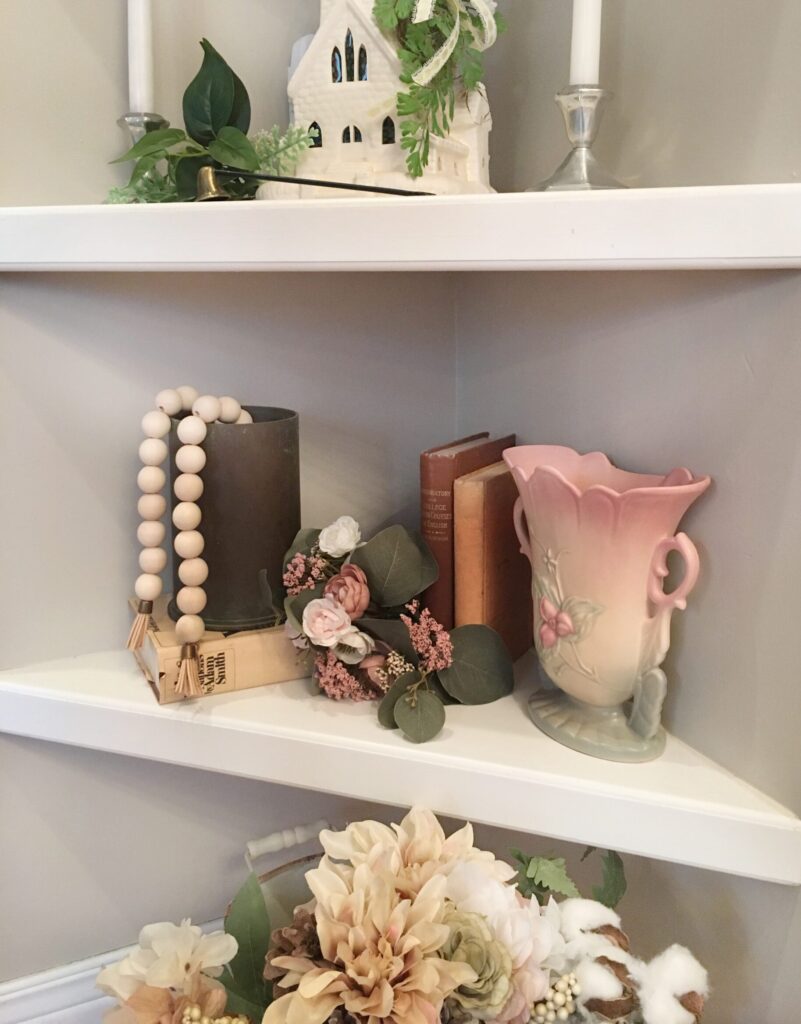
Farmhouse Beads Are Everywhere!
They are definitely the home decor item of the moment. There are plenty of places to purchase them, but I want to show you how simple it is to make them for yourself.
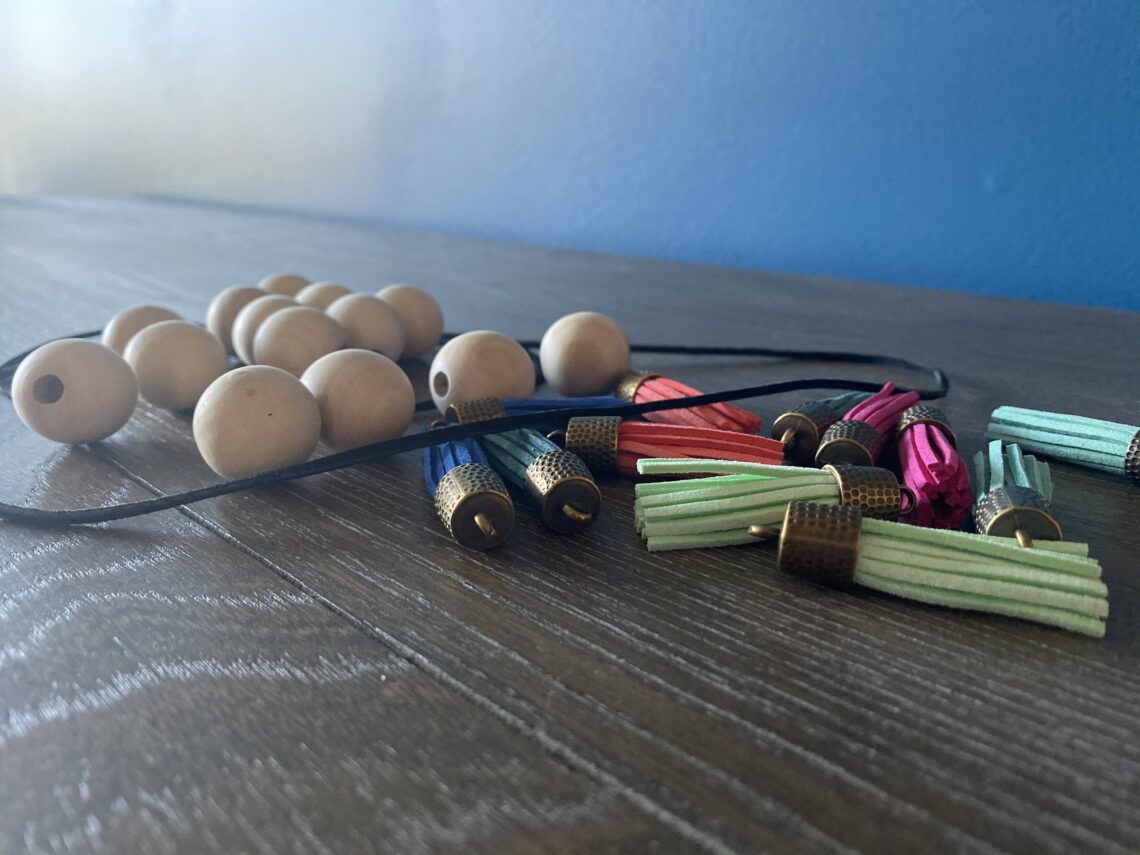
Supplies
You only need 3 items, and 15 or 20 minutes to make a basic strand of farmhouse beads. You will need wooden beads, tassels, and some type of cording. I use leather cording or multiple layers of jute cording to make sure they are durable.
If you want to spice things up, especially seasonally, you can add some glass beads, or multi-color wood beads. For example, you can do red and green for Christmas, orange, dark brown, and yellow for fall, or some beautiful pastels for Easter.
This tutorial will show you how to make a basic strand and a loop stand.
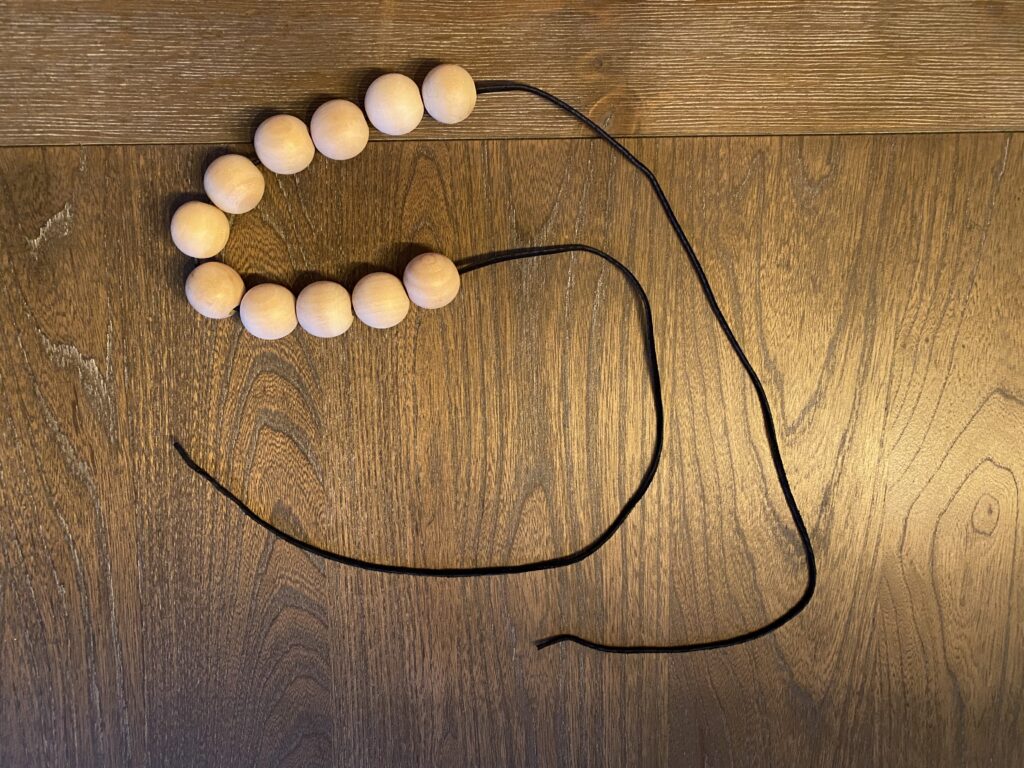
Let’s start with a loop strand.
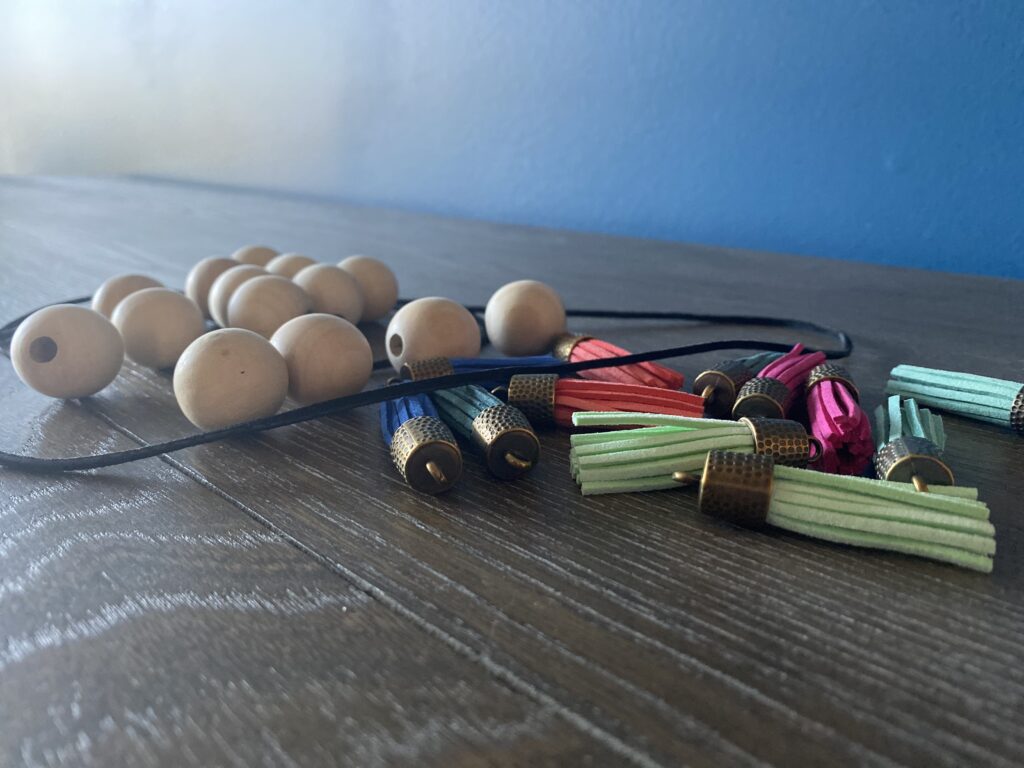
The first thing you want to do is determine how long you want your strand. For my loop strand, I used approximately 46 inches of leather string.
Next you want to string some of your beads onto the strand. These beads need to go in the middle of your strand, not at either end. I used 11 for the loop portion of my strand. It seems to work out better if you use an odd number of beads. However, you can make this number larger. You don’t want to go much, if any, smaller than 11 or the strand will be difficult to work with when positioning in your decor.
For the tail portion of the strand simply string the beads over both ends of the strand like this short video shows:
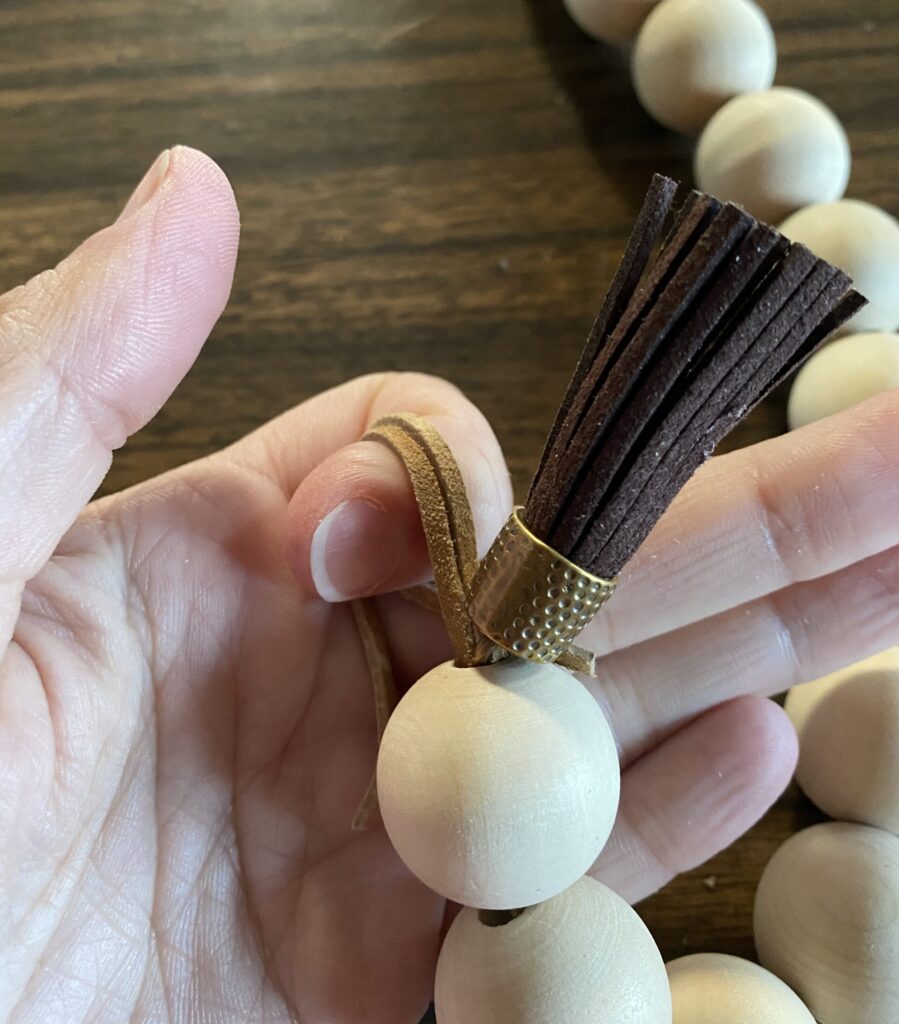
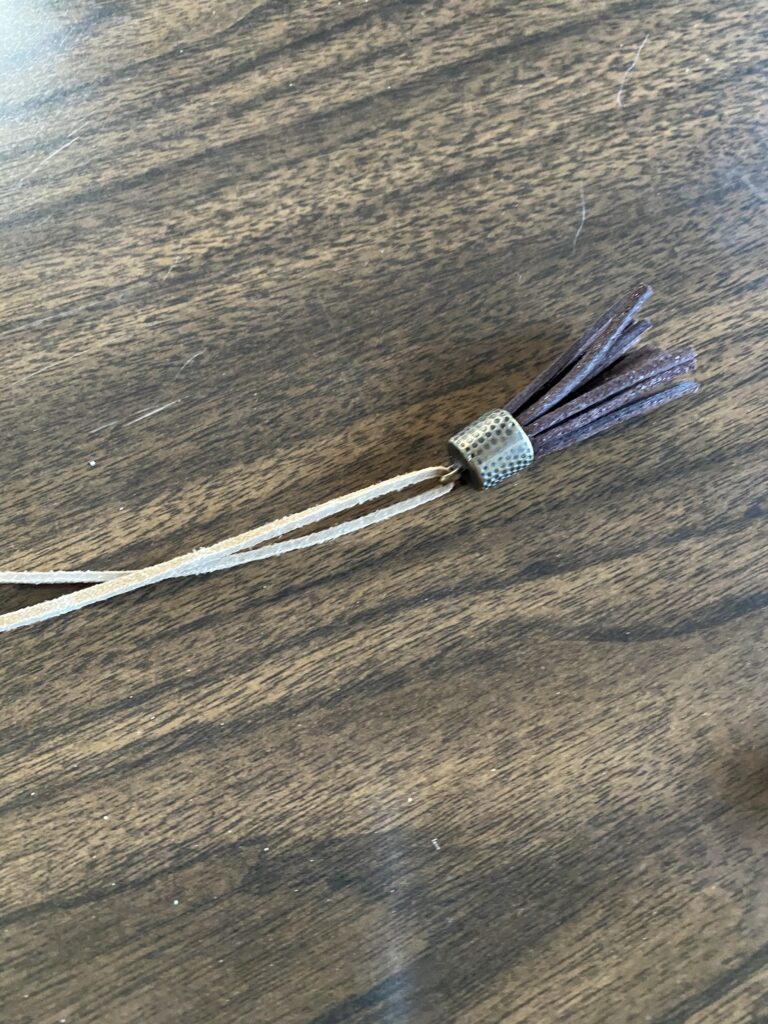
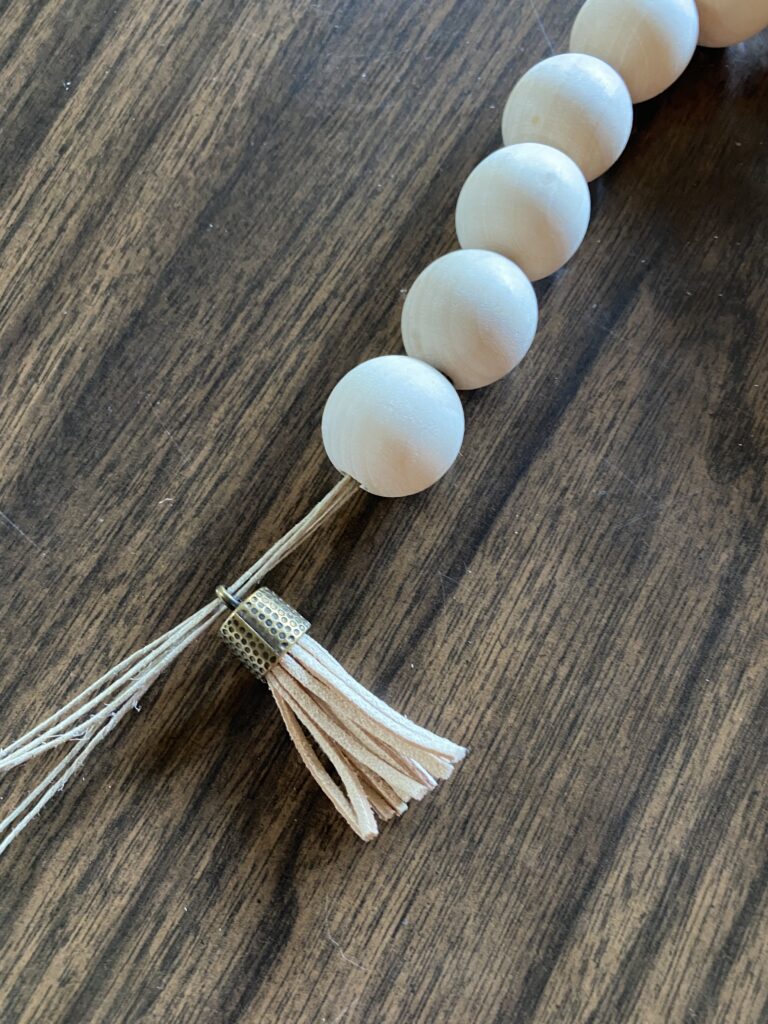
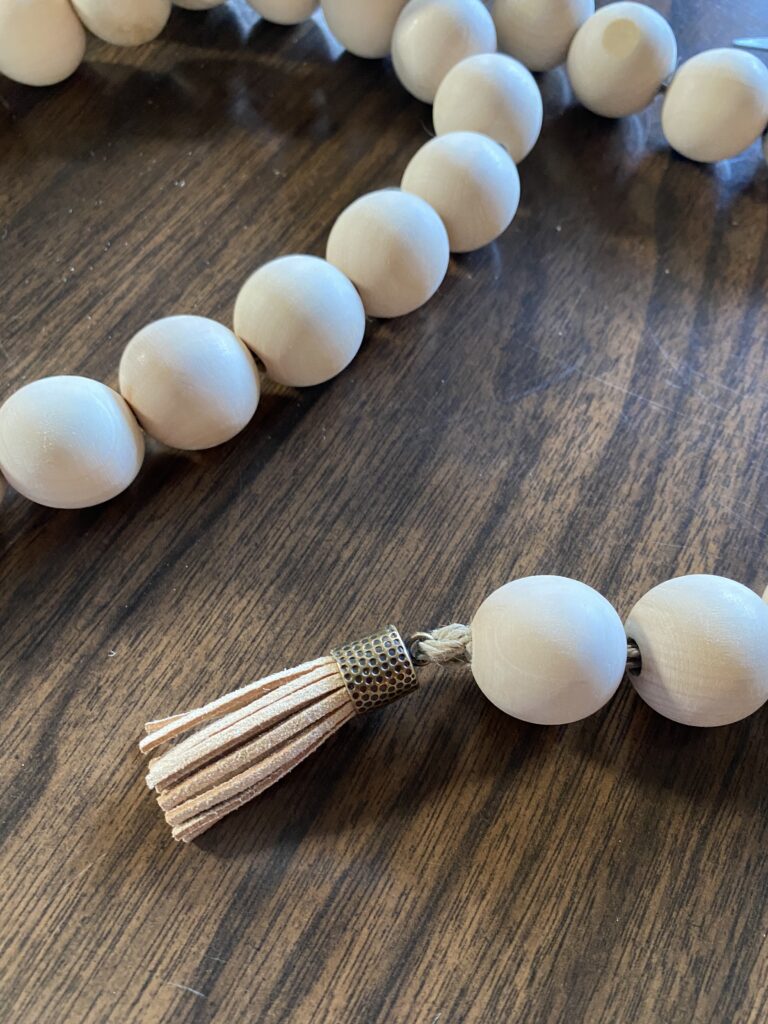
Finally, when you get to the desired length, attach a tassel like this
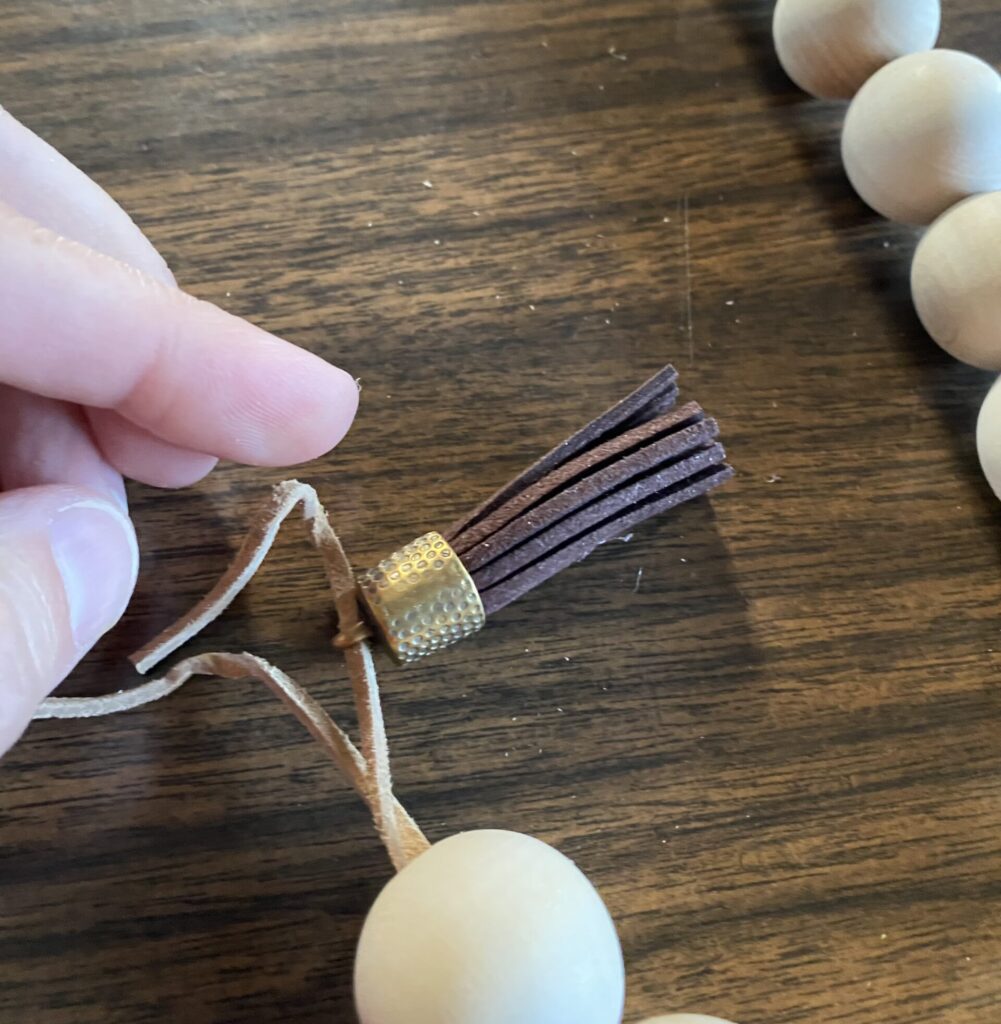
Position the tassel as close to the last bead as possible.
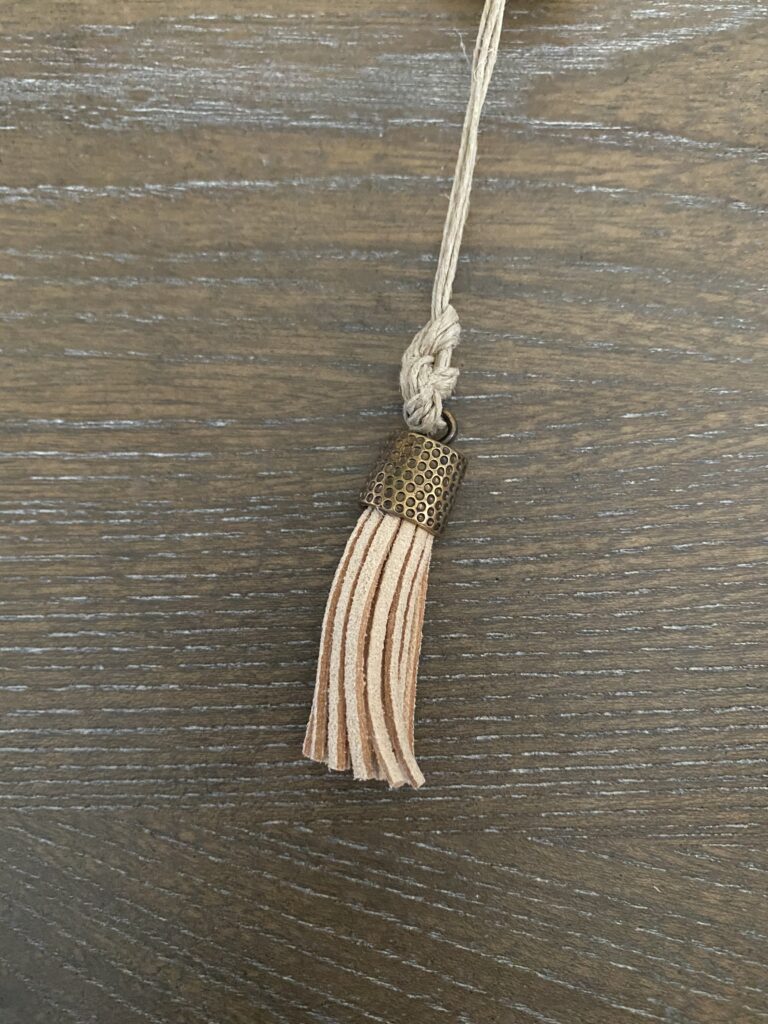
Then tie the cording off like this:

This was one of the first bead strands I made and it was with this one that I realized you should have an odd number of beads in the loop. This one doesn’t and it lays a little odd when it isn’t looped through itself as in the photo below.
Now let’s make a straight strand.
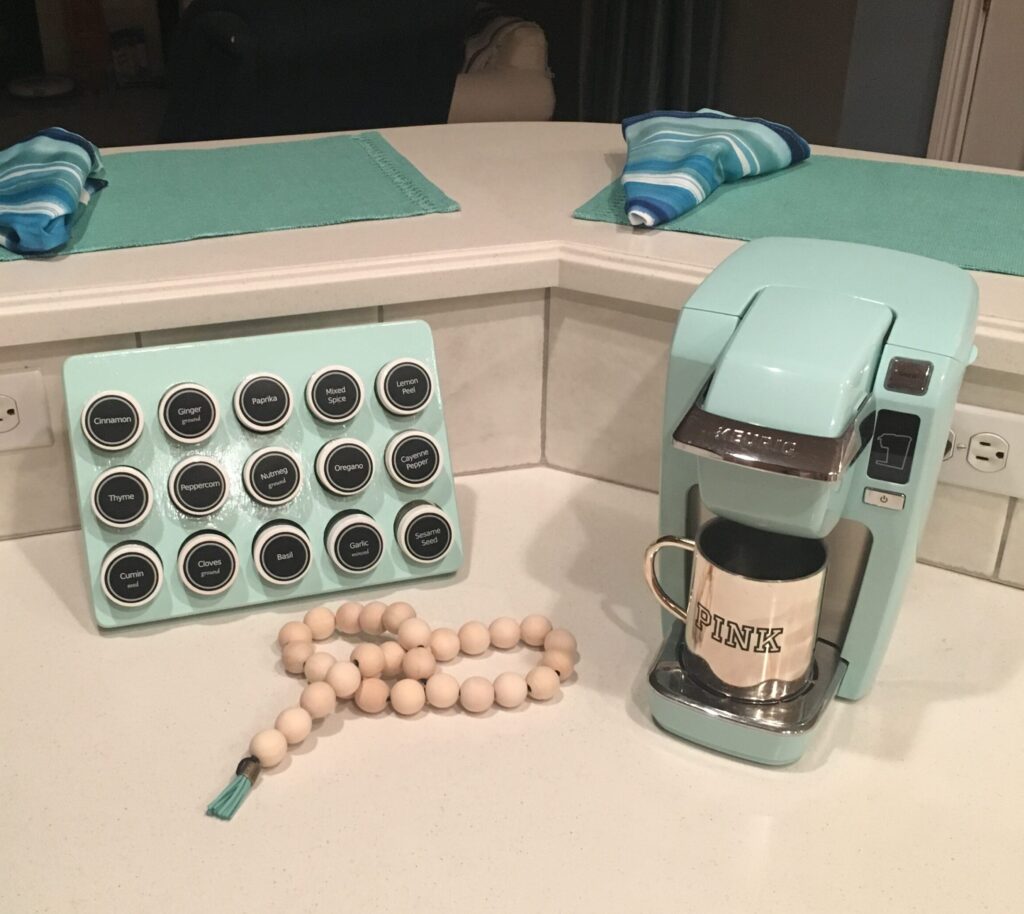
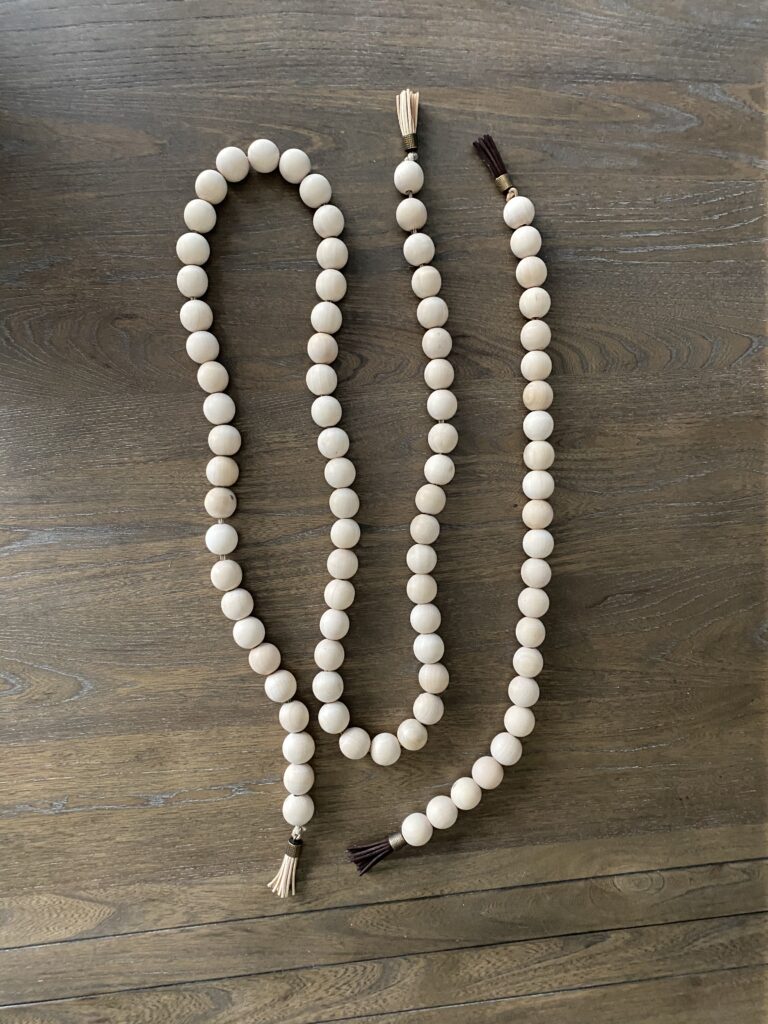
There are 2 simple ways to make a straight strand. The first thing you need to do is determine how long your farmhouse bead strand should be. They can be any length depending on how you plan to use the,. I have made single bead strands from about 3 feet long to one over 6 feet long. The length that looks the best will depend on how you plan to use the bead stand. A shorter strand will work to tuck into a bowl or other container. You will want a longer strand to display on a table or shelf.
The bead stand in this vintage container is approximately 3 feet long.
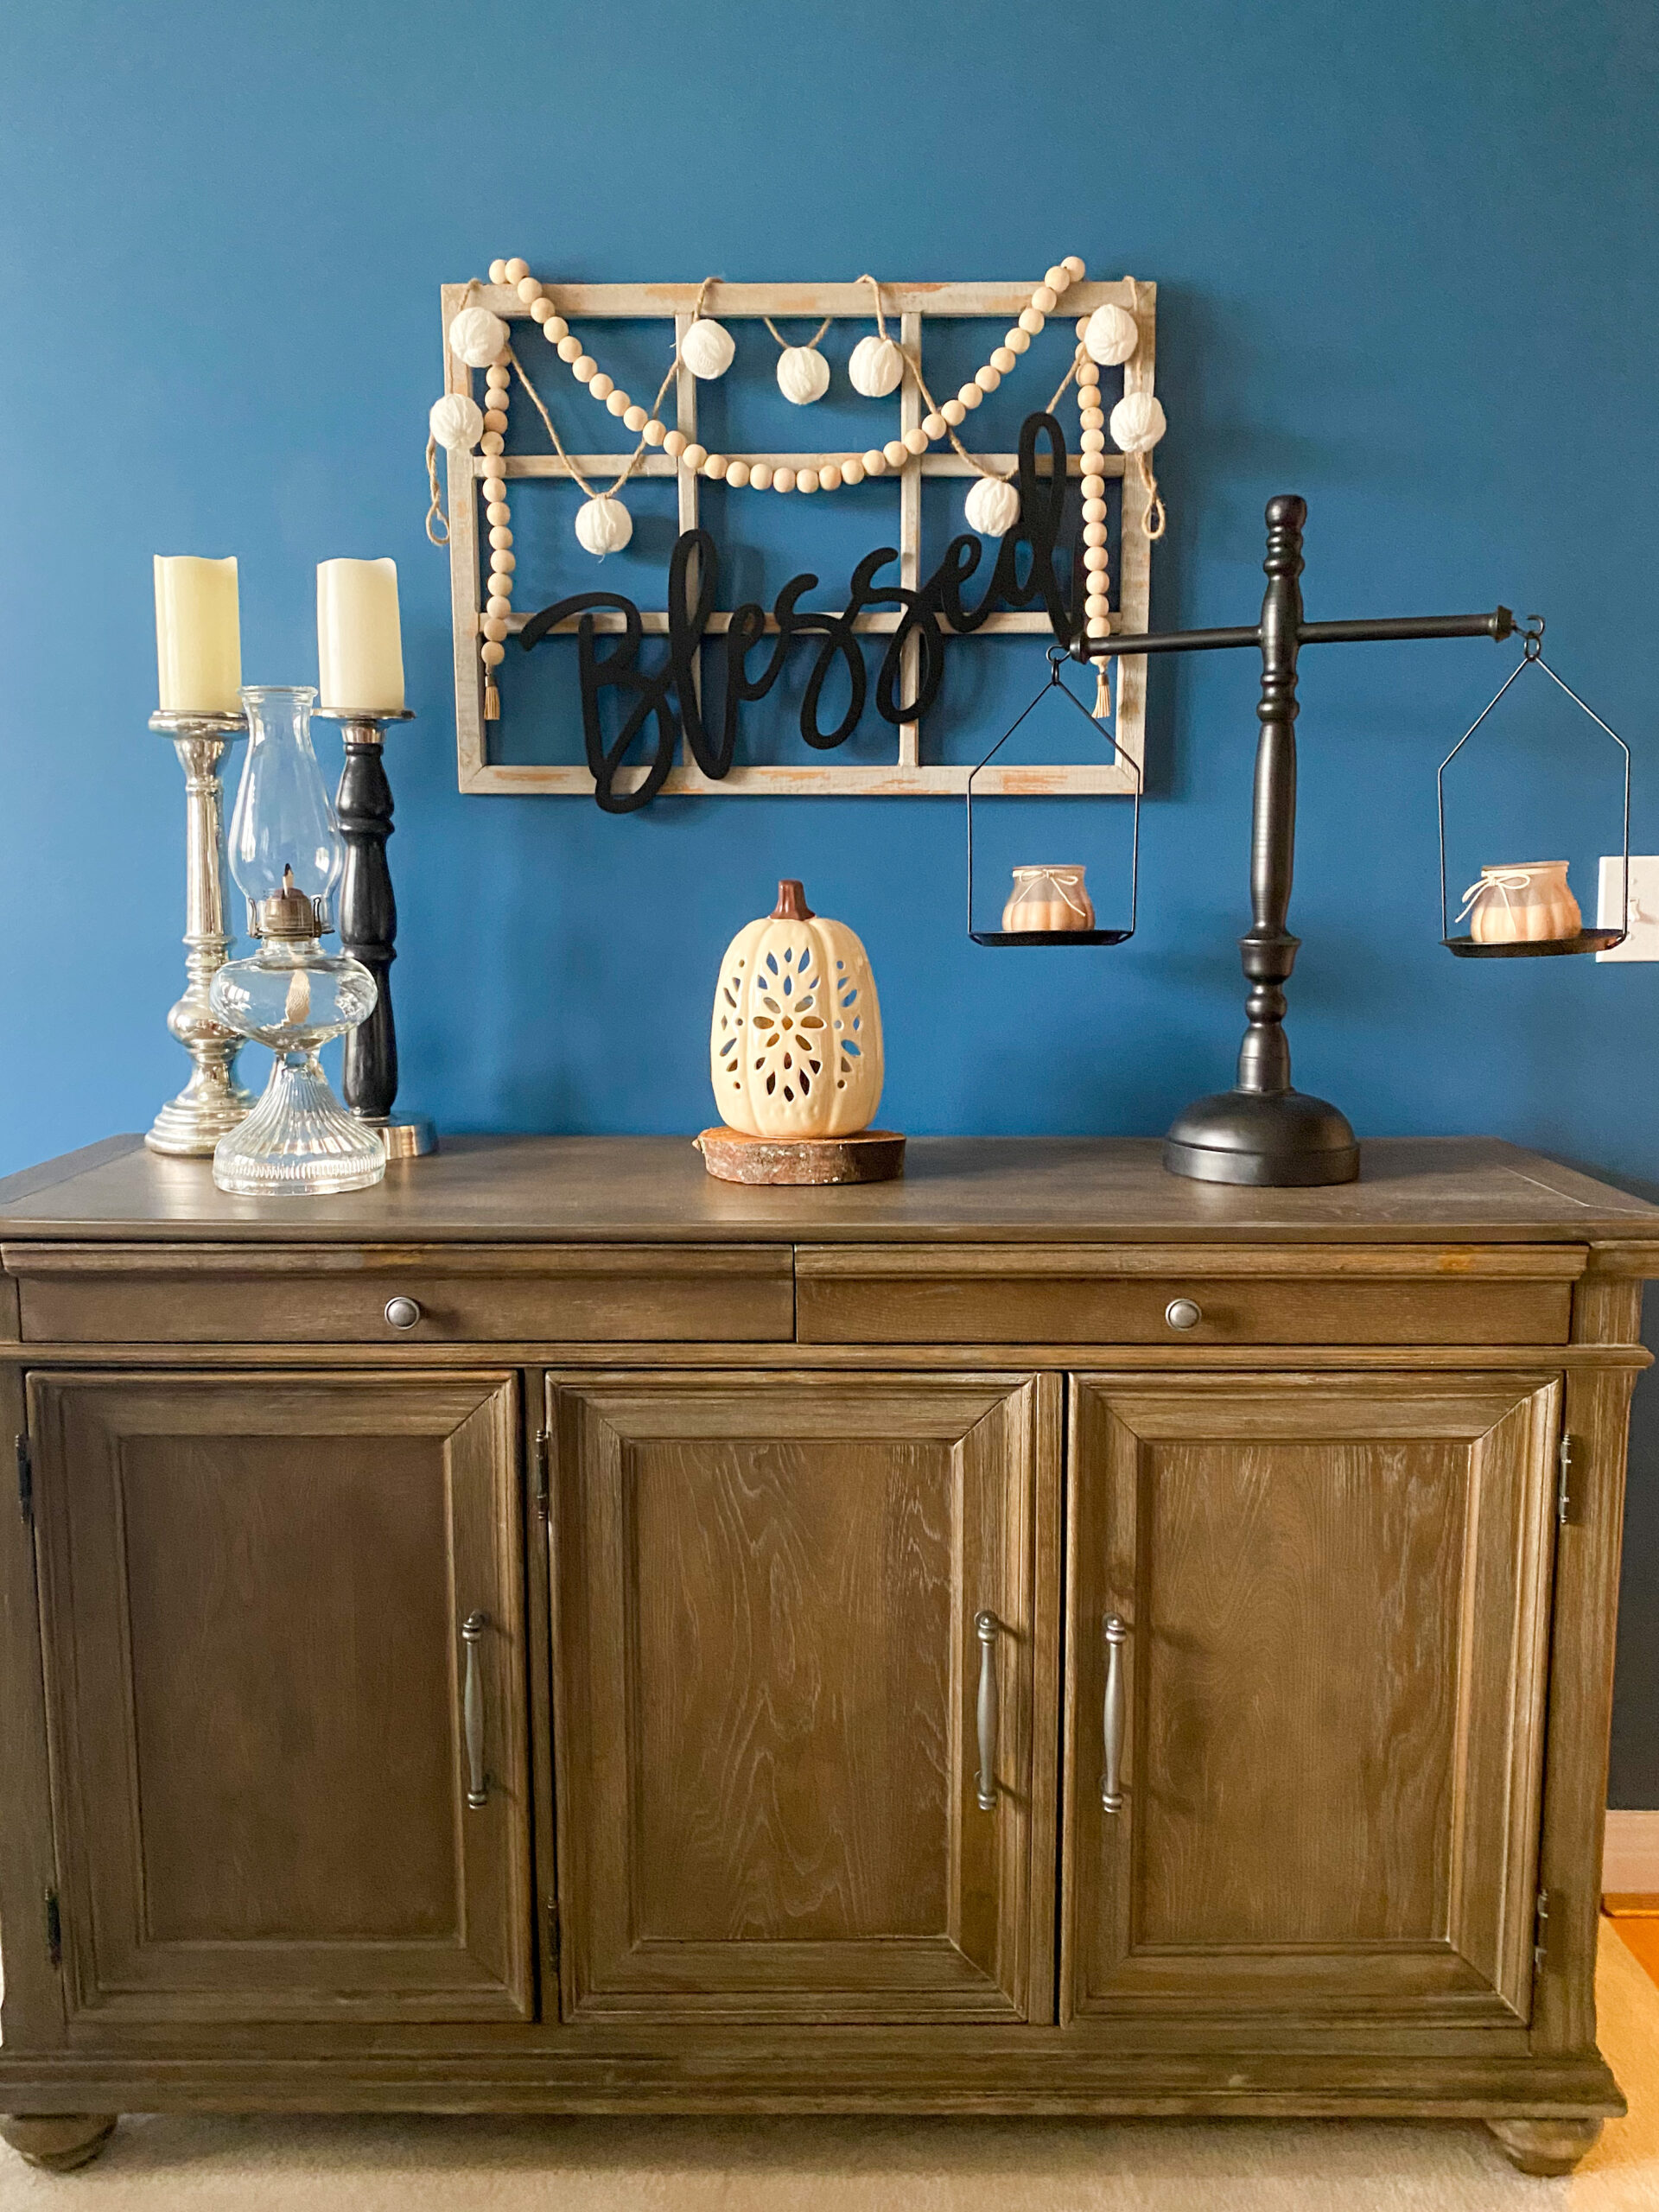
The bead strand I am making to use as part of a wall hanging (I will have a post on that soon) will be approximately 5 feet long. Check back soon for a photo of the wall hanging. I will post it here as soon as I have it finished!
The first way to make a straight strand is to use a double length stand of cording. In this example I used leather cording. Attach the tassel to the center of the cording.
Then string the beads over both ends of the cording. This will result in a cleaner end where the tassel is attached to the middle of the cording instead of having to tie it at both ends.
When you get to your desired length, attach the tassel the same as you would for the end of a loop strand pictured above.
The final version I am going to show you today is to use multiple lengths of jute cording or leather cording. If using jute, determine how many lengths you want to use. In my example, I used 4.
Attach a tassel to one end of the cording.
Then begin stringing the beads. With the first few beads, be sure to tuck the extra ends (where you made the knot) into the beads for a cleaner look.
Continue stringing beads until you get to your desired length then attach the final tassel and tie off the end. Simply slide the cording through the loop on the tassel.
Then tie off the strand and tassel using the same knots. Tie the knots as flat as possible.
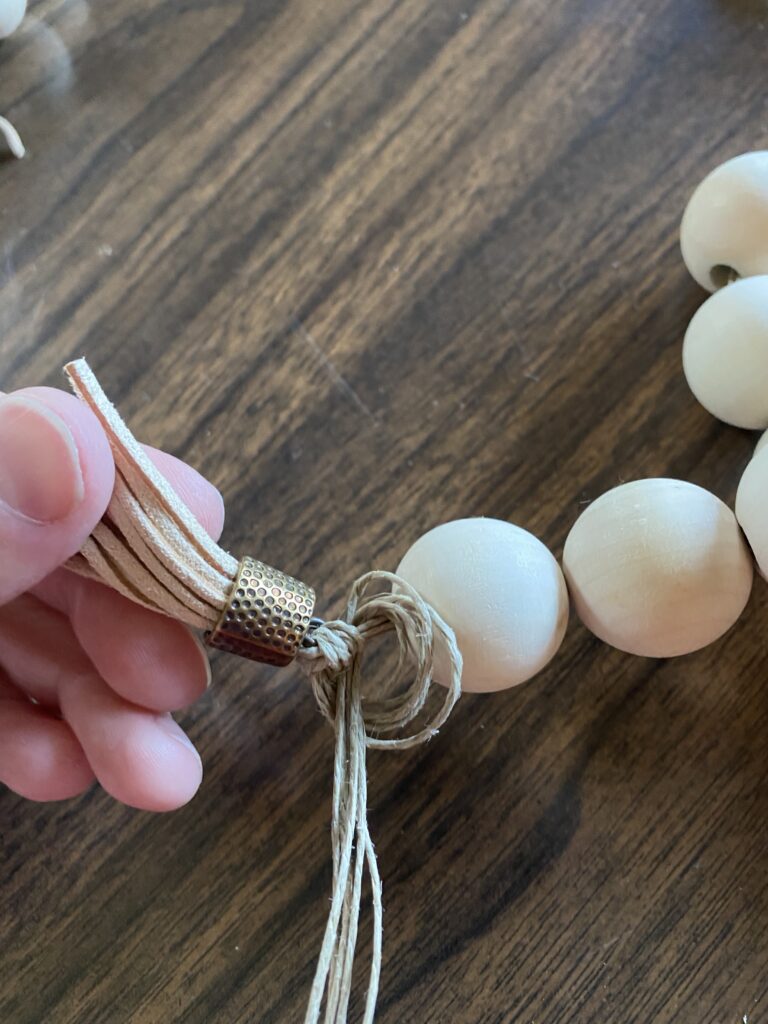
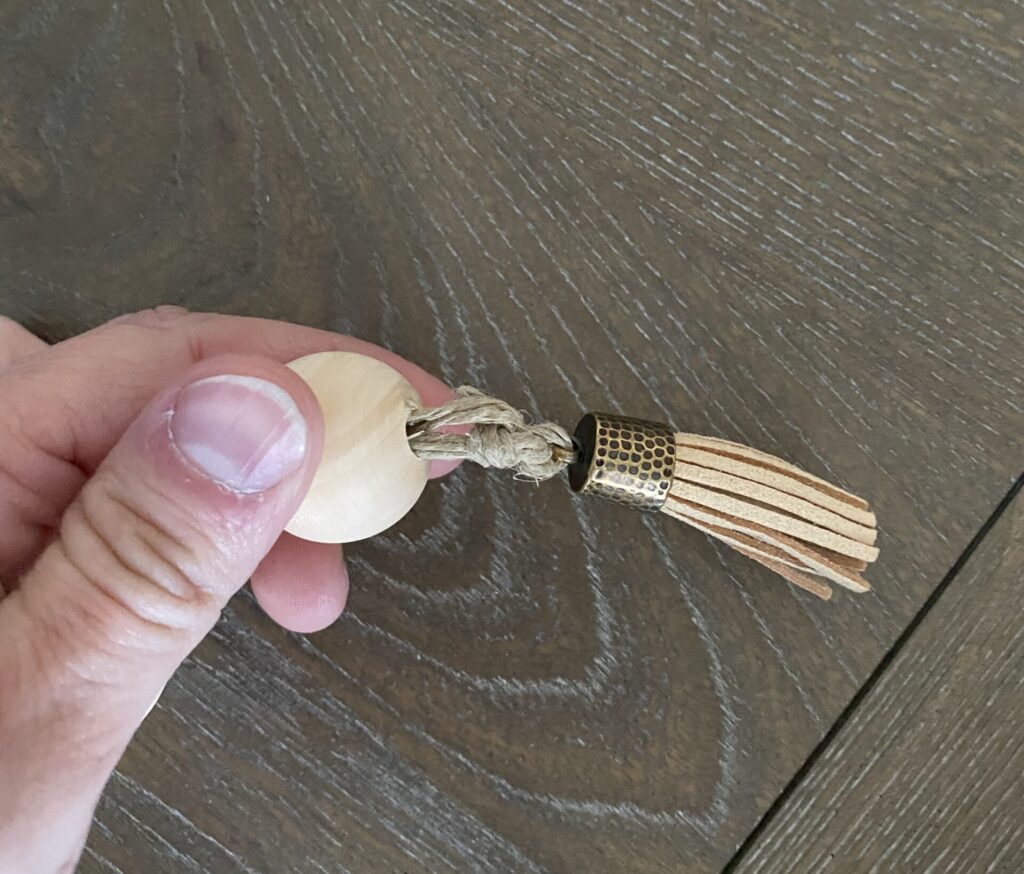
As you did on the first bead of the strand, you will want to tuck any loose ends inside the last bead. This will give you a cleaner finish.
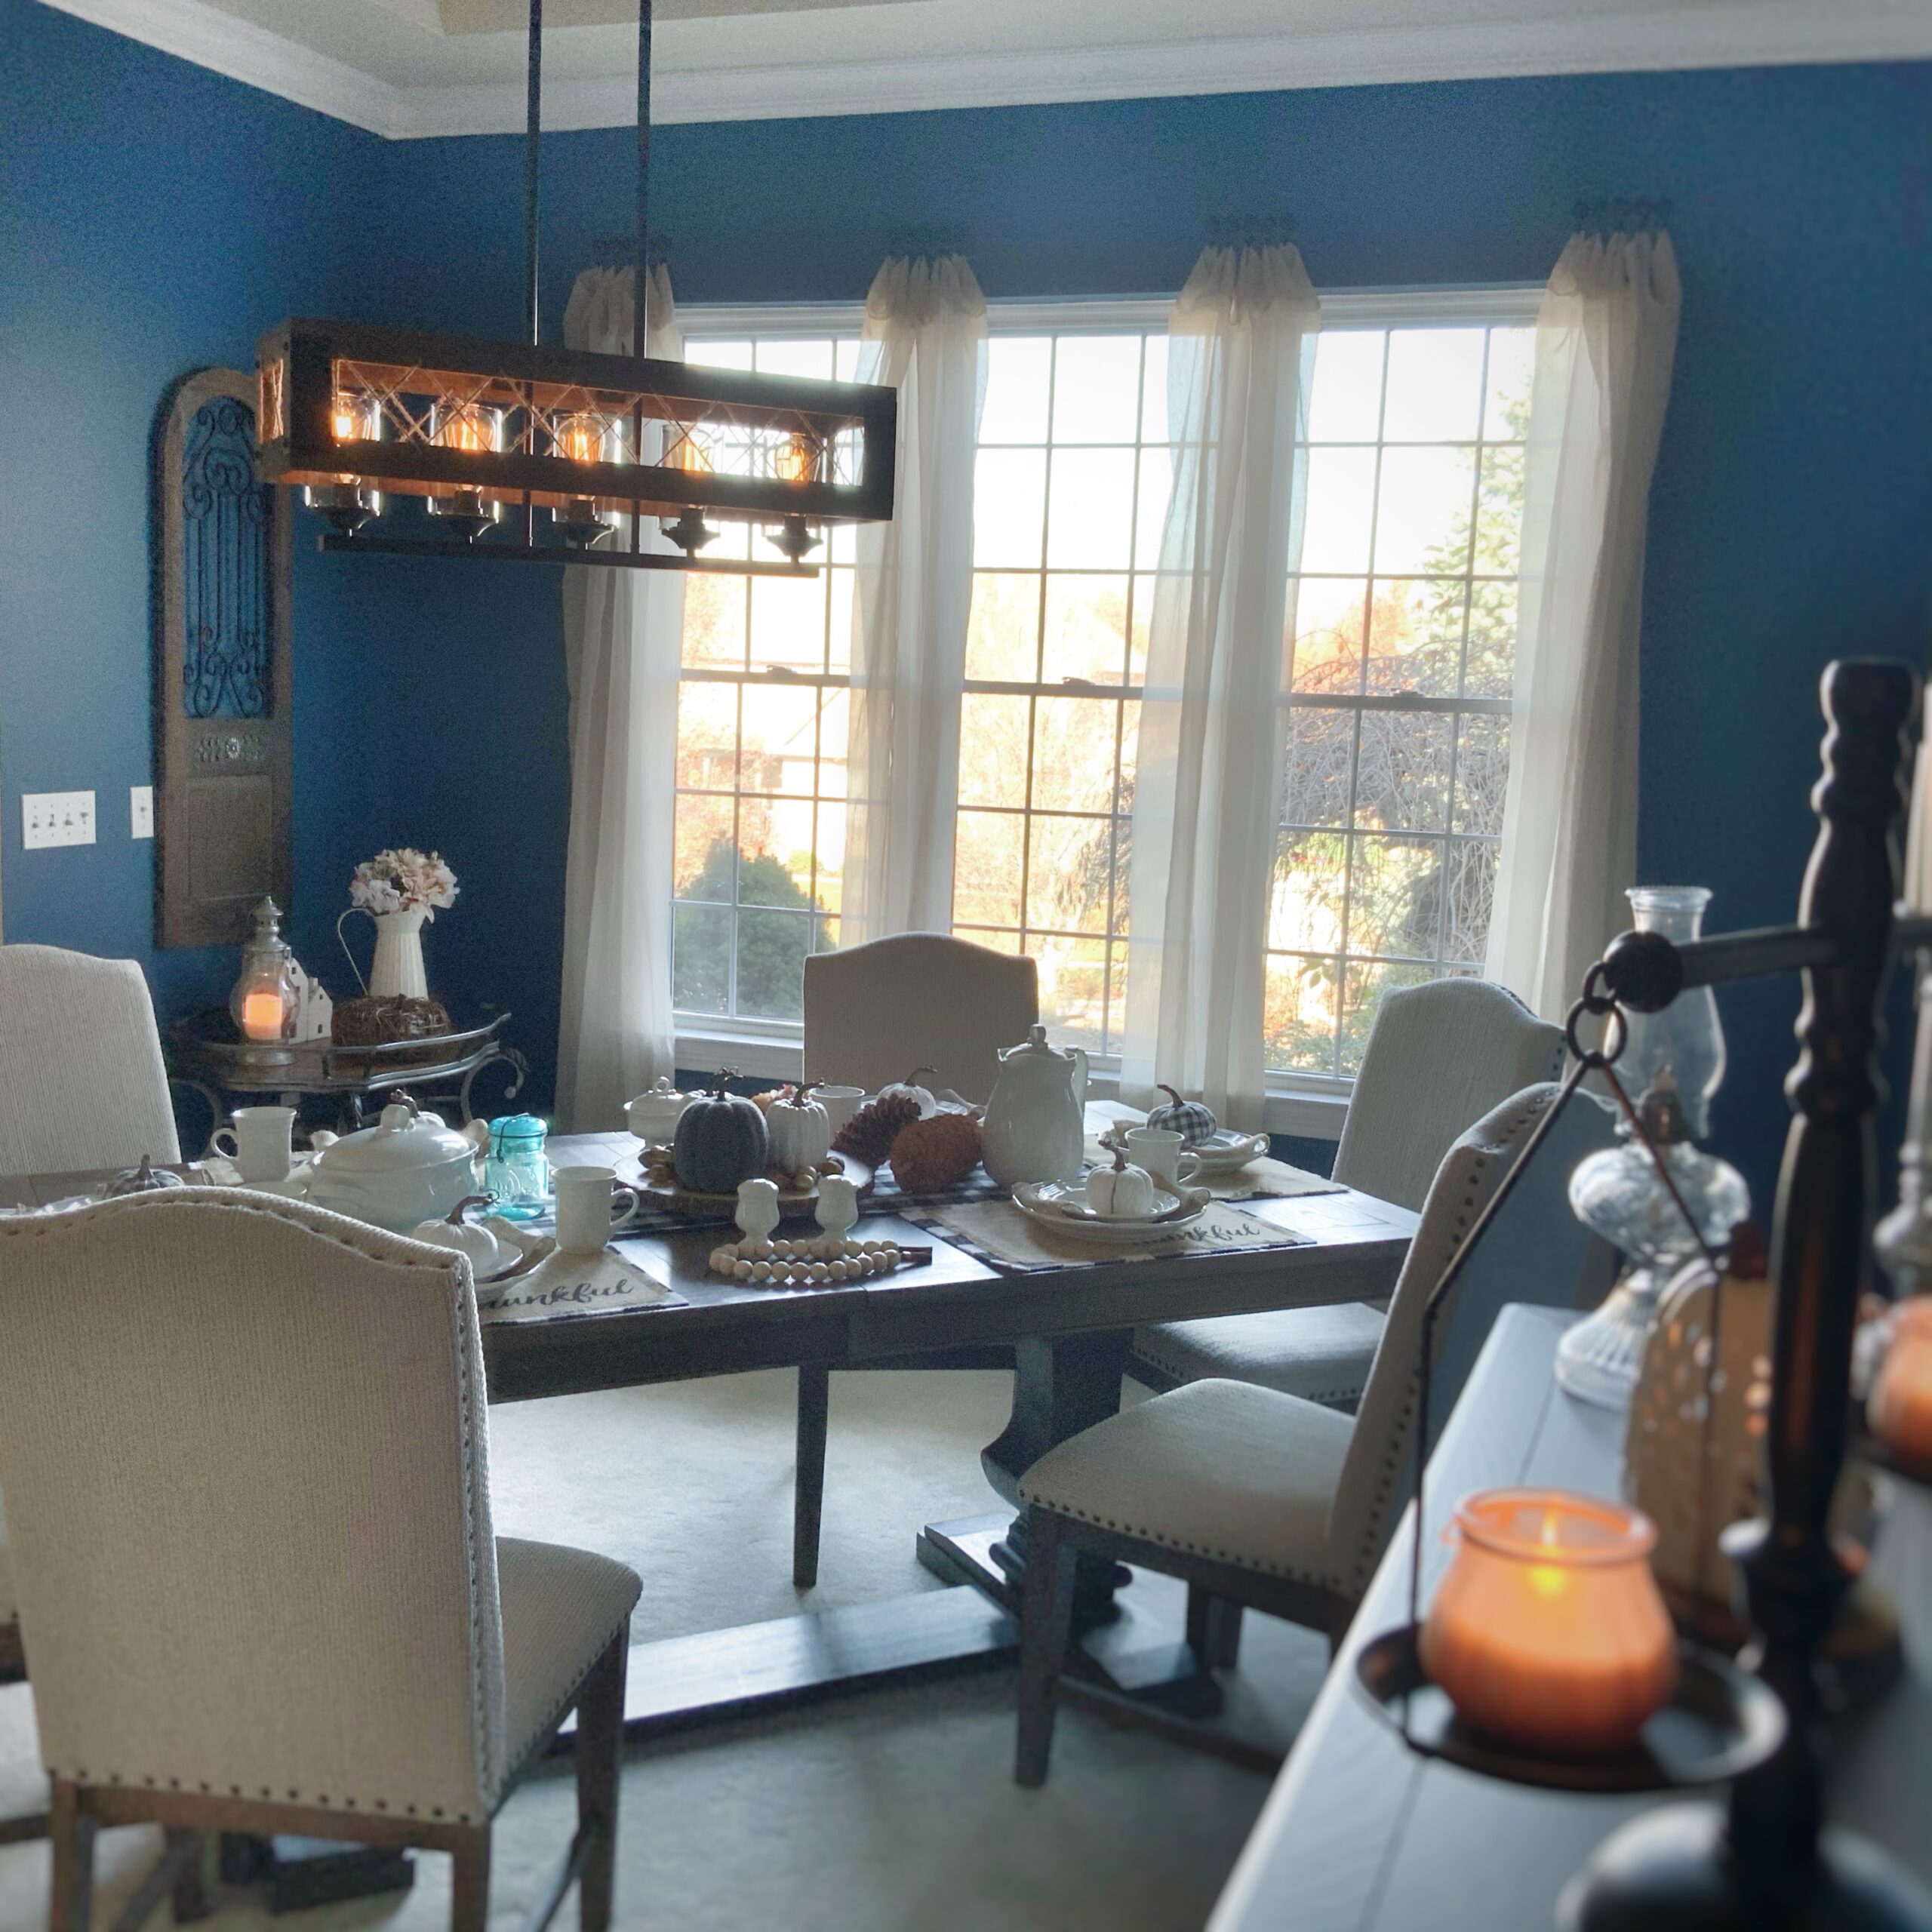
Thank you for reading. I hope you enjoyed this quick, simple, and inexpensive way to make farmhouse beads. Follow this link to see how I incorporated farmhouse beads into a rustic wall hanging for my recently updated dining room as a guest designer for the One Room Challenge. If you would like to check out my dining room reno click the following links. Week 1 Week 2. Week 3. Week 4. Week 5.
As I have shown, these are simple to make, but if you just don’t have the time or the desire, there are lots of beautiful farmhouse bead strands out there for purchase. Here are a few examples:
Thanks for stoping by! See you soon,
Sondra

You May Also Like
One Room Challenge – Warm, Cozy Dining Room Reveal

Thank You Sign for Delivery Drivers